
Olla Watering System Placement Guide: Maximizing Water Efficiency in Your Garden
The Cottage Peach is reader-supported. When you purchase through links on our site, we may earn an affiliate commission at no additional cost to you. All opinions are our own.
If you're considering how to use olla pots in your garden, you're probably concerned with where to place those olla pots. Since olla pots are a great way to decrease water waste lost to surface evaporation and keep your garden evenly watered, strategically placing olla pots in your garden to achieve optimal water efficiency is. Thankfully, olla pots are super flexible no matter what garden layout you have to work with, so you can easily position your olla pots for maximum benefit once you have these tips in mind. Since I use olla watering systems in all of my garden beds to eliminate the physical stress of watering, I've spent a lot of time observing the flow of water from ollas and learning the best way to arrange ollas for the biggest results.
WHAT IS AN OLLA WATERING SYSTEM?
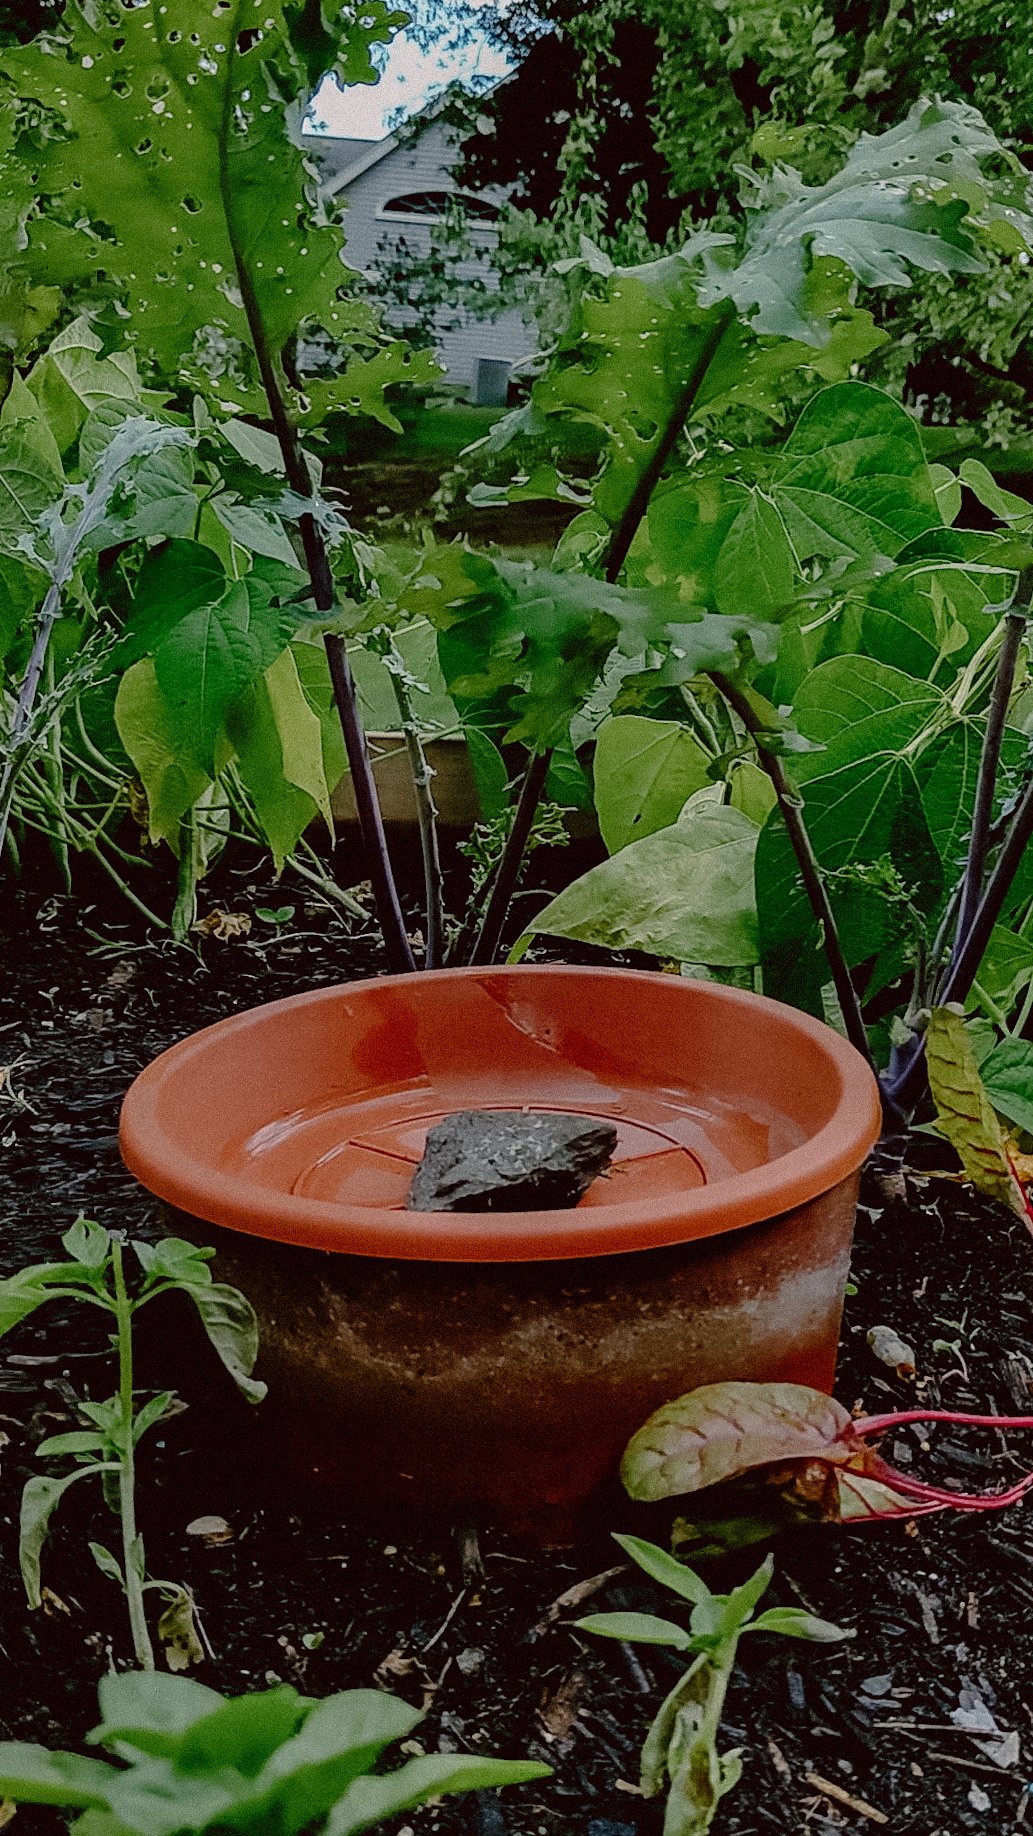
Olla (pronounced oya) means “pot” in Spanish, but the concept of using ollas as an irrigation system goes back thousands of years and has been used in countless cultures around the world. An olla watering system is basically an unglazed eight to ten inch terracotta pot that is buried beneath the soil with only a small amount sticking up above the surface and filled with water. The water then leeches out of tiny holes or “pores” in the unglazed clay and is pulled through the soil to the roots of your thirsty plants using a process called soil moisture tension. This functions much the same way as osmosis, in that the water is trying to equalize to a certain level of moisture within the soil. This means your soil will never become overwatered either - if the soil is moist, the water stays in the pot until it is needed. The downsides of DIYing a system like this are that it can be hard to identify true terracotta - and other types of clays have different properties that make them not as well suited for this job. Plus, you have to fill each one manually every 2-5 days depending on how hot it is and most importantly they take up a lot of room in the garden beds. But thankfully, with the Thirsty Earth system all of those cons are eliminated.
WHY SHOULD YOU USE A Thirsty Earth OLLA WATERING System?
Hauling around a watering can and standing with a hose for 45 minutes isn't exactly a walk in the park for everyone, especially folks like me with arthritis. This past spring, I was right in the middle of a flare-up when I planted my garden. I knew I needed a way to water my plants without turning myself into a pretzel!
Imagine this: you water your plants, but most of the water just sits on top and bakes away in the sun. olla watering systems stop that waste! The water seeps out of the pot slowly, right where your plants need it most - at their roots. This fancy trick can slash your water use by up to 61%. Less water wasted means a lighter water bill and a happier planet.
Olla watering systems aren't just about saving water, they're also all about growing healthy plants! Since the water seeps out underground, plant roots stretch out searching for that moisture. This makes them stronger and helps your plants stand tall. Olla watering systems also keep the leaves of your plants dry, making it harder for fungus and disease to spread. And the slow release of water means your plants get the perfect amount to drink, never too much.
Basically, olla watering systems create happy, healthy plants that can take on anything. But, each olla can only cover an area of about 2 feet all around it (depending on the system you use, but this is true for the ThirstyEarth ollas). So depending on the size and shape of your garden, you'll need to keep this in mind when choosing your olla placement.
Understanding Your Garden Layout
The first step in maximizing water efficiency with olla pots is to understand your garden's layout. Whether you have a small rectangular garden or a large, sprawling one, the size and shape will influence olla pot placement. Plus, different plants have varying water needs. Consider the types of plants you're growing and their spacing when placing olla pots. This could mean placing your thirstier plants like cucumbers and tomatoes (think anything that's super juicy to eat) closest to the ollas, so they get the most water. The amount of sun exposure your garden receives can affect water evaporation rates. Take sun exposure into account when positioning olla pots. If your garden is pretty shady, you won't need as many ollas as you would for a full sun garden. Soil type influences water retention and drainage, but ollas work in most soil types. In a heavy clay soil, you just may need a few extra. And don't worry if your garden is in ground or in raised beds or containers - ollas will work in any style of garden you're growing in. In fact, they're perfect for beds that tend to dry out really fast since they'll keep the water level much more consistent over time and eliminate the stress of leaving your garden when you go away on vacation!
Strategic Olla Pot Placement
Once you understand your garden's layout and unique characteristics, you can strategically place olla pots for optimal watering. In smaller gardens, for example a four by four foot square, placing your olla watering system in the center can provide adequate water distribution to all of surrounding plants in the garden bed. In one four by four foot square garden bed, you'll only need a single olla in the center since it can reach all the way around. Or, you can place one olla in the center of each corner for maximum water distribution in extremely dry climates.
For larger gardens, arranging olla pots in a grid pattern every two feet ensures consistent water availability throughout the space. Position olla pots between rows to provide water to multiple plants simultaneously and maximize your available planting space.
Olla Installation Tips
The perfect placement for your olla watering system won't be enough if they aren't installed correctly too. Ollas need to be buried right up to the top in order for the water to be deep enough to reach plant roots, so you'll have to dig down a bit. You should also consider mulching around olla pots with straw, wool or wood chips to help retain moisture and reduce water evaporation even further. Keep your olla pots clean and free of debris to ensure proper water flow and reduce the growth of fungus/mildew (it's harmless, but annoying), and regularly check soil moisture levels to adjust olla pot filling frequency as needed. You can check soil moisture by just sticking a finger about an inch down into the soil, no fancy moisture meter needed! With olla watering systems the soil may be dry on the surface which is fine, as long as you feel that moisture about an inch down below in a two foot radius from the ollas. But adding the layer of mulch can help to keep that top surface from becoming hydrophobic. Keep an eye on your reservoirs to make sure they aren't emptying out all the way since that can cause air to leak into the lines and keep in mind that weather will dictate how quickly those tanks empty, since the ollas will use less water during rainy season than a full on heat wave.
Thirsty Earth Olla Watering System Review

Since it can be hard to find genuine terracotta pots affordably in your area, and they take up a lot of space in the garden, the Thirsty Earth olla watering system can be a good compromise that allows you to actually hook up your ollas to an automatic rainwater harvesting system that will continuously refill your ollas for you on it’s own from free rainwater collected from your roof. Plus they are about the size of a water bottle, so they don’t waste precious planting space. I added the Thirsty Earth system to two of my raised beds, and since the system is super easy to customize to whatever garden bed configuration you have, you don’t have to worry about not having the right parts or enough pieces to get it done. The website does a great job of showing you exactly how to lay out the cotta cups and it’s made an already pretty hands-off system completely self-sustaining; water is collected from my roof into a 50 gallon barrel, flows automatically into reservoirs and down the irrigation tube into individual terracotta cups. Setup is easy thanks to the push to connect fittings that come with every kit. You just lay out your cups, cut the included tubing to size and connect everything with the fittings. No need to understand plumbing or any special building skills and you won't need any special tools either. Once everything is set up, you can leave it all summer and the reservoir will refill automatically from your rain barrel or you can manually refill it about once a week. I know it sounds too good to be true, but it really is that easy.
Other posts in this olla watering system series:
DIY OLLA WATERING SYSTEM INSTRUCTIONS
OLLA POTS FOR CONTAINER GARDENING
TROUBLESHOOTING OLLA POT PROBLEMS
