
Olla Pots for Container Gardening: A Guide for Balcony and Patio Gardeners
The Cottage Peach is reader-supported. When you purchase through links on our site, we may earn an affiliate commission at no additional cost to you. All opinions are our own.
If you're wondering if you can use ollas in a container garden, the answer is yes! Container gardening is perfect for those with limited space, but it comes with it's own unique set of challenges (including watering) that an olla watering system can help with. I love container gardening from an accessibility standpoint, because it makes it possible for a lot more people to grow their own food. But, container gardens dry out much faster than in ground garden beds since they can heat up faster and have less volume to hold excess water in reserve. Which means if you're not careful, all it takes is one hot day or a weekend away to damage your plants. That's pretty unforgiving! Having backup systems in place not only reduces plant stress but also reduces wasted water lost to surface evaporation, a huge problem for container gardens in general that warm up so fast. But how do you know you're choosing the right sized olla watering system for your container garden?
Choosing the Right Olla Pot for Your Container Gardens
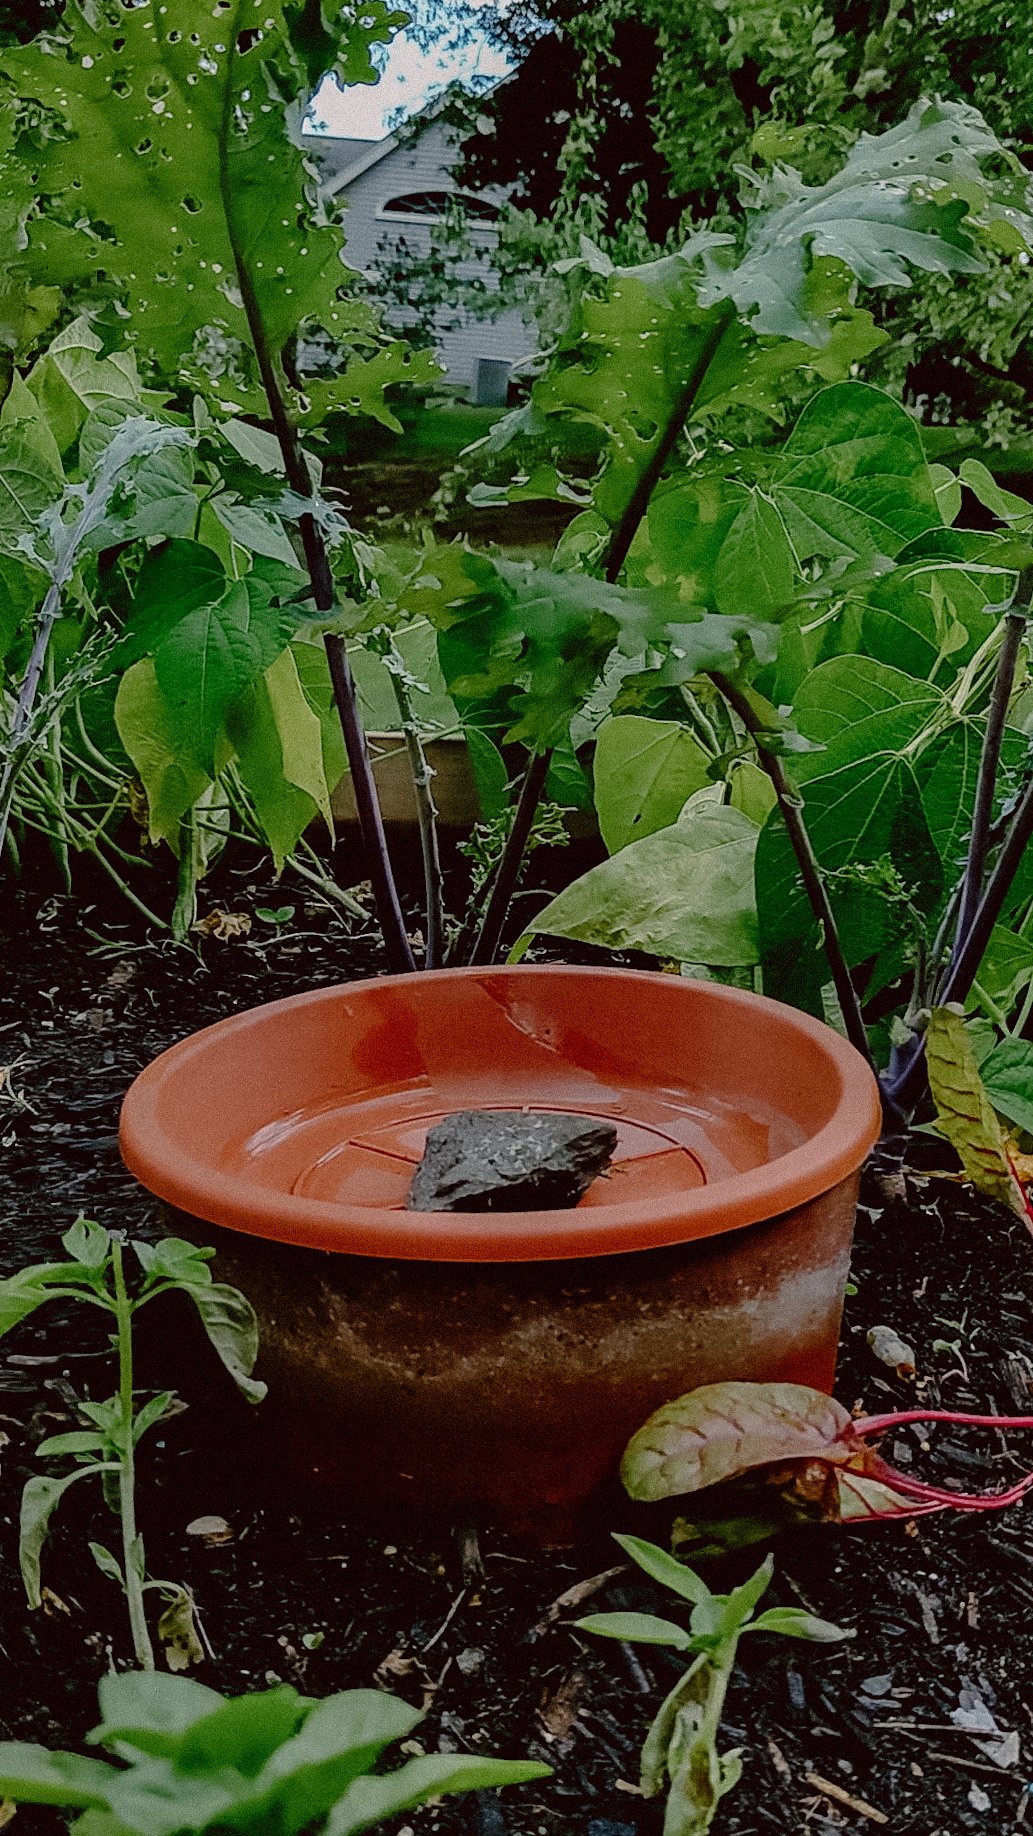
Upside down wine bottles and terracotta spikes aren't going to cut it. These fun gardening hacks may seem like the easy way out, but it comes at a cost. The upside down bottles don't regulate the flow of water based on the actual moisture content below the soil surface, which means it's easy to over water your plants. And terracotta spikes (while one step better than an upside down bottle) don't do the work ensuring optimal moisture distribution and root development since they are so small. My favorite olla watering system to use in container gardens is about the size of a water bottle, so it maximizes surface area while leaving the most amount of room for your plants around it - super important to consider in the limited space of a container garden.
Soil Selection for Olla Watering System Container Gardens
While olla watering systems are effective in any type of soil, in a container garden you can give your plants a leg up by choosing the right kind of soil since drainage is so much more important in a container garden to prevent water logging and promote healthy plant growth. Choose a high quality potting mix with as much organic matter as possible and a slow release fertilizer - container gardens require a lot more added nutrients to survive since they are cut off from the natural microbiome of in ground soil, but we want something light and fluffy that allows for good drainage if there's a heavy rain storm that still holds moisture well in dry seasons, so make sure it has a good amount of coco coir too (or peat moss, but that's less sustainable).
The Best Plants for Olla Pot Container Gardens
The good news is, even plants that normally don't thrive in container gardens will often perform better with the addition of an olla, as it eliminates a lot of the stress plants face when grown in containers. Experiment and see what works for you!
Guide to Planting with Olla Pots in Containers
Using an olla watering system in a container garden is pretty straightforward, but I do recommend starting with your soil and olla before adding plants. For any container under twenty four inches, you'll only need a single olla to keep the entire container well watered. But it should be placed directly in the center of the container to provide the most even amount of moisture throughout the whole pot. Once your container is full of soil, simply dig out a hole in the center so that your olla can rest flush with the surface of the soil - we want the olla to be almost completely buried so it's making the most contact with the soil possible and doesn't dry out. Then, add your plants around the olla, keeping the thirstiest plants like cucumbers or tomatoes closest to the olla.
Maintenance and Troubleshooting for Olla Pot Container Gardens
One of the most common concerns with olla water systems is preventing algae growth. But since ollas are made of terracotta, they keep the environment inside of the olla dark and cool - which algae doesn't like. So it typically isn't an issue. You may notice harmless moss, mildew or fungus growing on the outside of your olla as it ages. This should not affect the olla's performance, but you can scrub it off periodically with a diluted vinegar mixture.
Another concern is whether ollas are a breeding ground for mosquitoes. All the ollas I use in my garden have closed lids, so mosquitoes cannot access the water inside to lay their eggs. If your olla watering system is open for some reason, you can add mosquito dunks to the water to terminate the eggs and keep them from hatching. Mosquito dunks are made from BTI and totally safe to use in garden beds where you are growing food.
If you normally introduce fertilizer to your garden through your hose system, the good news is you can simplify that process using ollas as well by adding the liquid fertilizer directly into the olla itself.
WHAT IS AN OLLA WATERING SYSTEM?
Olla (pronounced oya) means “pot” in Spanish, but the concept of using ollas as an irrigation system goes back thousands of years and has been used in countless cultures around the world. An olla watering system is basically an unglazed eight to ten inch terracotta pot that is buried beneath the soil with only a small amount sticking up above the surface and filled with water. The water then leeches out of tiny holes or “pores” in the unglazed clay and is pulled through the soil to the roots of your thirsty plants using a process called soil moisture tension. This functions much the same way as osmosis, in that the water is trying to equalize to a certain level of moisture within the soil. This means your soil will never become overwatered either - if the soil is moist, the water stays in the pot until it is needed. The downsides of DIYing a system like this are that it can be hard to identify true terracotta - and other types of clays have different properties that make them not as well suited for this job. Plus, you have to fill each one manually every 2-5 days depending on how hot it is and most importantly they take up a lot of room in the garden beds. But thankfully, with the Thirsty Earth system all of those cons are eliminated.
WHY SHOULD YOU USE A Thirsty Earth OLLA WATERING System?
Hauling around a watering can and standing with a hose for 45 minutes isn't exactly a walk in the park for everyone, especially folks like me with arthritis. This past spring, I was right in the middle of a flare-up when I planted my garden. I knew I needed a way to water my plants without turning myself into a pretzel!
Imagine this: you water your plants, but most of the water just sits on top and bakes away in the sun. olla watering systems stop that waste! The water seeps out of the pot slowly, right where your plants need it most - at their roots. This fancy trick can slash your water use by up to 61%. Less water wasted means a lighter water bill and a happier planet.
Olla watering systems aren't just about saving water, they're also all about growing healthy plants! Since the water seeps out underground, plant roots stretch out searching for that moisture. This makes them stronger and helps your plants stand tall. Olla watering systems also keep the leaves of your plants dry, making it harder for fungus and disease to spread. And the slow release of water means your plants get the perfect amount to drink, never too much.
Basically, olla watering systems create happy, healthy plants that can take on anything. But, each olla can only cover an area of about 2 feet all around it (depending on the system you use, but this is true for the ThirstyEarth ollas). So depending on the size and shape of your garden, you'll need to keep this in mind when choosing your olla placement.
Thirsty Earth Olla Watering System Review

Since it can be hard to find genuine terracotta pots affordably in your area, and they take up a lot of space in the garden, the Thirsty Earth olla watering system can be a good compromise that allows you to actually hook up your ollas to an automatic rainwater harvesting system that will continuously refill your ollas for you on it’s own from free rainwater collected from your roof. Plus they are about the size of a water bottle, so they don’t waste precious planting space. I added the Thirsty Earth system to two of my raised beds, and since the system is super easy to customize to whatever garden bed configuration you have, you don’t have to worry about not having the right parts or enough pieces to get it done. The website does a great job of showing you exactly how to lay out the cotta cups and it’s made an already pretty hands-off system completely self-sustaining; water is collected from my roof into a 50 gallon barrel, flows automatically into reservoirs and down the irrigation tube into individual terracotta cups. Setup is easy thanks to the push to connect fittings that come with every kit. You just lay out your cups, cut the included tubing to size and connect everything with the fittings. No need to understand plumbing or any special building skills and you won't need any special tools either. Once everything is set up, you can leave it all summer and the reservoir will refill automatically from your rain barrel or you can manually refill it about once a week. I know it sounds too good to be true, but it really is that easy.
Other posts in this olla watering system series:
DIY OLLA WATERING SYSTEM INSTRUCTIONS
OLLA POTS FOR CONTAINER GARDENING
TROUBLESHOOTING OLLA POT PROBLEMS
