
BACKYARD GARDENING MADE SIMPLE

Vegan stuffed butternut squash recipe
Butternut squash is a really versatile ingredient. It can be roasted, stuffed, boiled, sautéed, mashed, or twice baked, and it’s delicious in both sweet and savory dishes. Whether you’re making pumpkin pie or beef stew, the sweet, nutty flavor of butternut is always a welcome addition.
The Cottage Peach is reader-supported. When you purchase through links on our site, we may earn an affiliate commission at no additional cost to you. All opinions are our own.
Why Eat Butternut Squash?

Many varieties of squash have been eaten for thousands of years, but butternut squash didn’t make it to grocery stores until the 1940’s. Since that time, it has become a staple of the American diet and a traditional Thanksgiving food.
Known as butternut pumpkin in Australia and New Zealand, butternut squash can be used to substitute for pumpkin when baking a pumpkin pie or pumpkin bread.
Butternut squash is a really versatile ingredient. It can be roasted, stuffed, boiled, sautéed, mashed, or twice baked, and it’s delicious in both sweet and savory dishes. Whether you’re making pumpkin pie or beef stew, the sweet, nutty flavor of butternut is always a welcome addition.
Butternut is not a stringy squash, which makes it useful for recipes that require a pureed squash, such as lasagna.
Is Butternut Squash Healthy?
Yes! Butternut squash is a low-calorie source of vitamin A, potassium, vitamin C, fiber, vitamin B-6, vitamin E, thiamin, niacin, folate, and manganese.
It aids in digestion, and is beneficial to our blood pressure, skin, and hair, among other things.
Is Butternut Squash a Vegetable?
Butternut squash is one of those fruits we call, and treat as, a vegetable. So while botanically speaking it is a fruit, in common usage it’s fine to refer to it as a vegetable.
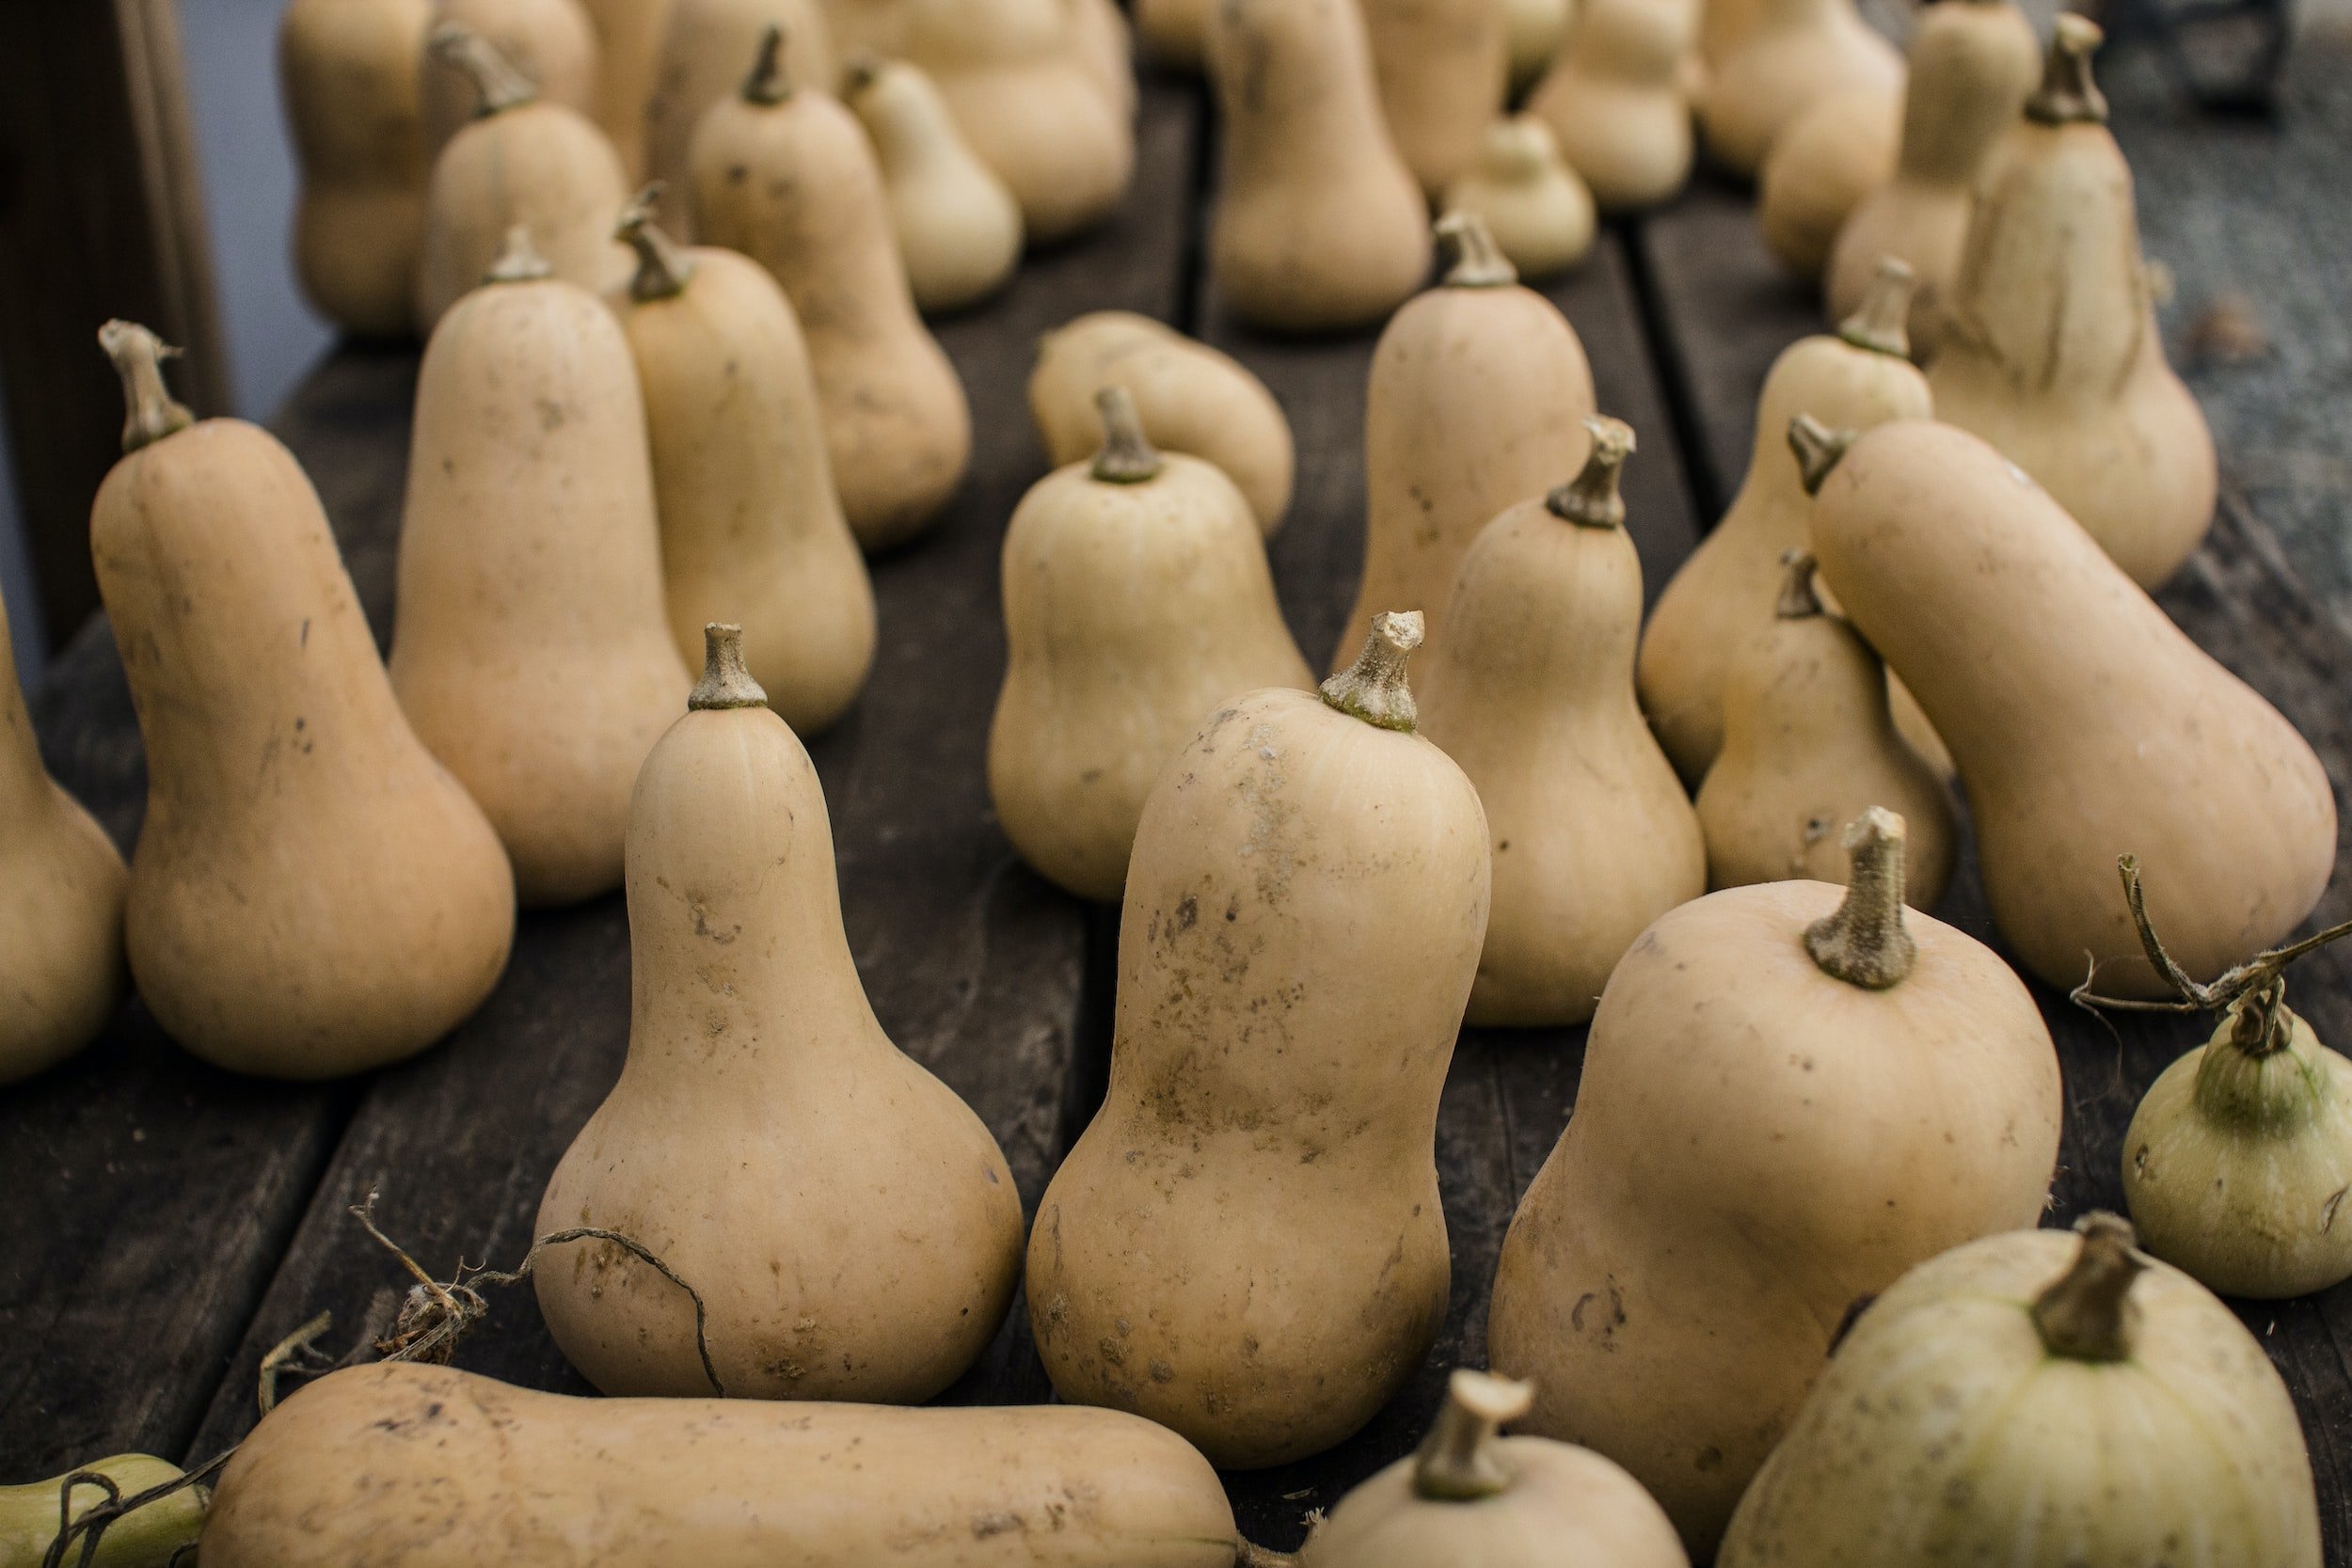
How to Choose a Butternut Squash
The best time to buy butternut squash is from September to November, as it will be freshly harvested. If possible, visit your local farmer, but if that’s not an option for you, butternut squash is readily available in grocery stores.
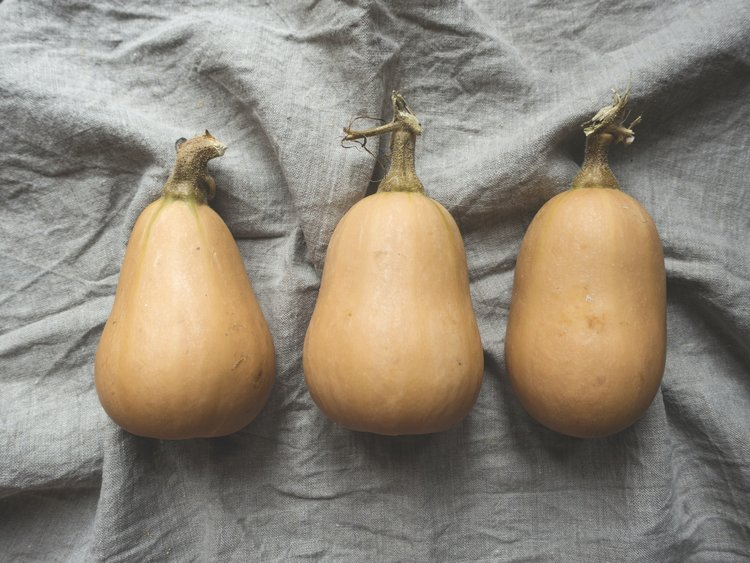
Butternut squash is peanut shaped, with beige skin and an orange interior.
When choosing a butternut squash, pick one that is heavy for its size and feels firm. Be sure it has a smooth, hard skin without any bruises or blemishes. The skin should not be easy to scrape with a fingernail.
The stem of the butternut squash should be dry and tan. If it’s not, it was picked too early and the flavor will be lacking.
If you’re buying butternut squash to use in a pumpkin pie recipe, keep in mind that one pound of butternut will yield about two cups of squash.
Pre-cut butternut squash is more expensive than buying a whole, un-cut butternut, but some people don’t have time, or are intimidated by the thought of peeling and chopping the squash themselves. While butternut squash is a bit trickier to peel, solely because of its shape, it is easy to get the hang of, and there are ways to make it an easier process.
How to Peel a Butternut Squash
There are three basic ways to peel a butternut squash.
Peeling a whole butternut squash
The first way is simply to use a sharp chef’s knife or peeler to remove the skin. To do so, cut off the bottom of the squash so it can sit flatly on your cutting board.
If you think the curve in the squash is going to cause you trouble, you can cut the neck from the curve and peel them separately.
If using a knife, hold the squash against the cutting board with one hand, and with the other slide the knife from the top to the bottom. You may remove a bit of butternut meat this way, but not so much as to be a problem. And the more you practice, the less you will lose.
Using a peeler is self-explanatory, I think! You may have better luck using shorter strokes than you would for a potato.
Microwaving a whole butternut squash for peeling
Microwaving a whole butternut squash can make it easier to peel.
To microwave butternut squash, first cut off the ends of the squash, then either make slits with a knife or poke it all over with a fork. This will allow steam to escape, which is important if you don’t want a messy explosion in your microwave.

Set the microwave for 3-5 minutes.
Let the squash sit for a minute or two to cool off a bit, then pull the skin away with a knife or your hands.
Boiling a whole butternut squash for peeling
To boil a whole butternut squash for peeling, put your squash in a large pot and cover it with water. Bring the water to a boil, and let it simmer for 4-5 minutes, until you can pull the peel away from the squash.
Can You Eat Butternut Squash Skin or Seeds?
All parts of a butternut squash are edible. The seeds can be eaten raw or roasted as you would pumpkin seeds. The skin is rich in vitamins and fiber.
Butternut skin can be a bit tough depending on how you cook it. The skin of a slow-cooked squash will be soft, but on a roasted squash it can become unappetizing.
The skin of butternut squash can also be a little bitter, but if prepared well, by slow-cooking and seasoning it, it will taste very similar to the squash itself.
If you peel your butternut squash, you can bake the peelings with olive oil and seasonings for a butternut chip.
How to Cut a Butternut Squash
Once you have peeled your squash, place the cut, bottom edge on your cutting board and slice the squash in half lengthwise.
Use a metal spoon to scrape the seeds and any strings from the center of the squash.
You can then chop it to your desired size. Larger pieces will take longer to cook, of course. The important thing is that the pieces are consistent in size, so they will cook evenly.
How to Roast Butternut Squash
Roasting butternut squash will give it a much richer flavor than boiling it would.
To roast a butternut squash, you do not need to peel it. Simply cut it in half lengthwise, remove the seeds, and place the two halves of the squash on a cookie sheet.
If you want to add flavorings (brown sugar, butter, and a bit of vanilla is a favorite around here) put the squash cut-side up and fill the cup where the seeds were.
If you are roasting your butternut to puree or for the baked stuffed squash recipe below, place the cut sides down.
How to Store Butternut Squash
Butternut squash is harvested in the fall, but you can keep it throughout the winter very simply, or prep it to use in a few days' time.
Storing uncooked, peeled butternut squash:
If you’d like to prep your squash a few days before cooking with it, it will keep for 5 days in an airtight container in the refrigerator.
Storing whole butternut squash in a cool, dark spot:
The skin on butternut squash is fairly thick, which allows us to store it without refrigeration. Butternut squash stores best in a dark, dry place that’s about 50 degrees.
It can keep for months. To prolong that period, do not store them with any other fruits, as some fruits emit ethylene gas, which can cause rot.
Check your squash periodically to be sure no bruises or blemishes have appeared, and that the squash is still firm.
Freezing butternut squash:
Butternut squash can be frozen raw or cooked.
Freezing raw butternut squash:
While you can freeze it whole, it will be much easier to use with a bit of preparation before freezing.
Peel your butternut squash and remove the seeds. You can freeze the peeled halves, or chop your butternut into cubes. If you cut it into cubes, lay them on a cookie sheet in the freezer for 2 hours, then transfer to a freezer-safe, airtight container.
Freezing cooked butternut squash:
The best way to freeze cooked squash is to puree it first. Put your cooled puree in a freezer-safe, airtight container. Let the squash thaw in the refrigerator before using it.
Recipe: Vegetarian Baked Stuffed Squash
Vegan Stuffed Butternut Squash
Ingredients
- 1 cup cooked quinoa
- 1 Tbsp olive oil
- 1 package Beyond Beef
- 1 Tbsp soy sauce
- 2 cloves garlic, minced
- ⅓ cup cup sun dried tomatoes
- 2 cups loosely packed chopped swiss chard
- 1/2 cup roughly chopped pumpkin seeds (optional)
- 1 large butternut squash, halved lengthwise, seeds removed
- 1 Tbsp olive oil
- 2 Tbsp maple syrup
- 1/4 tsp ground cinnamon (optional)
- 1 healthy pinch sea salt
Instructions
- Preheat oven to 400F degrees
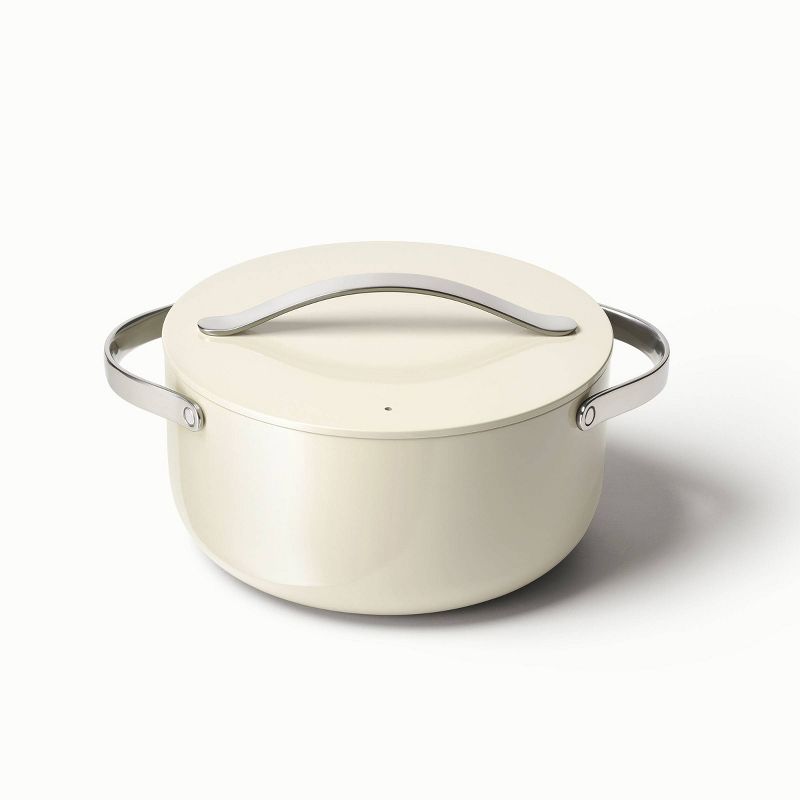
- Line your dutch oven with parchment paper
- Cut your butternut squash in half lengthwise.
- Remove the seeds with a sharp edged spoon or melon baller. Brush the squash with olive oil, maple syrup, cinnamon (optional), and salt. Place cut-side down in your Dutch oven.
- Bake squash for 15 minutes, then flip the squash over to cut-side up. Bake for another 30-45 minutes (sometimes more depending on the size of your squash), or until a knife easily pierces the thickest part of the squash.
- Sauté your cooked quinoa over medium heat to crisp and brown. Add half of the soy sauce. Remove from the skillet and set aside.
- To the still hot skillet add the beyond beef and the other half of the soy sauce. Sauté for 8-10 minutes, or until browned. Then add garlic, sun dried tomatoes, swiss chard and pumpkin seeds(optional) and sauté for another 1-2 minutes or until chard is just wilted. Add quinoa back to the pan and toss to coat. Set aside.
- Once your squash is roasted, place cut-side up in the Dutch oven and fill to the brim with quinoa filling. Then place back in the oven to roast for another 5 minutes.
- Top with optional chives/green onion and balsamic glaze.
- Store leftovers covered in the fridge for 4-5 days. Reheat in a 350F oven until hot.
Nutrition Facts
Calories
306.52Fat
12.39Sat. Fat
1.86Carbs
46.03Fiber
7.09Net carbs
38.95Sugar
14.37Protein
8.56Sodium
312.29Cholesterol
0.18

Recipe: Mulled Apple Cider
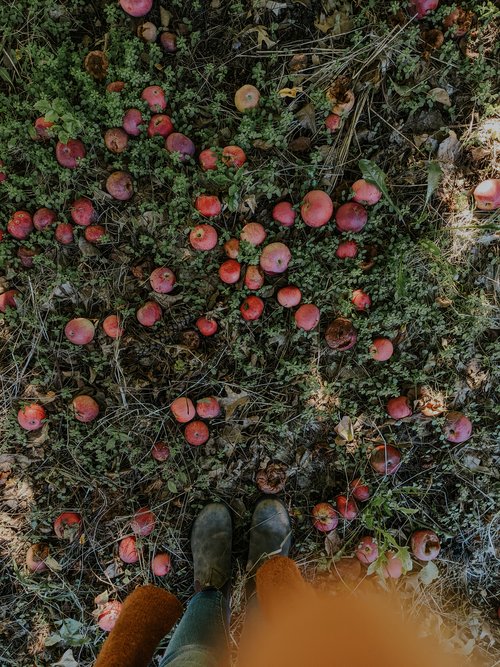
As the days of apple-picking fade away, local farm stands are still stocking their shelves with the rich taste of fall in the form of fresh pressed apple cider waiting to be transformed into a hot mulled cider beverage made for fall days. November is a time to begin intentionally seeking connection with family and friends, and oftentimes that connection comes over the stovetop, making mulled cider together as the warm scent of apples fills your home.

The Cottage Peach is reader-supported. When you purchase through links on our site, we may earn an affiliate commission at no additional cost to you. All opinions are our own. Products in this post were gifted.
Apple picking in our family often ends with us clutching blazing hot to-go cups of apple cider in an attempt to warm our numb fingertips while we sit between the apple trees, burning our tongues on the first sips impatiently taken before our mugs have a chance to cool. The bees are drawn to the sweet smell surrounding us and we listen to their buzzing song as we watch the people around us climb atop each other’s shoulders to reach the best apples at the very top of the tree.
As the days of apple-picking fade away, local farm stands are still stocking their shelves with the rich taste of fall in the form of fresh pressed apple cider waiting to be transformed into a hot mulled cider beverage made for fall days. November is a time to begin intentionally seeking connection with family and friends, and oftentimes that connection comes over the stovetop, making mulled cider together as the warm scent of apples fills your home.
How is apple cider different from apple juice?
According to Southern Living, “Apple cider is fresh, unfiltered, and often unpasteurized. It's also considered a seasonal drink and can be hard to find outside of the autumn months. Apple juice, on the other hand, is filtered and pasteurized, which gives it a longer shelf life, a sweeter taste, and a smoother texture.” so, it’s safe to say that apple cider is NOT the same as apple juice.
To me, there is no comparison between apple cider and apple juice. Apple juice is, at best, the bland counterpart of the richly flavored and fresh apple cider. I almost never keep apple juice in our refrigerator, but if apple cider were available year round I can almost guarantee a jug or two would find its way into my cart each time that I shop.
The taste of apple cider is much fuller and richer than apple juice. Apple cider tastes just like eating a whole apple, with a bit of extra tanginess from the oxidation process.
Why is apple cider brown?
Apple cider is brown because of enzymatic (polyphenol oxidase) reactions that occur in the presence of oxygen. Tiny apple solids floating in the juice turn color when exposed to air, giving cider that gorgeous caramel color and opaque look. Just like an apple begins to brown once it is cut, cider turns brown as the apples are pressed in the apple presser and are exposed to oxygen. This reaction also contributes to the depth of flavor that is present in apple cider.

On a related note, if you are slicing apples for a garnish tray to serve beside your mulled cider and need to keep them from browning before your guests have a chance to dig in all you need to do to keep your apples from turning brown is to soak the cut fruit in a saltwater solution (half a teaspoon of kosher salt per cup of water) for 10 minutes, then drain and store until ready to use. I promise you can’t taste any lingering saltwater flavor at all!
How is apple cider made?
Traditionally, apple cider is made at your local orchard by pressing fresh apples in an apple press, which crushes the apples into a mash or pulp. There are a variety of different styles of apple presses, from small countertop units you can operate by hand to professional grade equipment used by larger operations.
Can you make apple cider at home?
Yes! Many people use their countertop juicing appliance to make fresh apple cider at home. Since the resulting product is unfiltered and unpasteurized, it is considered cider even though you are using a juicer to make it. If you don’t have a juicer, you can throw your chopped apples in a blender and then strain out the pulp using cheesecloth. To make hot apple cider just transfer the strained cider to a sauce pan and heat on medium low until warm.
Why should you buy local cider?
The reasons to purchase your apple cider from a local farm are endless. Your local farm will almost certainly carry apple cider in the fall, whether they have an orchard and press of their own or partner with another local farm that may be further afield. Farms rely on seasonal income from fall activities like hayrides and corn mazes to keep themselves afloat during the winter months when their income is severely reduced or eliminated completely, so supporting your local farm all the way up until their closing date by purchasing any items for your fall activities from them can be a great help. When we buy local produce and groceries, we can be certain that the products on the shelves are as fresh as can be and generally of a much higher quality than is available in the supermarket.
Mulled cider spices
My favorite thing to do with my local apple cider is to make a big pot of hot mulled cider on the stovetop. This not only results in a delicious drink to gather around and share with all of your friends and family, but fills the space with a warm and cozy aroma.
When I’m feeling too achy and fatigued to participate in more involved fall traditions and cooking, mulling cider is a mostly hands-off way I can celebrate the autumn season without draining myself of my limited energy. Since I’m always looking for ways to enjoy seasonal living while being mindful of my own limitations living with chronic illness, mulled apple cider is the perfect way to respect my capabilities.
Hot mulled apple cider is special, because we only get to enjoy it for a small window of time each season. Let this be a drink that opens the door to celebrating seasonal living this fall in your home. This scent experience can be enhanced by incorporating different combinations of spices and fruits into your spiced cider recipe. This is a case where more is definitely more, so don’t feel the need to hold back in creating your flavor combinations.
Some spices and fruits to consider using in your hot mulled cider beverage:

Whole cloves
Cinnamon sticks
Allspice berries
Fresh ginger
Star anise
Allspice
Nutmeg
Cardamom pods
Coriander
Oranges
Lemon
Cranberries
Apples
So why should you make mulled cider on the stovetop rather than the slow cooker? While I encourage you to utilize whatever cooking methods you need to in order to support your own body’s limitations, I consider the stovetop version to be an easy way to practice some mindfulness in my day. Simmering your hot apple cider on the stovetop forces you to pause and be present. Sometimes, coming off of autopilot is the best way to fully appreciate the brief beauty of fall in all its glory before it is time to move on to our long winter. So, pull up a chair if you need to, chop your fruits at the table while sitting down and truly allow yourself to savor the experience - from the fresh scent of citrus as your knife cuts into the rind, to the crunch of apples slicing.
Of course, when you’re finished making my best mulled cider recipe, the mug you choose to enjoy it in can be equally as important in determining how cozy of an experience you create. I like to put out an array of handmade ceramic mugs for my guests to choose from, alongside a tray with additional fruits they can add as a garnish to their drink. Make this mulled cider as the perfect refreshment for your Thanksgiving gatherings!
What does “mulled” mean?
To mull cider means to heat, sweeten, and flavor with spices for drinking. You can also mull ale, and wine. Changing the temperature of your beverage and adding spices increases the depth and complexity of flavor, as well as adding a warming element to bring coziness to your gathering.
How long does mulled cider keep?
You can cool and refrigerate your mulled cider for up to 3 days to be reheated another time. You should not keep it in a sealed bottle - since apple cider is usually not pasteurized it may ferment and cause the bottle to explode.
How to make mulled cider
Hot Mulled Apple Cider Recipe
Ingredients
- 1 gallon apple cider
- 2 Apples, sliced
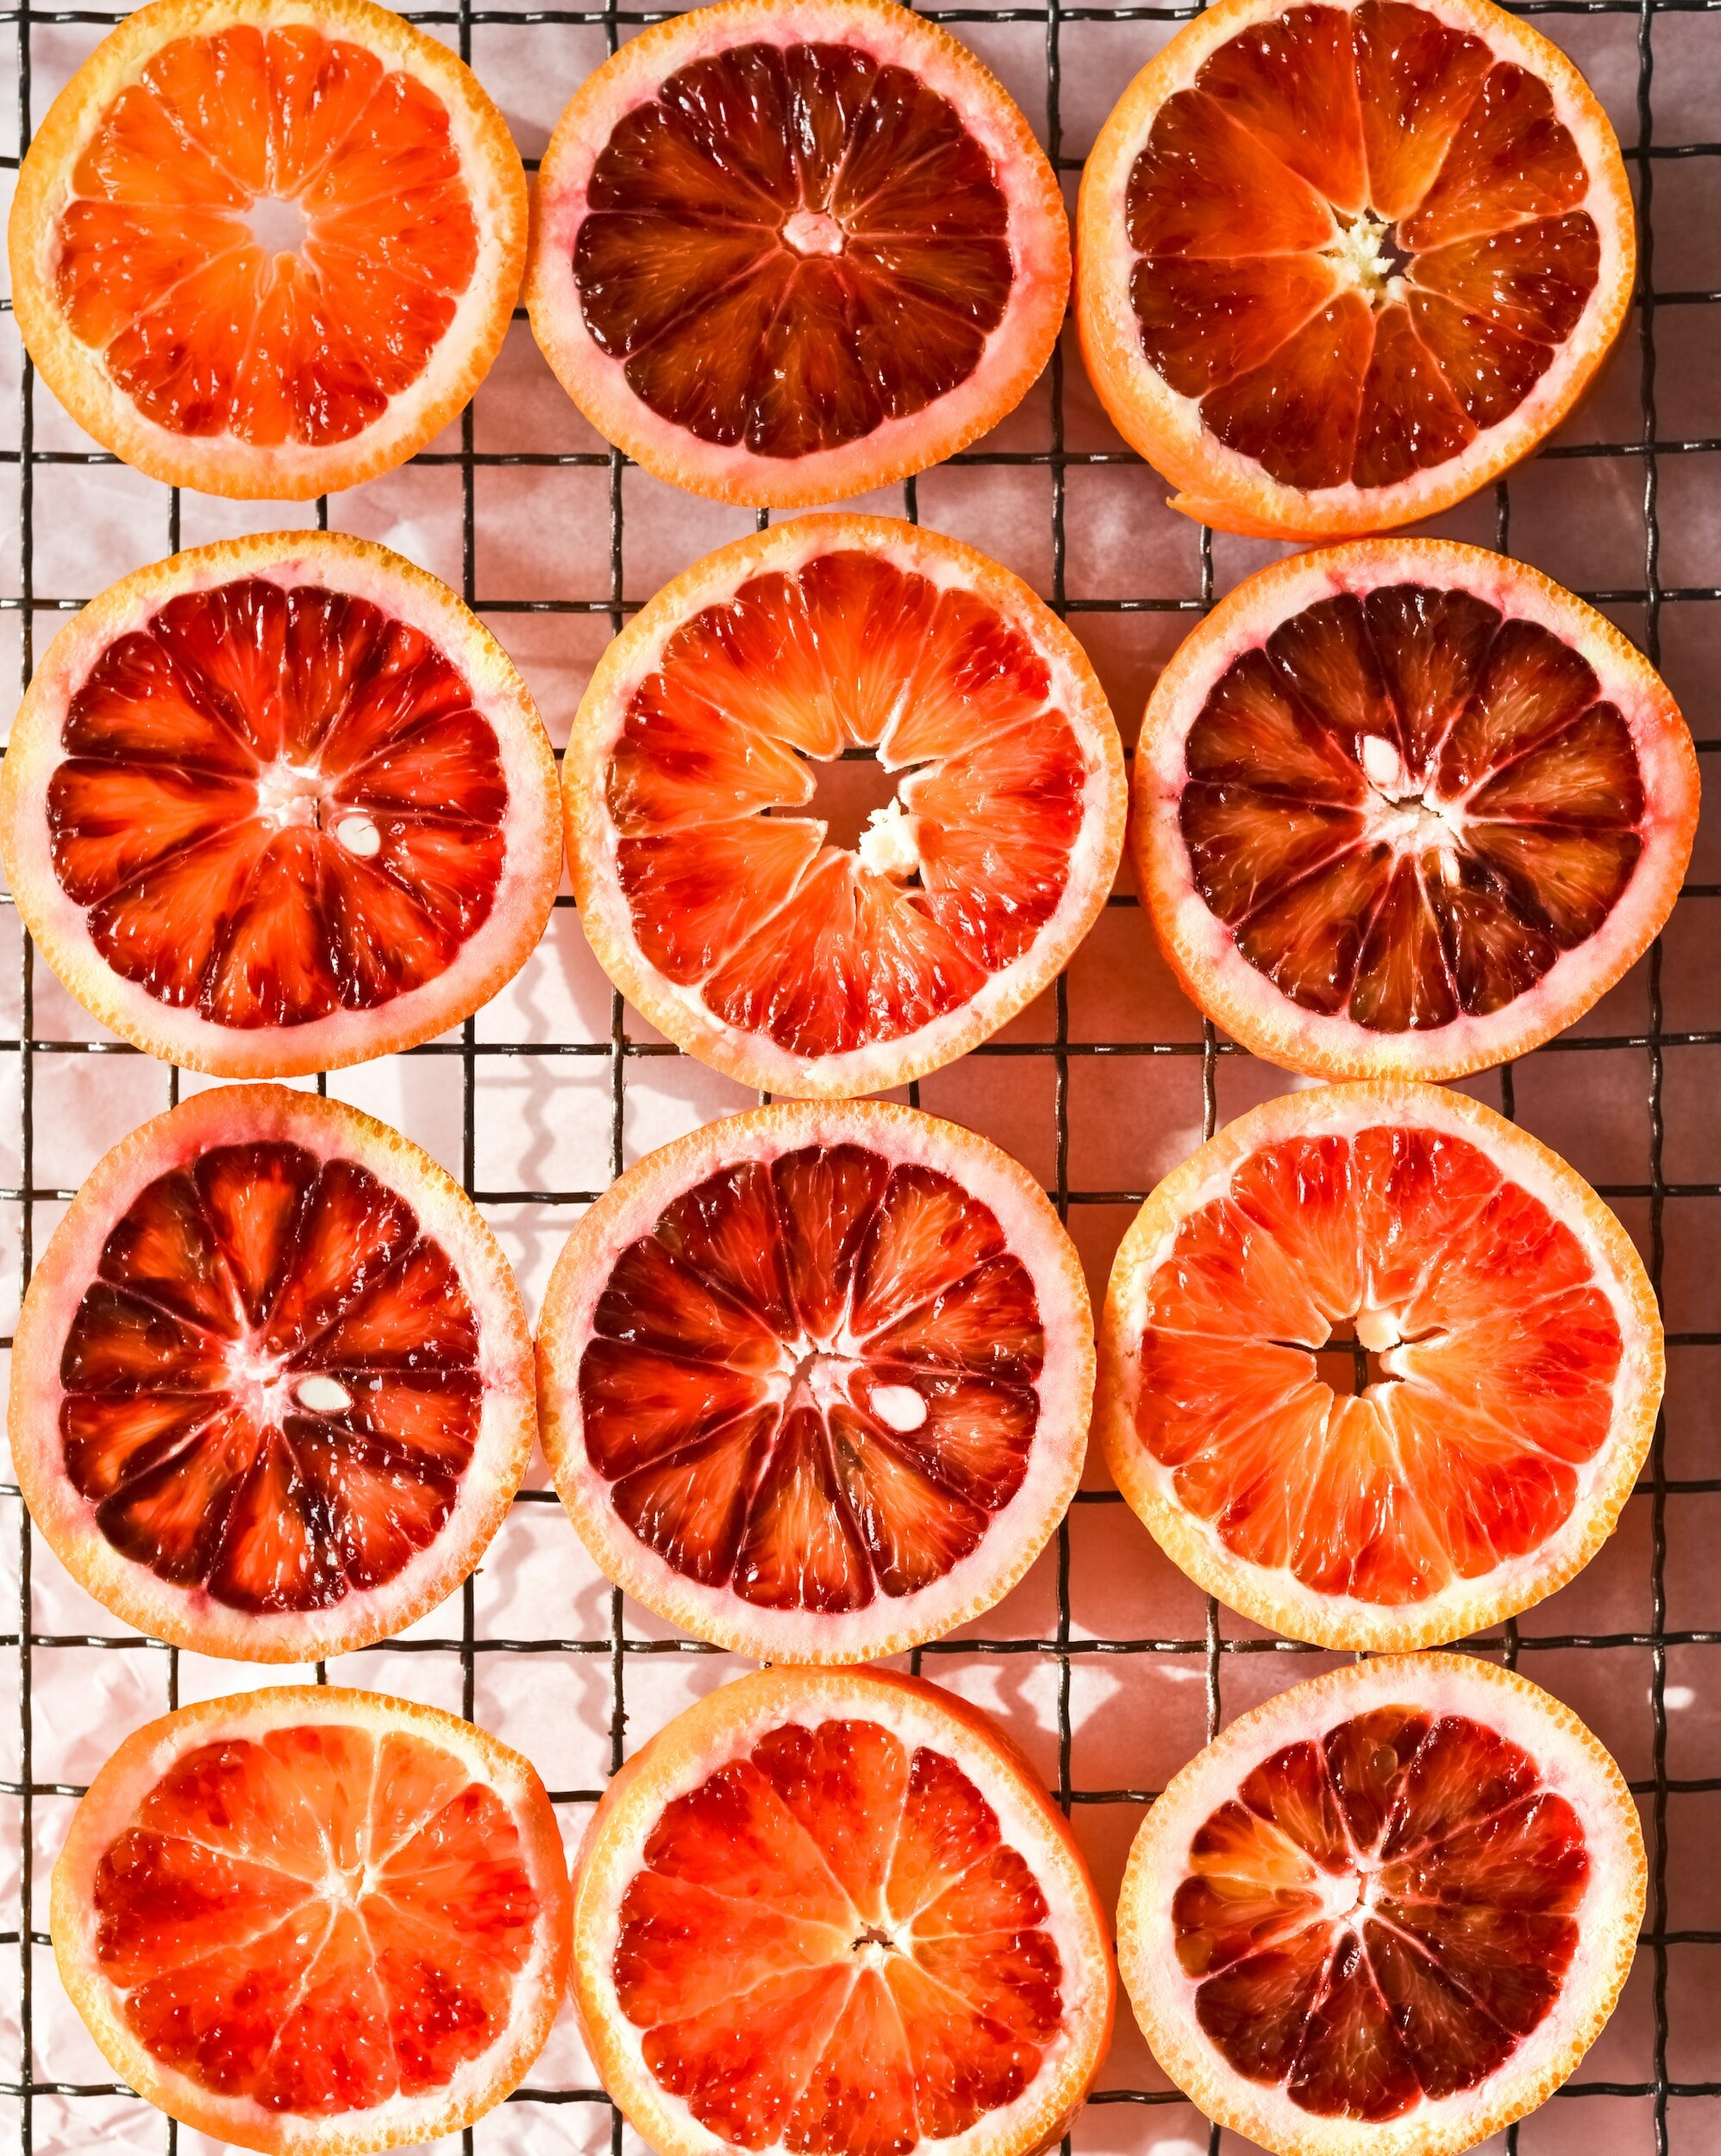
- 1 Orange, sliced
- ½ Cup cranberries (fresh or frozen is fine)
- ½ cup maple syrup
- 2 tbsp lemon juice
- 4 cinnamon sticks
- 8 whole cloves
- 8 whole cardamom pods
- Large dutch oven or soup pot
- Wooden spoon
- Knife
- Cutting board
Instructions
- Measure out your spices into the bottom of the Dutch oven and toast them on low for one minute to bring out the flavors, being careful not to burn.
- Slice the orange and apples.
- Add the fruit and apple cider to the Dutch oven and bring to a simmer. You don’t want to turn the heat too high as it may cause the cider to separate (this won’t affect the taste just the appearance)
- Cider can be mulled at a low temperature for up to 4 hours or at a simmer for about 1 hour, depending on your preference.
- Ladle into festive glasses or mugs and enjoy with fruit and cinnamon sticks to garnish!
Nutrition Facts
Calories
178.7Fat
1.16Sat. Fat
0.34Carbs
39.58Fiber
2.11Net carbs
37.45Sugar
32.13Protein
3.66Sodium
21.68Cholesterol
9.18
![Is Herbal Academy Worth It? + Lavender Oat Scrub Recipe [Review]](https://images.squarespace-cdn.com/content/v1/60e85024dc86d643da81c96a/1e2b68ed-7192-42b7-9bcc-28c0a20c43bb/October+by+The+Cottage+Peach-65.jpg)
Is Herbal Academy Worth It? + Lavender Oat Scrub Recipe [Review]
Aside from its lovely scent, lavender’s anti-inflammatory, antimicrobial, and antifungal properties make it an incredibly useful plant for our skin.
It can soothe and calm skin, help fight acne, and even help heal minor cuts and burns. It is useful for rashes and skin irritations caused by medical conditions such as psoriasis, rosacea, and eczema. Some studies have shown that the antioxidants in lavender may even help to reduce wrinkles.
The Cottage Peach is reader-supported. When you purchase through links on our site, we may earn an affiliate commission at no additional cost to you. All opinions are our own.
Herbal Academy Botanical Skincare Course
This fall, Herbal Academy generously gifted me the opportunity to become a student and experience their Botanical Skincare Course. I have been passionate about using natural products in my skincare routine for many years now, and this was the perfect opportunity to take a deep dive into learning all about making my own DIY skincare products using natural ingredients.
What does the Herbal Academy Botanical Skincare course include?
The Botanical Skincare Course from Herbal Academy has everything you need to begin making your own natural skincare products at home. The course is separated into three units - unit one covers the anatomy and functions of the skin, providing a detailed but understandable scientific overview of exactly what and how our skin works. Some of this information will probably be common knowledge, but I found the included illustrations, charts and graphs extremely helpful.
Unit two covers skincare from the inside, offering a comprehensive holistic approach to skincare that went further than I expected a skincare course to go. But this is exactly what makes the Herbal Academy courses so special - rather than just throwing a bunch of great recipes your way and leaving you to fend for yourself, this unit really cements the importance of whole body care and all the ways that how we eat and live impact our skin health, with great tips for aiding digestion as well.
This unit also covered alternative wellness practices from other cultures including ayurveda and chinese medicine - these are of less interest to me personally, as I try to align my herbalism with my own celtic culture and avoid appropriating other cultures in my practice. I found it off-putting that the module on Chinese medicine in particular did not take the opportunity to feature an instructor from the Chinese community in the lesson - while the white male instructor seems to be very knowledgeable and qualified, I would have loved to see better cultural representation in this unit.
Unit three covers skincare recipe formulation and more of the technical creation of actual recipes. To be honest, I was so pleasantly surprised by how much the course included - for how small of an investment this course is, I would have been happy with just the content in unit three, so the other two units really felt like a huge bonus. You have access to the online coursework for one year after you activate it, but each unit offers the option to download a PDF version of all the content within the course to access indefinitely. The downloadable PDFs alone are over 600 pages of course material, so this one will keep you busy for a good long time!
Is the Botanical Skincare Course for beginners?
This course would be great for herbalists of all levels who are looking to expand their knowledge and explore natural skincare product creation. There is a good mix of basic to intermediate content.
Is Herbal Academy Worth It?
Yes, I feel Herbal Academy is definitely worth the investment. You can click here to enroll in the course. You’ll have the option to purchase the companion book alongside the course - I highly recommend you do so, as the book alone is packed with recipes that you’ll want to try during and after completing the course.
Since lavender is one of my favorite plants to grow and to work with, I decided to make the lavender oat scrub from the companion book that goes along with the course. You can purchase this book separately from the course, but together with the course you are able to really dive deep into the methods and skills needed to make your own non-toxic skincare products.
What Are the Benefits of Using Lavender on Your Skin?
Aside from its lovely scent, lavender’s anti-inflammatory, antimicrobial, and antifungal properties make it an incredibly useful plant for our skin.
It can soothe and calm skin, help fight acne, and even help heal minor cuts and burns. It is useful for rashes and skin irritations caused by medical conditions such as psoriasis, rosacea, and eczema. Some studies have shown that the antioxidants in lavender may even help to reduce wrinkles.
Lavender Essential Oil
Lavender essential oil has a long history as a medicinal treatment. It is important to make the distinction between lavender oil and lavender essential oil. Lavender oil is purely a scent, while lavender essential oil is what we want for medicinal or herbal usage.
Lavender essential oil is made by steaming dried lavender flowers. The heat of the steam releases the oils from the blooms.
Uses for Lavender Essential Oil
Aside from home uses, studies have proven that lavender essential oil can increase the effect of antiseptics commonly used to combat staph infections for patients who are having surgery.
At home, the antiseptic and anti-inflammatory properties of lavender essential oil can help cuts and burns heal faster and fight infection. It is very soothing for sunburn and insect bites, as well.
As an antifungal and anti-inflammatory, lavender essential oil can reduce the inflammation caused by eczema and help treat psoriasis, while helping to balance your skin’s moisture barrier.
One unexpected use for lavender essential oil is to prevent and treat acne. It may seem that adding oil to oily skin would be counter-effective, but lavender essential oil can help regulate your skin's oil production.
A common treatment for acne is to use a stripping product to remove oils from your skin. What happens when you do this is that your skin becomes too dry, and tries to compensate for that by making more oil. Pores become clogged, and combined with acne bacteria, you have the perfect environment for pimples.
Like these products, lavender essential oil can kill off the bacteria, but without drying out your skin and continuing the cycle of oil production. It is non-comedogenic, so it doesn’t clog your pores, and its anti-inflammatory properties help soothe any acne you do have.
Lavender essential oil is also useful as a hair product. Its antibacterial and antiseptic properties protect your scalp against bacteria, and it can help with dry scalp and dandruff. As a bonus, it is also believed to boost hair growth.
How to Use Lavender Essential Oil
Lavender essential oil should not be applied directly to your skin, because it may cause irritation.

For use as a skin cream, add it to your regular moisturizer or combine it with a carrier oil to create your own serum. Jojoba is a good carrier oil for most skin types. For dry skin, argan oil is very moisturizing, while for sensitive skin it might be best to go with rosehip oil.
To use your serum, apply 2-3 drops to problem areas.
To use lavender essential oil for acne, dilute it with carrier oil and apply it to your skin after washing your face.
You can also make a skin toner by mixing 2 or 3 drops of lavender essential oil with 1 teaspoon of witch hazel. Gently apply it to your face with a soft cloth or cotton ball.
To use lavender essential oil for dandruff, dilute the oil and scrub it into your scalp. You can wash it out after 10 minute or wrap your head in a towel and keep it on overnight.
For sunburn, combine lavender essential oil with aloe vera.
What Are the Benefits of Using Oatmeal on Your Skin?
Besides being a powerhouse of nutrition for our bodies, oatmeal is a great choice to use on our skin. People have used oats for centuries to treat rashes, eczema, and itchiness.
Oats are all natural, suitable for all skin types, inexpensive, and easy to acquire. Their amino acids, antioxidants, and fatty acids are all beneficial to our skin.
Using oatmeal on your skin can help it to maintain just the right pH, which is especially helpful for sensitive skin, and also provides your skin with vitamin E, which helps to retain moisture.
Oats work very well as an exfoliator, gently removing the dry outer layers of skin and working to remove the dirt and oil beneath, leaving your skin smooth and glowing. If used on the scalp, oatmeal can help to reduce dandruff.
Because it helps clear your pores, oatmeal is an effective option for helping to treat acne breakouts and reduce the redness they cause.
The starches in oatmeal help maintain your skin’s moisture barrier by attracting water to the skin, and the saponins have soap-like properties that make it an effective skin-cleanser. They were used for that purpose as far back as ancient Rome.
An oatmeal bath is a cooling way to calm skin inflamed by chicken pox or shingles, and its anti-inflammatory properties help to soothe itchiness. Along with itchiness, an oatmeal bath can also be helpful for sunburn, eczema, and psoriasis.
How to Use Oats for Your Skin
To use as a body cleanser, make lavender oat scrub from the recipe below.
For dry skin, use colloidal oats mixed with a bit of rose water. Colloidal oats are a finely-ground oat product. You can make your own by pulverizing or grinding oats yourself. Let it sit on your skin for 5-10 minutes, then rinse.
You can make a face mask with 2 parts oatmeal, 1 part honey, and a bit of rose oil. Leave the mixture on your skin for 10 minutes, then rinse.
To make an oatmeal bath, use water that is not too hot. (Heat can irritate skin.) Pour a cup of colloidal oatmeal under the faucet as it runs. If you don’t have colloidal oatmeal, you can put oats into a sock, tie it up, place it in the water, and swirl it around until the water looks milky.
If you are ready to give oats a try on your hair, mix finely-ground oats with your shampoo and wash as normal.
Lavender Oat Scrub Recipe
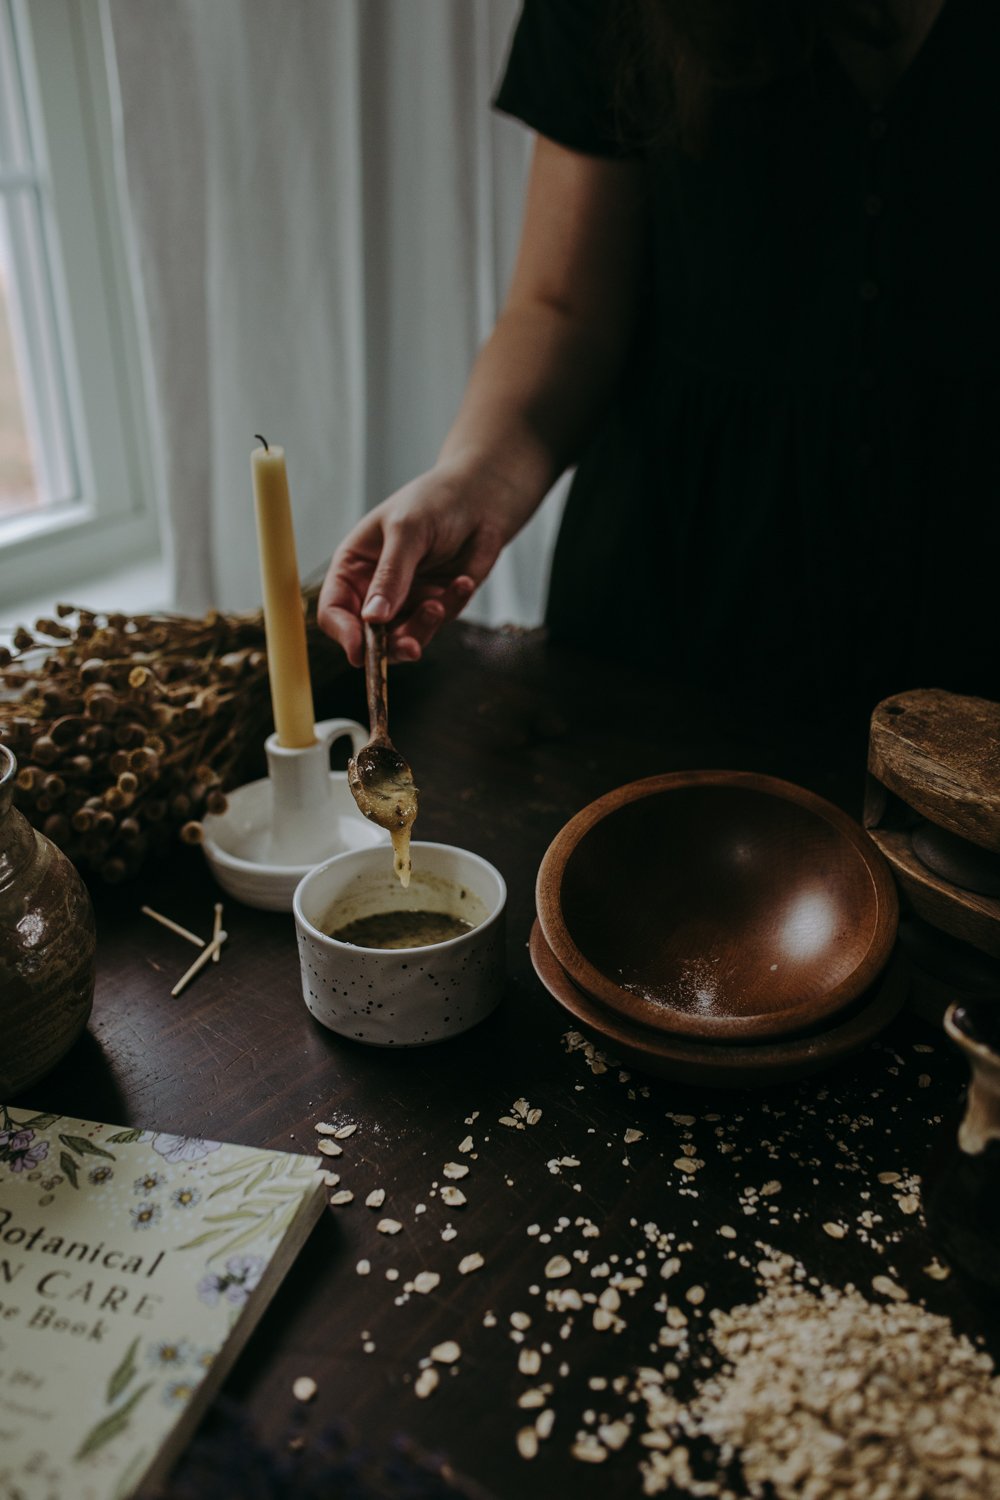
Lavender oat scrub is the perfect way to combine the benefits of the lavender and the oatmeal. It can be used as an all-over body scrub to exfoliate and moisturize your skin.
DIY Lavender Scrub
It is quite easy to make lavender oat scrub, which makes it a nice way to try your hand at herbal remedies, if you never have.
Mix some up for yourself, or gift a friend with their very own lavender oat scrub!

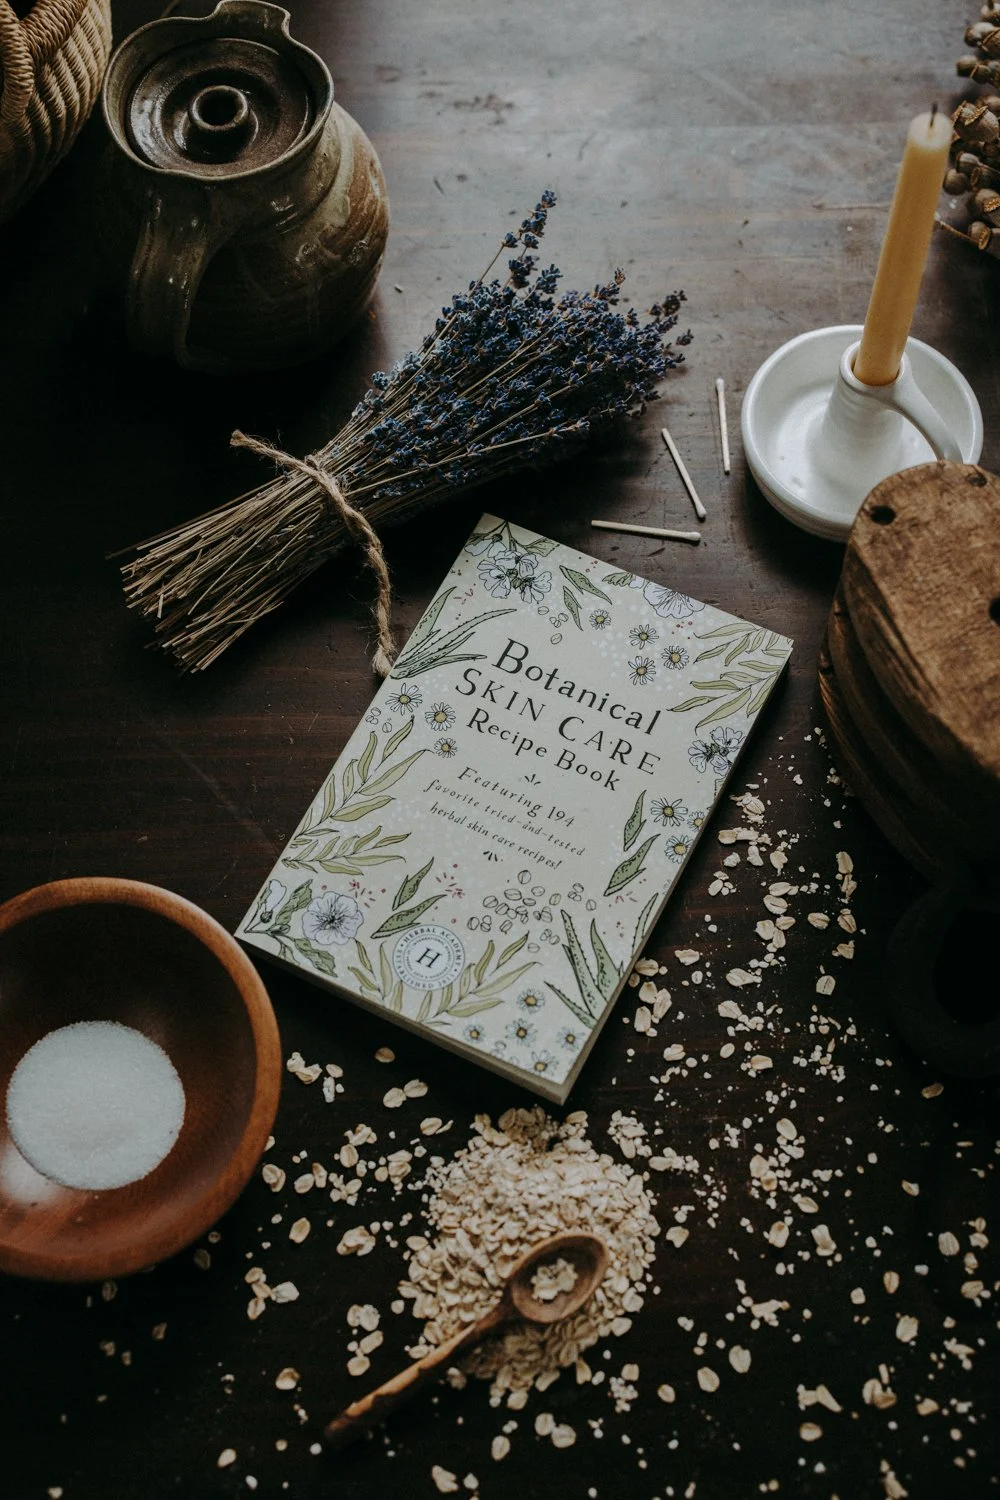
The recipe below is from Herbal Academy’s Botanical Skincare Recipe Book. The book is a great resource, with 194 all-natural recipes for body care products from an herbalist perspective. Click here to purchase it alongside the companion course for a fully immersive experience.
What You Need to Make Lavender Oat Scrub
1/4 cup oats
4 tsp sugar
2 tsp lavender buds
¼ cup jojoba oil
Lavender Oat Scrub Recipe
Directions:
Grind the oats, sugar, and lavender into a powder. (You can use a food processor, blender, spice grinder, or mortar & pestle.)
Combine the powder with the oil and stir well.
Using Lavender Oat Scrub
To use your lavender oat scrub, apply it to your skin and scrub in a circular motion.
Rinse off with luke-warm water and pat your skin dry.
Note: This body scrub can make your tub slippery, so be sure to wipe it down afterwards.
Click here to start your herbalism journey with Herbal Academy!


![The Power of Nature: How To Make Infused Oregano Oil for Your Health and Wellness [Recipe]](https://images.squarespace-cdn.com/content/v1/60e85024dc86d643da81c96a/1682625337753-AFI1M6MRRMDQ5CBNY2TX/unsplash-image-Fl2Ki3_GZIU.jpg)
![Make This Easy + Natural Botanical Hand Salve [Recipe]](https://images.squarespace-cdn.com/content/v1/60e85024dc86d643da81c96a/b57698b0-de70-4101-afaf-7af57788237d/Herbal+Face+Steam+Recipe+by+The+Cottage+Peach-1.jpg)

Homemade Gifts For Everyone on Your List
Holiday waste is a huge problem, both for our budgets and the environment. Americans spent around $15.2 billion on unwanted holiday gifts in 2019, and 4% of them ended up in the trash. Think about it - how many trash bags have you probably filled with just wrapping paper in your life? A lot of it can’t be recycled or composted even if we wanted to because it uses shiny plastic coatings or glitter that won’t break down. This is a huge problem that we can easily avoid by simply changing some habits and using fabric or kraft paper wrapping instead. The plus side is fabric wrapping can be reused year after year and kraft paper is totally recyclable and compostable.
The Cottage Peach is reader-supported. When you purchase through links on our site, we may earn an affiliate commission at no additional cost to you. All opinions are our own.
Most everyone loves a handmade gift, and in these times of over-consumption it is more important than ever to be mindful in your gift giving this holiday season.

Holiday waste is a huge problem, both for our budgets and the environment. Americans spent around $15.2 billion on unwanted holiday gifts in 2019, and 4% of them ended up in the trash. Think about it - how many trash bags have you probably filled with just wrapping paper in your life? A lot of it can’t be recycled or composted even if we wanted to because it uses shiny plastic coatings or glitter that won’t break down. This is an issue that we can easily avoid by simply changing some habits and using fabric or kraft paper wrapping instead. The plus side is fabric wrapping can be reused year after year and kraft paper is totally recyclable and compostable.
That number doesn’t even include all of the wasted packaging and wrapping materials that end up in landfills. Each year Americans alone use 4.6 million pounds of wrapping paper valued at over seven billion dollars. Fifty percent of that wrapping paper ends up in a landfill. That's 2.3 million pounds of used wrapping paper clogging up landfills.
I know I’m not the only one who struggles after the holidays are over to try and absorb all my presents into our home and our lives. As much as I’m grateful for the thought, and know that I am privileged to be loved by so many people who want to express that love through gifts, it is a challenge when the gifts themselves don’t fit into my life. A handmade gift, however, will always bring me joy and be a useful addition to my home.
And who really enjoys the stress of holiday shopping? Dealing with shipping delays or crowded shopping centers isn’t my idea of a good time.
You can even take it one step further and choose to do experience gifts instead - this can be anything from paint night to skydiving, a museum membership, massage or a baking class. Experience gifts allow you to deepen your bond with the gift recipient and create lasting memories that you can look back on for years to come.
Whether you’re looking for DIY Christmas gift ideas, Chanukah gift ideas, zero-waste gift ideas, food gift ideas, or just the best homemade gift ideas out there for anyone on your list, you’ve come to the right place.
50 DIY gift ideas for everyone on your list
Candles - Making candles is as simple as melting wax, adding scent if desired, and setting a wick into the wax before it hardens. Throughout the year, collect containers suitable for candles. This could include jars or tins, things you bought food in or found at a thrift store. Candle Science is a great source for purchasing candle-making supplies. I like to use their Golden Bran 464 soy wax when I make candles.
Coasters: You can make coasters out of tiles or slices of wood. For instructions on making tile coasters with Mod Podge and paper, check out It All Started With Paint
Vanilla: To make homemade vanilla, simply slice vanilla beans down the middle and let them sit in vodka for a month. Distill into a pretty jar and tie a ribbon around the top.
Ornaments: You can make ornaments by doing small embroideries and framing them with mini embroidery hoops like these circles or these oval ones. Other ideas for ornaments are painting wood discs, or using colored air dry clay.
Calendula balm: Use homemade calendula oil to create a balm. Package it in an attractive tin.
Playlist: In the old days, making a mix tape for someone was a big deal, and the same is true these days of making a playlist. Take time to choose meaningful songs, and the recipient will feel the love.
Wreath: With a wreath form, some floral tape, and dried flowers, you can put together a beautiful wreath for any season.
Tea: Make your own teabags using cloth drawstring sachets and homegrown or purchased dried herbs. Mountain Rose Herbs is my first choice when buying herbs. If disposable tea bags aren’t for you, mix your desired herbs and gift them in a Ball mason jar with a pretty reusable lid.
Cookies: Who doesn’t want to get cookies? No one, that’s who. Package them in a compostable paper box or a reusable tin.
Plants: Take cuttings from your own houseplants, root, and pot up in a bowl, cup, or pot from the thrift store.
Cloth napkins: Use fabric scraps or repurposed fabrics to create cloth napkins
Beeswax wraps: Mountain Rose Herbs has instructions for how to make the very best beeswax wraps.
Rope baskets: Check out Happiness is Homemade for step-by-step instructions on making rope baskets, without sewing a stitch.
Hand warmers: Simply sew two pieces of fabric together to form the shape you want, then fill it with rice to make hand warmers that can be heated in the microwave.
Sugar scrub: Mix ½ cup coconut oil with ¼ cup sugar for a simple sugar scrub. Package it in a glass jar, like these from Mountain Rose Herbs.
Jelly: Homemade preserves are always appreciated! Get your Christmas gift-making done in summer and have more time for fun in December.
Peanut brittle: Peanut brittle can be made in the microwave, making it a great gift idea to do with kids.
Write a story or poem: Give a little piece of yourself by writing something just for them.
Bind a journal: Binding paper can be done by beginners. Check out Skill Share for instructions.
Knit a mug cozy: Ravelry hosts endless options of styles that are free to download.
Homemade game: Make a homemade board game. Think creatively – pretty pebbles make good pieces to move around the board, and sturdy cardboard can be used for the board itself.
Pendant: Make a pendant with polymer clay, and hang it on a pretty ribbon.
Macramé: A macramé hanging plant holder is a classic, and doesn’t need to be too complicated. Check out Sarah Maker’s simple tutorial.
Affirmation cards: Everyone could use some good thoughts to brighten their days. Use colored, blank index cards or pretty bits of decorative paper to share some.
Marbled greeting cards: Marbling paper is simple, fun, and only slightly messy.
Soap: You can make cold processed soap using lye, or create bars of soap with the melt and pour method, which uses a premade soap base.
Bookmarks: Use decorative or marbled paper and add ribbons, tassels, or other pretty bits and bobs.
Keychains: Drill a hole in a good-looking, small rock or a sanded tree branch to make your own keychains.
Scrunchie: Scrunchies are a great beginner sewing project.
Stenciled tote bag: A simple white tote, some paints, a stencil and a sponge are all that’s needed to make a custom tote bag.
Ring bowl: Make a small ring bowl using white air dry clay. Once it’s dry, paint it however you’d like.
Decorated glass: Use glass markers to decorate vases, glasses, or bowls.
Walking stick: Search out a stick of the right length, with a bit of a curve on one end. Sand until smooth and apply mineral oil.
Washi tape headbands: Check out The Crafting Chicks for instructions to make washi tape headbands.
Bath tea: For a relaxing gift, make Pumpkin and Princess’ bath tea.
No-sew flannel scarf: This no-sew flannel scarf is simple enough for anyone to make.
Lavender eye pillow: Sew two pieces of fabric together and fill with lavender buds for a soothing, sleepiness inducing eye pillow.
Seeds: Save seeds from your summer garden and package in homemade paper envelopes.
Pressed flower tray: Use craft glue to carefully apply your pressed flowers to a wooden tray. Arrange them in the way you’d like, then pick each flower up one at a time, brush it with glue, and put it back in position. When everything is placed, use Mod Podge to give it a clear finish.
Terrarium: Use a glass container and small plants and mosses to create a terrarium.
Recipes: Create a box of hand-written recipes to share.
Mittens: Use felted sweaters to make mittens by cutting to shape and sewing.
Chocolate covered spoons: Make delicious chocolate-covered spoons using this Betty Crocker recipe
Peppermint bark: All you need for this project is chocolate melted in the microwave and crushed up candy canes. Spread the melted chocolate on parchment paper and sprinkle with candy.
Butter: Impress someone with homemade butter. No one needs to know all you had to do was use a mixer to beat cream and add a little salt.
Decoupage soap: Count on Mod Podge to think of every possible item that can be decoupaged!
Hot chocolate bomb: Throw some chocolate their way with this recipe from One Good Thing.
Jersey knit bracelet: This is a neat way to repurpose t-shirts
Chalkboard coffee mug: Martha Stewart has a very simple idea for adding some individuality to a coffee mug.
![20 Gift Ideas For Gardeners [GARDEN GIFT GUIDE]](https://images.squarespace-cdn.com/content/v1/60e85024dc86d643da81c96a/1788901402136-QYPL3958YQ1XML2CBLY6/sept+vlog_1.4.1.jpg)

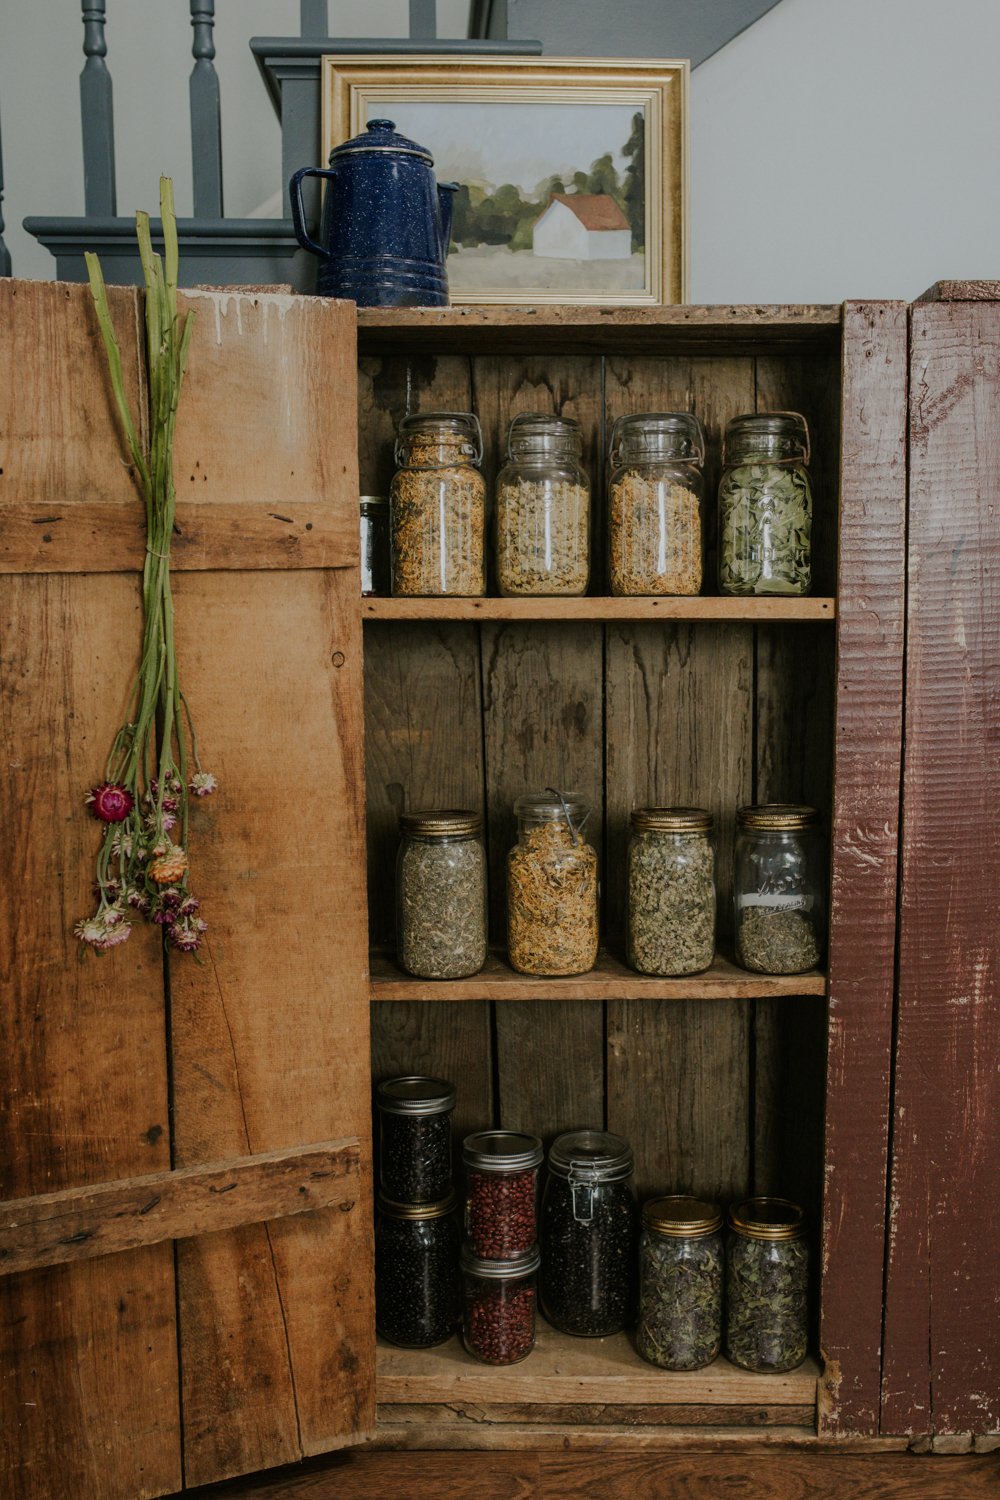
What’s in my apothecary cabinet
HAVE YOU EVER MADE YOUR OWN TEA BLENDS?
Maybe you’re used to getting your tea in individual sachets from the grocery store. The idea of loose leaf teas sounds like something that only real tea connoisseurs would do.
But did you know that most of those little pre-packaged tea bags actually contain plastic?
You can’t even throw them in your compost because they won’t break down properly due to the plastic. And the heat from the water can release harmful compounds from the plastic tea bags into your cup.
The Cottage Peach is reader-supported. When you purchase through links on our site, we may earn an affiliate commission at no additional cost to you. All opinions are our own.
Why Keep an Apothecary?
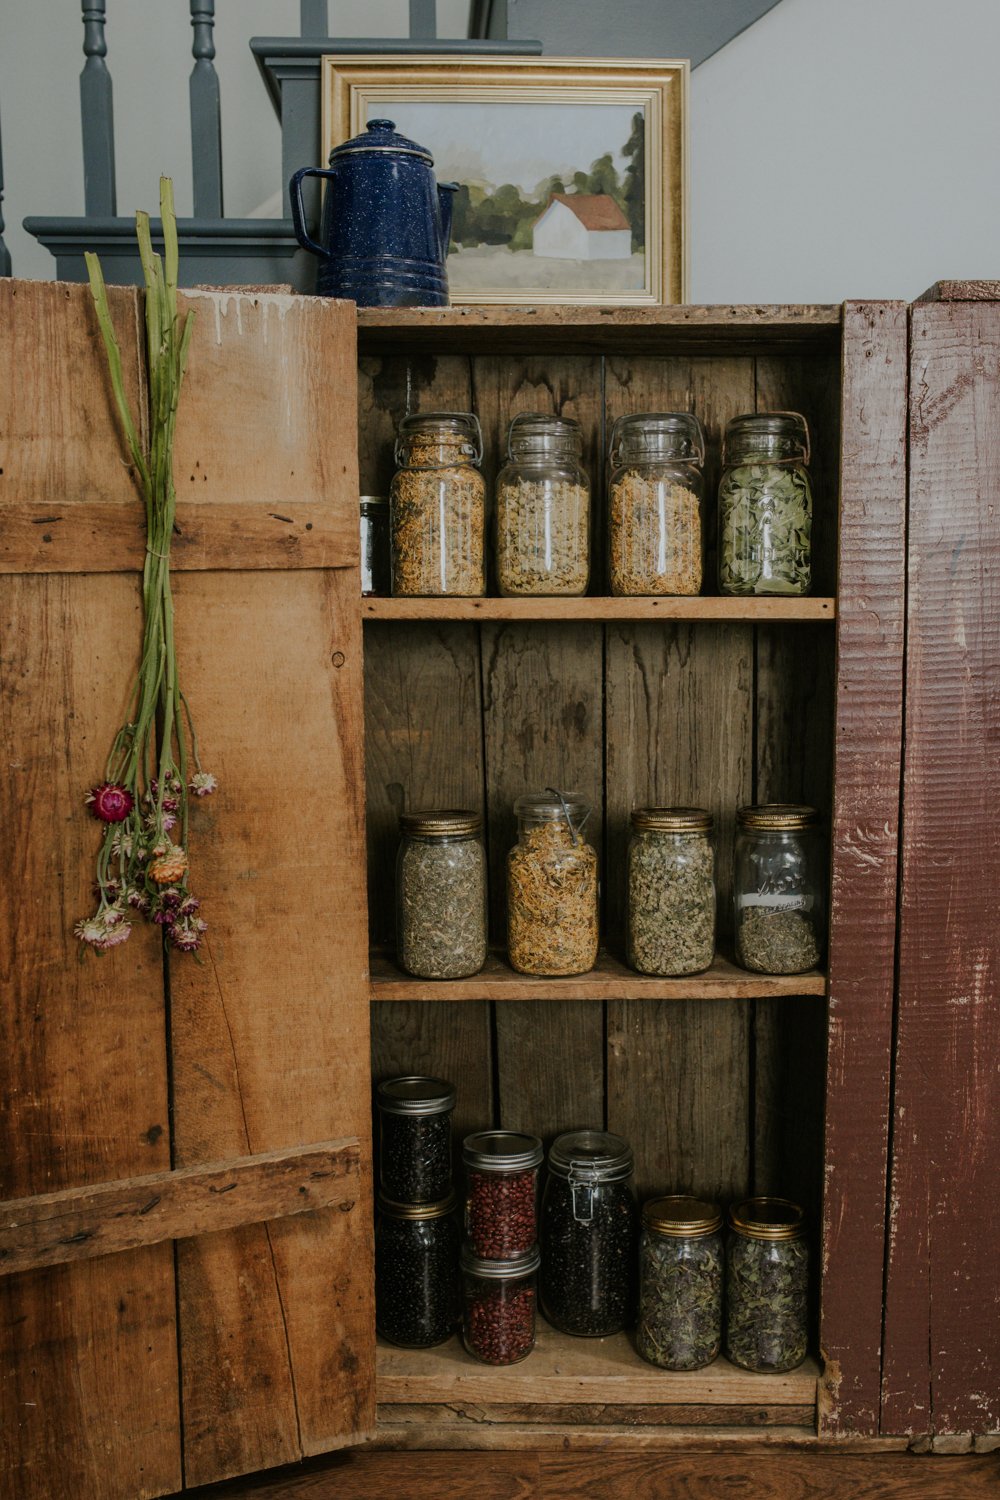
Here’s the thing about an old jam cabinet full of dried plants: it may not seem like much, it may not even seem necessary, but for me it is essential, and here’s why:
An apothecary is a source of comfort: The herbs within an apothecary provide relief and warmth and the sense of being well cared for.
An apothecary heals: Maybe not best suited for your worst ailments, but a steady hand you can look to. A cup of calming chamomile tea for when you can’t sleep, calendula tea for inflammation and nerves, mint tea when you need a quick pick me up, and red raspberry leaf tea for cramps and more.
An apothecary increases your independence: In times when essential supplies may run short, as happens with pandemics and supply chain issues, having a stocked apothecary provides a backup. Stored correctly, these dried plants are rich in essential vitamins needed for survival.
The Healing Powers of Tea + Tisanes
What is the difference between tea and tisane? Tea comes from one specific plant, the Camellia sinensis plant. Tea is always caffeinated. Technically speaking, any other herbal plant matter steeped in hot water is a tisane. However, most of us use the word tea interchangeably, so that is how I will refer to all my herbal teas and tisanes here. While herbs can be used to make poultices, tinctures, and creams, their most common use today is as an ingredient for tea.
There is a medicinal tea for just about every common ailment, from headaches to fever, acne to stomach upset. Along with its medicine, tea offers us comfort, companionship, and ritual.
Cups of tea in the morning calm stiff and aching joints, wake up your groggy mind and bring comfort after a long night tossing and turning.
Cups of tea in the afternoon, when mom stops by and you talk about whether or not the world is ending, bring you back to the here and now and away from worrying about the what-ifs and the should-haves and the would-have-beens.
Cups of tea after dinner wash away the endless news articles and likes and comments and to-do lists and the never good enough feelings and the Sunday scaries and the imposter syndrome and the pandemic and the climate crisis and the political climate and the war, war, war.
Cups of tea in winter warm your hands and lift your spirits, both essential in the stretch of long, dark days.
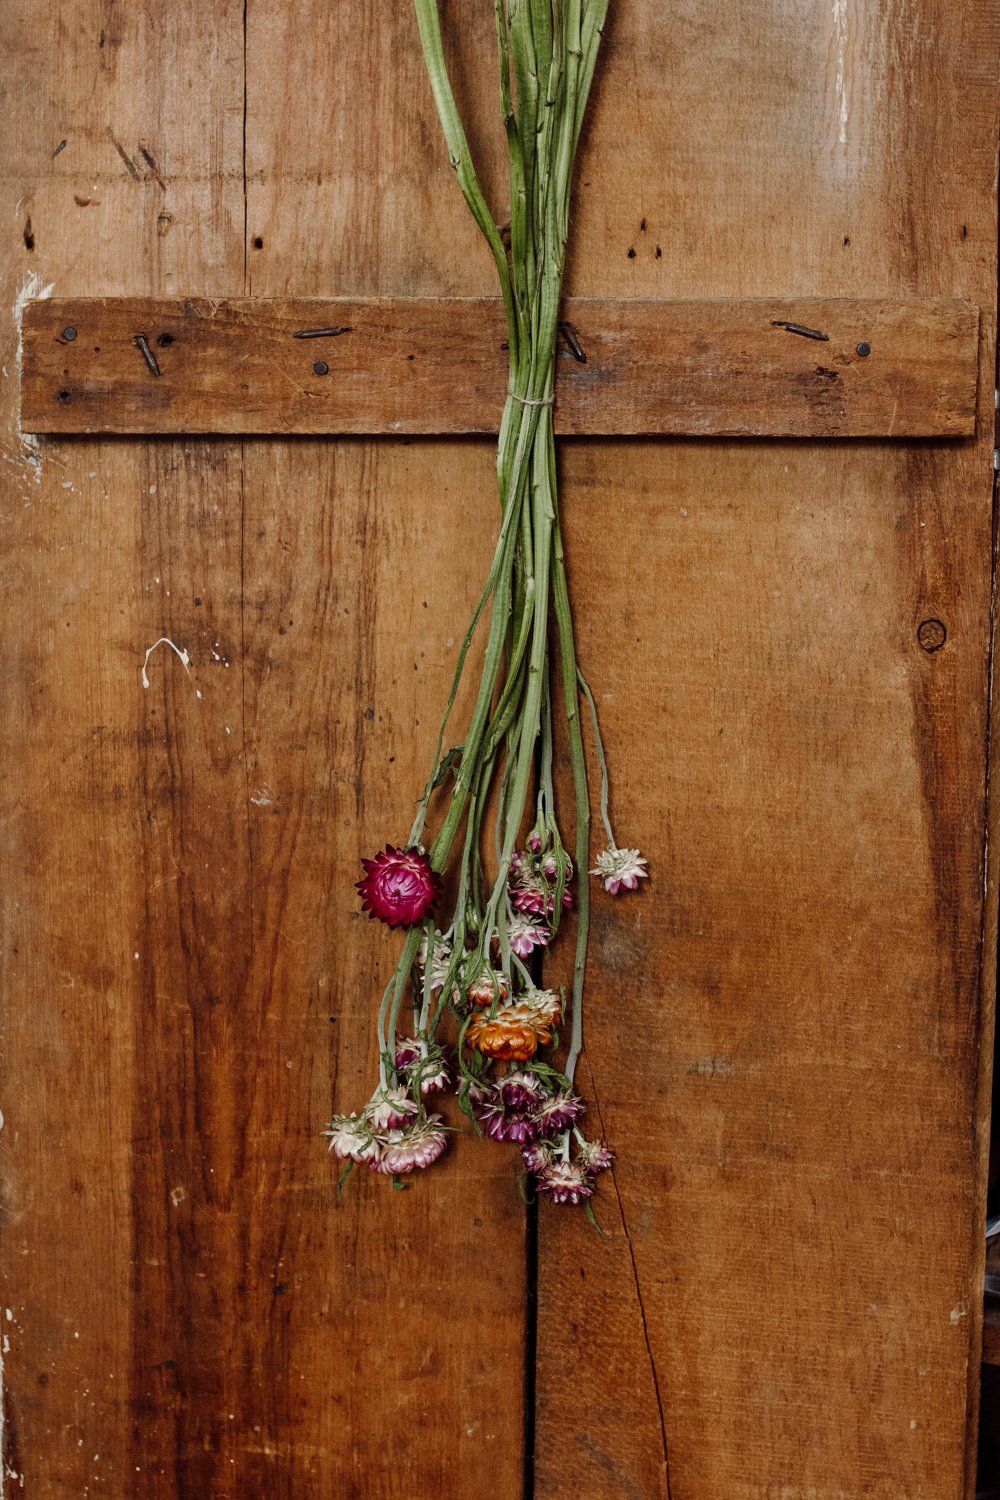
Cups of tea filled with petals dried in last year’s garden sun, cups of tea to mend you and energize you and bring you closer together.
It’s never just a cup of tea.
Have you ever made your own tea blends?
Maybe you’re used to getting your tea in individual sachets from the grocery store. The idea of loose leaf teas sounds like something that only real tea connoisseurs would do.
But did you know that most of those little pre-packaged tea bags actually contain plastic?
You can’t even throw them in your compost because they won’t break down properly due to the plastic. And the heat from the water can release harmful compounds from the plastic tea bags into your cup.
This is true even of many “organic” tea brands that are available. Many tea companies will refuse to even tell you what materials are used in their tea bags, which is doubly concerning. If you can’t compost them, they’ll just end up polluting the landfills and taking decades to break down.
Making your own tea blends from scratch doesn’t need to be intimidating or difficult. You can start with the most basic ingredients and work your way up from there. Since I have a more extensive herbal library, I’ll be talking about my apothecary in depth - but don’t be afraid to start small at first.
The benefits of loose leaf tea are many - they are medicinal, and generally available in higher quality than pre-blended teas.
Once you get the hang of making your own tea blends, you can even mix up batches to give as handmade gifts for friends and family. Just pour your tea into a nice jar or other container and add a simple ribbon for a zero-waste gift that everyone will love.
Are Plants Good Medicine?
The use of herbs, berries, and spices as medicine and comfort goes back tens of thousands of years. Women gathered plants, experimented with them, and treated all manner of health conditions. They passed this wisdom from generation to generation, sometimes orally, and sometimes in the form of recipe books.
While male physicians did, at points, take an interest, conduct studies, and publish papers on the use of plants as medicine (without mentioning women or allowing them to become doctors themselves), somewhere along the way, this once-vital knowledge was stripped of its importance, as the work of women so often is.
Luckily, this information didn’t completely disappear. Women continued to teach their daughters. History (her story, to be more precise) was studied and old wisdoms brought together in books and finally to the internet, where it is available to educate any budding herbalist.
An Invitation for Ease
Close your eyes and picture this. You're standing in the kitchen of an old farmhouse with wooden windows and creaky floorboards underfoot.
The fire is crackling nearby, and the scent of woodsmoke lightly punctuates the stillness and chill of winter.
You wash the our your teapot in the sink and listen for signs of life outside your window. All is calm and silent as the first snowflakes begin to land on the earth outside and the ground is coated in a hard layer of permafrost.
The work you set out to do is done, and you are tucked away at home with the rest of the afternoon stretching out before you.
This is your invitation to find ease in your day. Pour yourself a cup of tea, and put your feet up for a while.
The Best Way To Learn Herbalism
If you’re ready to begin your herbalism journey I highly recommend enrolling as a student in one of the many online courses at Herbal Academy. Their fully digital classroom offers professional guidance in an easy to navigate format that is welcoming of students of all levels and backgrounds. Click here to learn more
learning herbalism: book recomendations
I can’t attest to any of these books personally since I exclusively utilize Herbal Academy’s blog, courses and textbooks for my own education, but they are popular within the herbalism community and may be a good place to begin your learning journey. Click the images below to shop.

What Herbs should you have in your apothecary?
This is by no means an exhaustive list, but here are some common plants I would start with when first building your apothecary:
Chamomile - for anxiety and stress, a cup of chamomile tea will quickly calm your nerves. Roman chamomile (the variety you want for tea) grows very easily from seed and each plant produces a large number of flowers.
Peppermint - for bloating, gas, and some abdominal pain, mint tea also has a soothing aroma. Mints grow so well you’ll want to plant peppermint in a place you’re happy to let it spread, or in a container.
Ginger - a powerhouse with antimicrobial properties and a huge range of health benefits. Combined with peppermint, it makes the perfect tea for any upset stomach. Ginger grows from pieces of the root, and prefers shade. In warm climates it can be outdoors year-round, but in cooler climates it should be grown in a pot and brought inside for the winter.
Red clover - used for menopausal symptoms, arthritis, psoriasis, and respiratory problems such as bronchitis. Red clover is thought by some to be a weed, but it can be used as a lawn replacement, a nitrogen-fixing cover crop, or groundcover.
Dandelion - used to stimulate digestion and calm hot flashes, among other things. Dandelions are, of course, happy to plant themselves for you!
Lemon balm - calming, and is used for headaches, cold treatment, and digestive issues. It has a lemony aroma and is a tasty addition to any tea. Lemon balm is a member of the mint family, and like its relatives will be happy to take over your garden. It spreads mostly by seed, so cutting it back before seeds form will keep it in check.
Calendula - antifungal and antimicrobial. Helps prevent infection and heal injuries to body tissues. Calendula is also known to have anti-inflammatory and antioxidant components, which might help to fight cancer, protect against heart disease, and ease muscle fatigue.
Echinacea - an immune-boosting herb that may help your immune system fight off incoming viruses or infection. Studies have confirmed that echinacea can shorten the duration of the common cold, lessen the severity of its symptoms or even prevent it.
Red Raspberry Leaf - excellent source of potassium. Red raspberry leaf contains useful antioxidants including vitamin E, tannins, and flavonoids. Can provide support during all phases of the menstrual cycle.
Yarrow - reduces inflammation, acts as an antispasmodic useful in treating Irritable Bowl Syndrome (IBS)
Oregano - if you can only start with one herb, let it be oregano. This powerful plant has antibacterial properties, anti-inflammatory properties, may protect against cancer, diabetes and depression. I have personally cured an ear infection with a simple routine of one drop of oregano oil in the affected ear two to three times per day.
Lavender - my personal favorite. A popular nervine, lavender has deeply calming properties much like chamomile.
You can find most or all of these herbs available for sale here!
HOW TO STORE DRIED HERBS
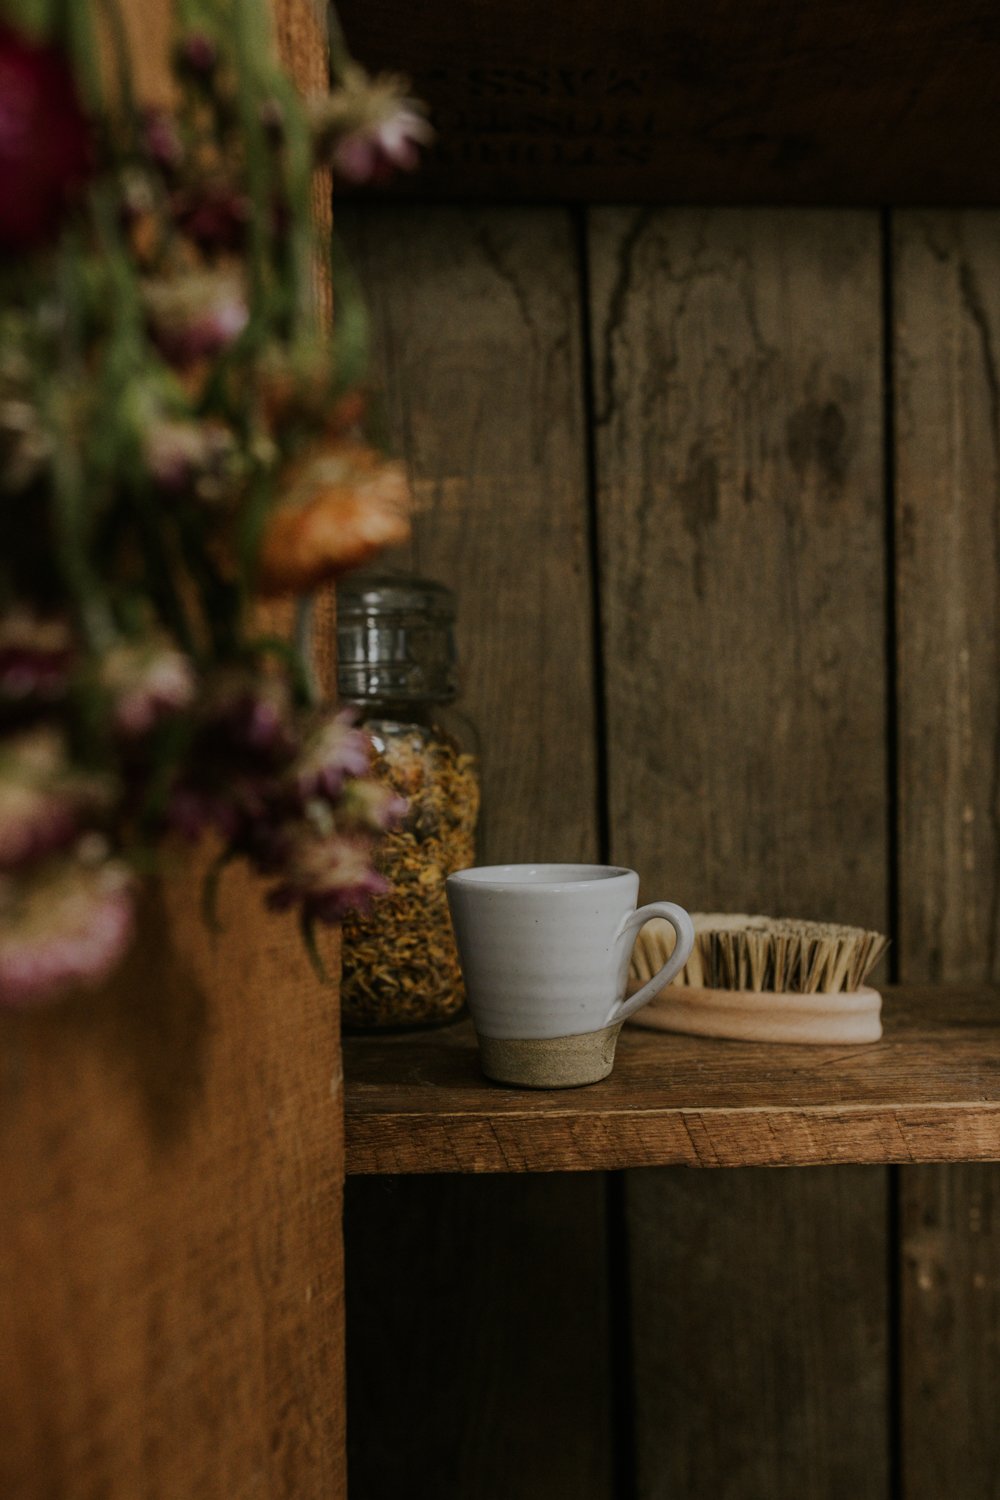
Storing dried medicinal herbs in your apothecary doesn’t need to be complicated. As a general rule you should store herbs in a cool, dry place out of direct sunlight, inside of airtight glass jars. These Mason jars are my favorite for storing herbs. The jars seen in the images in this post are antique, so you’ll need to hunt them down at the thrift stores!
Why should you store herbs out of direct sunlight?

Herbs are pretty delicate once dried, and in order to protect the active compounds within each plant that give them their healing qualities it is important to protect them from the elements. UV light from the sun can quickly break down the compounds within your dried herbs that make them so useful.
Why shouldn’t you store herbs in plastic?
There is the possibility that herbs stored in plastic can absorb some of the toxic chemicals present in the plastic itself over long term storage.
Handmade Zero Waste Tea Gift Idea
Most everyone loves a handmade gift, and in these times of over-consumption it is more important than ever to be mindful in your gift giving this holiday season. Americans spent around $15.2 billion on unwanted holiday gifts in 2019, and 4% of them ended up in the trash. That waste doesn’t even include all of the packaging and wrapping materials that end up in landfills. Each year Americans alone use 4.6 million pounds of wrapping paper valued at over seven billion dollars. Fifty percent of that wrapping paper ends up in a landfill. That's 2.3 million pounds of used wrapping paper clogging up landfills.
A handmade gift of tea is a thoughtful way to show someone that you care and provide them with a gift that they will be able to use over and over again. You can mix up three different blends and find a set of matching jars to give as a little tea sampler, or make up one big batch of tea and distribute into a larger mason jar like the rose tinted jars from Ball. You don’t even have to wrap your handmade tea gift in paper - just add a simple ribbon with some dried fruit, pinecones or cinnamon sticks tied alongside it. Or, you can add a special mug to your gift that you know the recipient will love. Pour your tea into a cloth drawstring bag and place inside of the mug with a cute stirring spoon.
Wondering what flavor of tea to choose for your handmade gifts? Pick something that you know everyone will love such as chamomile or mint and add your own flair to make it unique to your personality or that of the gift recipient. You can personalize your tea gift any way you like with different add-ins like chocolate chips, candied fruits or flavored sugars.

Click and Grow Smart Garden 27 Review: Does it work?
Here in New England, the majority of the year it is too cold to grow most vegetables and fruits outdoors. We have a very short growing season and limited amount of time to harvest everything we need to put away for winter. I knew that if I could find a way to combine an accessible raised gardening system with indoor grow lights, we could continue growing food in the colder months and reduce our grocery bill at a time when produce prices continue to skyrocket. My love of vertical gardening continued to grow.
The Cottage Peach is reader-supported. When you purchase through links on our site, we may earn an affiliate commission at no additional cost to you. All opinions are our own.
My gardening journey with chronic illness
When I was 20, I was diagnosed with Psoriatic Arthritis, an autoimmune disease that affects my joints, and causes major fatigue and chronic pain. The nature of autoimmune conditions is that they come and go, and over the winter I found myself experiencing the worst flare up of my symptoms I’d ever had.

Suddenly, my homesteading journey had hit a snag - bending, kneeling, and lifting (all essential tasks on a homestead) were difficult. I wasn’t sure what gardening was going to look like for me in the spring, if I could garden at all.
It’s easy to feel like you’ve lost a part of yourself when your body doesn’t allow you to do the activities that mean the most to you. For myself, these were dark days until I found enough energy to make a plan. I knew I was going to need to modify my normal gardening routine in order to continue growing our own food, so we added raised beds. Suddenly the benefits of vertical gardening were crystal clear to me. So much of what makes gardening so difficult is the crouching required to plant, weed and harvest. With the garden raised to a more natural standing height, I felt way less limited in what I could accomplish and grow. I started to wonder - with our long winter months, were there options that could extend our growing season AND provide a more accessible indoor gardening system that wouldn’t hurt my back?
Here in New England, the majority of the year it is too cold to grow most vegetables and fruits outdoors. We have a very short growing season and limited amount of time to harvest everything we need to put away for winter. I knew that if I could find a way to combine an accessible raised gardening system with indoor grow lights, we could continue growing food in the colder months and reduce our grocery bill at a time when produce prices continue to skyrocket. My love of vertical gardening continued to grow.
Vertical gardening systems
Vertical gardening is for everyone. Whether you’re interested in designing a vertical garden of your own due to physical limitations, space constraints, or you just enjoy experimenting with different gardening techniques, vertical gardening is an easy way to add a unique and functional element to your gardens and grow food more efficiently.
If bending, kneeling or lifting is something that is hard for you to do, vertical gardening allows you to reduce the amount of physical effort involved in your everyday garden tasks. There is usually little to no weeding involved, and watering systems can be set up to automatically keep your plants hydrated. Harvesting is a breeze because you won’t be digging through a tangle of branches or vines looking for produce - everything will be highly visible.
If you have little space to grow your own food or no yard at all - indoor gardening kits can help you bring fresh produce to your kitchen easily.
Why does it matter if your produce is fresh anyway?
When you buy and consume fresh grown fruits and vegetables, you are less likely to be ingesting harmful preservatives, chemicals, or dyes that have been added to your food to make them look more appealing. Produce actually loses its nutritional value over time, so the quicker it's eaten, the more nutrients that can be gained from it. Unfortunately even something like lettuce may be up to two weeks old by the time it reaches your local grocery store - and on average, our produce travels fifteen THOUSAND miles to reach us. That’s a lot of opportunity for lost nutrients.
Indoor Gardening Kit
There are lots of indoor gardening kits you can buy, but I decided to try the Click & Grow Smart Garden 27 vertical gardening system for a few reasons. This setup comes with three Smart Garden 9s (the 9 means each unit can grow 9 plants, so 27 in total) as well as a vertical plant stand in a modern white and wood finish. I really liked that the plant stand would fit into my existing home style, and allow me to stack the gardens so they would take up less space and be easy to access as needed. I also liked that the lights are included, and on an automatic timer so I wouldn’t have to fuss with anything or remember to turn it off and on every night.
The Smart Garden 27 isn’t a hydroponic garden - it uses a water reservoir that only needs to be filled about once a month, and Smart Soil blocks with nutrients and seeds already inside. The seeds and soil blocks are completely non-GMO and pesticide free, and use a patented nano-material that automatically releases nutrients, oxygen and water your plants need to thrive.
I also really liked the variety of plants offered by Click & Grow - they have over 75 different plants to choose from right now, including a seemingly endless array of swiss chard, arugula, sorrel, cress, mibuna, pak choi, and multiple varieties of kale and lettuce, bell peppers, strawberries, tomatoes, hot peppers and peas. Or you can start an indoor herb garden with rosemary, celery, mint, dill, parsley, lavender and many different kinds of basil. There’s flower seeds if you want to add some beauty and color. They also have seedless pods available so you can try your hand at growing anything you want.
How to Set Up the Vertical Vegetable Garden
The Click & Grow vertical vegetable garden is going to make winter gardening indoors so simple. Set up was easy - the included plant shelf comes together in less than fifteen minutes and has easy to follow instructions with no tools required. Next you just click together the light bar that attaches to the top of the unit with a few simple snaps and you’re ready to grow.
To plant the vertical garden planters, all I had to do was place each Smart Soil block into the pods that nest within the water tank. You cover each pod with a clear dome that is provided to create a moist environment that is then removed once your seed has germinated. I filled the water reservoir and plugged it in. That’s really it! I was kind of shocked by how simple it actually was. The water reservoir has a float on the back corner that will sink to let you know when it’s time to add more water. There’s even an app where you can track the progress of your gardens.
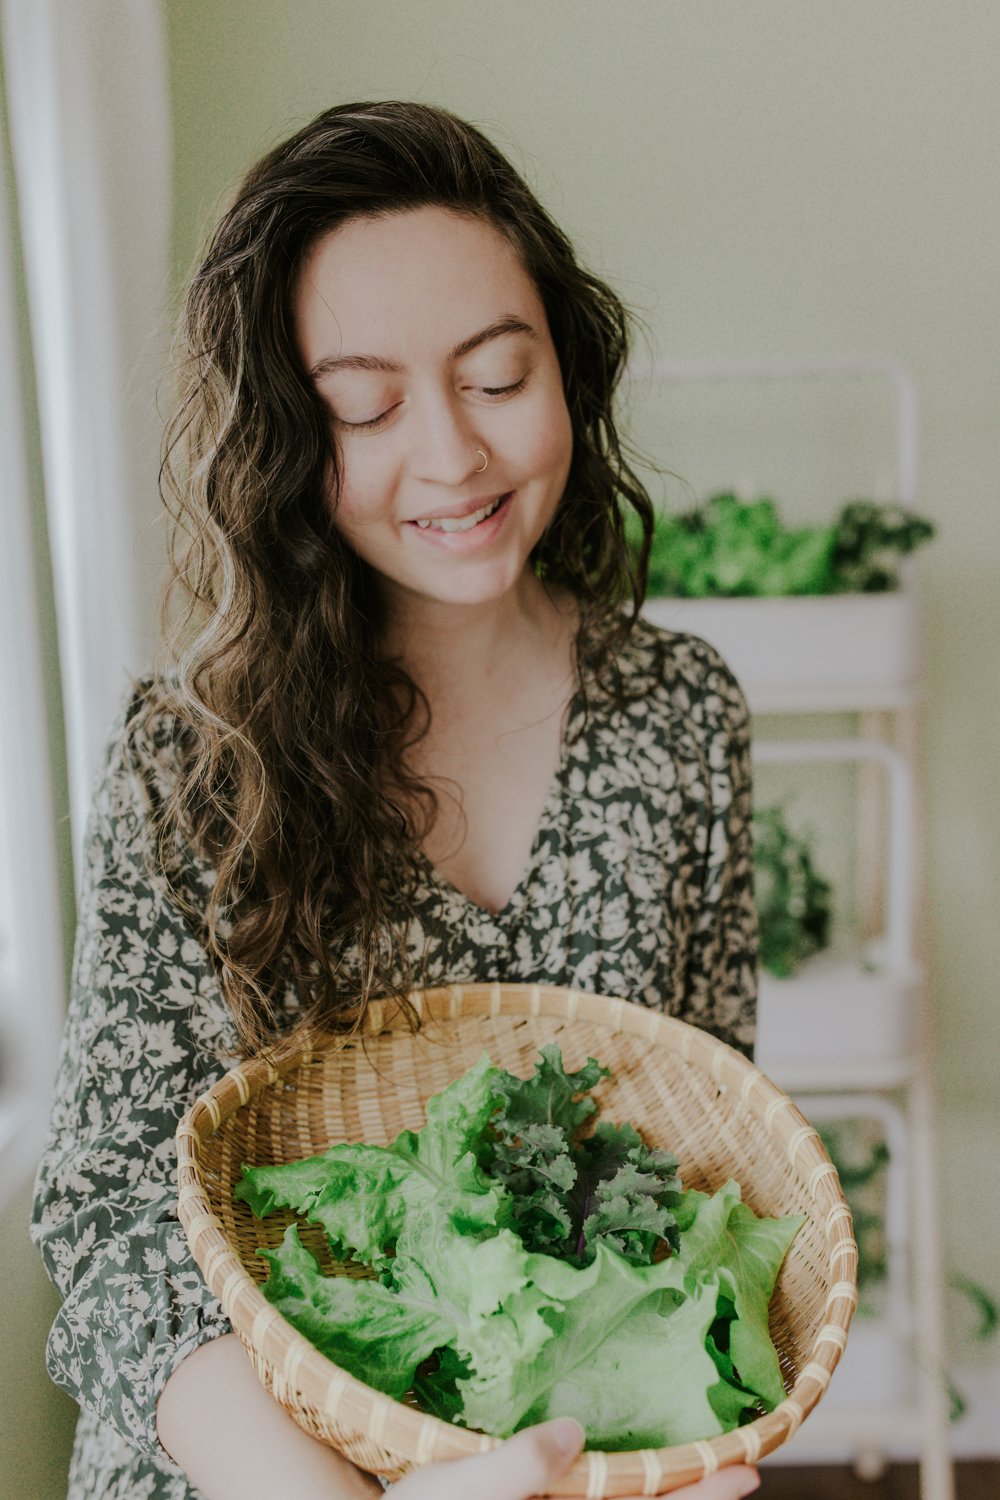
For my first planting, I’m growing lettuce, tomatoes, basil and dwarf peas as well as the Fruit & Veggie mix pack with strawberries, chili peppers and yellow tomatoes and the Asian Cuisine Mix with pak choi, red kale and mibuna. This will supply us with a continuous stream of fresh fruits and vegetables that are normally out of season during the winter months, allowing us to fuel up on fresh nutrient dense produce grown in our own home.
It takes about 3-4 weeks for your plants to reach maturity, depending on what you’ve planted. Then you can start harvesting continuously - each plant pod will live for about 3-4 months, again depending on the variety that you grow.
Now, if you’re thinking this is way too much vertical vegetable garden to fit in your own home stay with me because while I’ve gone all out here with the Smart Garden 27, there’s multiple ways you can configure this system to work for your space. First off, the Smart Garden 9 which is used on this plant shelf is available individually - so you can grab just one garden and pop it on your counter or table. If that’s still too large Click & Grow also has a Smart Garden 6 which is just a smaller version with only 6 plant pods. You could grab a couple Smart Garden 9’s and just sprinkle them throughout your house! Personally I love the shelf system because it means less bending and kneeling for me and it takes up less space in our kitchen. In terms of deciding where to place your indoor garden, the grow lights can be fairly bright so if that’s something you are sensitive to I’d recommend just choosing a location in your home that is a little out of the way.
Indoor gardening tips
So what tips should you know before starting your indoor gardening journey? Honestly, it’s so much easier than gardening outdoors in a lot of ways. With this system, it’s a good idea to periodically clean out the water tank before you plant a new round of seeds to prevent any mold from developing. Keep in mind that you’ll want a spot that you don’t mind having basically a bright lamp glowing on for 16 hours a day - those grow lights are for real! You shouldn’t have any problems with pests since you’re inside, and you won’t need to fertilize since the Smart Soil pods have everything your plants need to thrive. There’s no weeding to do and watering is only done about once a month. So long as you are mindful not to cut your plants back too hard when you harvest, you should enjoy a nice big continuous harvest from your indoor garden!

Freezing food for preservation is a method that has been practiced for centuries, although the widespread use of home freezers is a more recent development. Before the invention of mechanical refrigeration, people used natural methods to freeze and preserve food. In colder regions, they took advantage of winter temperatures by storing food in ice houses or caves. Ice was collected during the winter and used to create insulated storage areas where food could be kept frozen.