
BACKYARD GARDENING MADE SIMPLE

Bat Houses You Can Build Or Buy
When I was young, we had a playroom in our attic. One afternoon, we noticed there were bats hanging upside-down on one of the window screens. There were two big bats, and a little baby bat.
With the glass between us, we were able to safely look them over, and we learned something unexpected – bats are cute!
They stayed quite a while, sleeping all day and disappearing at night. We actually felt a little sad when they left for good, and so we bought a bat house kit.
The Cottage Peach is reader-supported. When you purchase through links on our site, we may earn an affiliate commission at no additional cost to you. All opinions are our own.
Bat Houses
When I was young, we had a playroom in our attic. One afternoon, we noticed there were bats hanging upside-down on one of the window screens. There were two big bats, and a little baby bat.

With the glass between us, we were able to safely look them over, and we learned something unexpected – bats are cute!
They stayed quite a while, sleeping all day and disappearing at night. We actually felt a little sad when they left for good, and so we bought a bat house kit.
Bat Facts
Bats have flown over the earth for more than 50 million years. Unlike birds, their fellow flyers, they are mammals, and are in fact the second largest order or mammals, with more than 1,400 species.
Bats are nocturnal, and have wings where their forelegs might have been, making them the only mammals that can truly fly. (Flying squirrels don’t actually fly, they just glide small distances.) They are more agile fliers than most birds.
Bats pollinate night-blooming flowers, and are the primary pollinator of agave, which is the main ingredient in tequila.
The world’s smallest bat is the Bumblebee Bat, which is about an inch by ¾ of an inch when full-grown. The largest is the Giant Golden-crowned Flying Fox, which has a wingspan up to 6 feet. The
Mexican Free-tail Bat is the fastest bat, and can travel up to 100mph. Mexican Free-tails gather in a cave in New Mexico to give birth, with a population of up to 20 million!
There are 10 or 12 bat species that regularly use bat houses. The two most common are Little Brown and Big Brown bats. Neither is a vampire bat.
Bat Get a Bad Rap
In North America, bats are closely associated with vampires, and this stigma often overshadows the many beneficial qualities of bats. In fact, of the 1,400 species of bats, only 3 are vampire bats that drink blood.

They are also stigmatized because people fear they’ll catch rabies from a bat. Bats, like most mammals, can carry rabies, but the fact is that the vast majority do not. So while we should still see a doctor if there’s any chance we’ve been bitten by a bat, catching rabies isn’t something we need to worry about very much.
What Good Are Bats?
When you’re sitting in your backyard and see bats flying overhead, know that on that night, a colony of hundreds of bats will consume hundreds of thousands of insects. Imagine how many million bats around the world consume!
Bats are the top predator for insects that fly at night, eating pests like flies, termites, flying ants, June beetles, and moths. They also do us the great service of eating mosquitoes. In agriculture, the more bats we have, the less pesticide is needed.
Aside from eating pests, bats who feed on nectar also pollinate plants like bananas, cloves, and peaches. And those who feed on fruit disperse seed through their guano, spreading plants to the surrounding areas.
What Do Bats Sound Like?
To our ears, bats don’t sound like much of anything, but the sounds they do make are clicking noises. Bats make these noises using their vocal cords, their nostrils, and their tongues. Some species of bats also make clicking sounds by flapping their wings.
These clicking noises are ultrasonic, in a frequency 3 times higher than what we can hear with our human ears.
We know what bats sound like because of the use of bat detectors, which use an ultrasonic microphone and convert the sounds to a frequency humans can hear.
And so we know that if the noises are slowed down, they sound like the chirps of a bird, and that different species of bat have different calls, just as birds do.
Bats use these noises to echolocate, and presumably to communicate with each other. Their echolocation skills allow them to sense something as fine as a human hair.
What is a Bat House?
A bat house is built and secured somewhere high in order to provide bats with a space to live that mimics the roosts they would choose in the wild.

Many bat species roost under the bark of dead trees (and if you have a dead tree it is safe to leave standing, you can leave it up to provide a natural bat house).
Because this is the environment they choose in nature, bat houses are made to be narrow and tight. They are generally made from rough wood, so the bats can hang on without slipping, just as they would be able to between bark and the trunk of a tree.
Bat houses are often painted in dark colors, and the sides caulked, to recreate the warm and snug area they would naturally choose to raise babies.
Why Have a Bat House?
More than half of the bat species in North America are endangered.
Some of the main problems in maintaining bat populations are a fungal disease called White Nose Syndrome and the very long gestational period bats experience. The common vampire bat, for example, carries its young for 209 days! Most bat moms only give birth to one pup a year.
But human activity bears the majority of responsibility for their population decline: the destruction of natural habitats, windmills, climate change, pesticide use, hunting for sport and meat, and stigmas which lead to their being killed.
Having a bat house is an easy way to do our small part towards helping them have what they need to survive. A bat house provides a safe, warm place for mothers to bear their young.
Bat houses also provide bats who have been ‘evicted’ from people’s homes an alternative spot to roost.
DIY: How to Build a Bat House
A bat house is fairly simple to make. There are tons of plans and instructions online. The government of Massachusetts provides this free plan to build a four-chamber bat house: https://www.mass.gov/doc/build-a-four-chamber-bat-house/download
Their site details some key elements for a successful bat house. They recommend:

Using exterior plywood or cedar.
Using rough wood.
Not using pressure treated wood.
Using exterior grade screws to assemble.
Making your house at least 24” tall and at least 14” wide.
Making a bigger box is better.
Adding a 6” x ½” vent on each side for airflow.
Caulk all seams.
Cover the roof with shingles or metal for a more durable bat house.
Provide a landing pad of 3-6” just below the entrance.
The overall goals to keep in mind when building a bat house are warmth and tight spaces, as these will provide the right environment for babies.
To help maintain a good temperature, bat houses can be painted, but it is not required.
What Are the Best Bat Houses I Can Buy?
Bat houses are readily available to buy online at Amazon, Home Depot, Lehman’s, and Etsy. Here’s a few top picks for handmade bat houses from Etsy:

DIY Bat House Kits
Bat house kits are easy to assemble, and most can be completed in under an hour. Building one is a great project to do with kids.
When shopping for a bat house kit, choose one that is made with quality materials.
A bat house kit should come with everything you need, with the exception of tools like a drill or caulking gun. The necessary wood will be included and cut to size.
Bat Conservation & Management https://batmanagement.com/ is committed to the conservation and study of bats. They conduct research and surveys and work to educate people about bats. On their site, they sell a variety of bat house kits you can assemble yourself or buy premade. Their designs are backed by many years of experience and study.
Where Should I Hang a Bat House?
First, look for a place that is away from windows, doors, patios, or decks. Bats’ droppings make quite a mess.
Choosing the location for your bat house can make all the difference as to whether bats will move into it or not.
Bats scout for new roosts at night while they feed. Here is what you can do to make them more likely to choose yours:
Do not put your bat house on a tree. Bats can find houses more easily on a building or pole.
Put your bat house near a water source.
Install your house at least 12-20’ from the ground.
Make sure the location gets at least 6 or 7 hours of sunlight.
Consider placing it under your eaves, but only after making sure your house is bat-proof.
Bat houses should be a good distance away from wires and tree branches so there’s nothing to impede the bats’ flight.
Face your bat house to the south or southeast to catch as much warmth from the sun as possible.
In cooler climates, paint the house black to increase heat absorption from the sun.
While you can install a bat house at any time of year, you are more likely to get bats if you install it in spring or early summer.
How to Attract Bats to Your Bat House
One way to attract bats to your bat house is to grow night-scented flowers. These flowers often attract moths and other bugs which bats find tasty.
Night-Scented flowers:
Evening Primrose
Honeysuckle
Goldenrod
Fleabane
Another way to attract bats is to minimize (or better yet, eliminate) the use of pesticides in your yard. Bats are looking for a place where there’s a plentiful food source, meaning lots of bugs.
Finally, make sure there are no outdoor lights near your bat house.
It can take up to 2 years for bats to find and move into a bat house, so you’ll have to be patient. If no bats have made it their own in 2 years, you can move it to a different location and try again.
The majority of bat houses may never house bats. Don’t be discouraged by that! All we can do is our little part. The rest is up to the bats.

![Who can benefit from Calendula infused oil? [recipe]](https://images.squarespace-cdn.com/content/v1/60e85024dc86d643da81c96a/eaeeb259-c6c6-450f-8d9e-77227e20ac42/Sept+2022+small-5.jpg)
Who can benefit from Calendula infused oil? [recipe]
If you’re looking to dip your toes into herbal remedies, calendula infused oil is a safe and fun place to start. Calendula is related to marigolds and is sometimes called pot marigold - it has no toxic look-a-likes and is safe even in large doses, so you really can’t mess this up! We grow calendula in our garden as a border and it serves multiple purposes for us - it adds beauty and color, traps unwanted pests who might overwise eat our food crop, feeds the pollinators and provides a useful herb for drying that we can then make into a salve. Calendula is an annual but it readily self-seeds so you really only need to buy one packet and the next year they will come back all on their own, helping you to establish your garden beds and provide a resource for neighboring insects who you share your garden with.
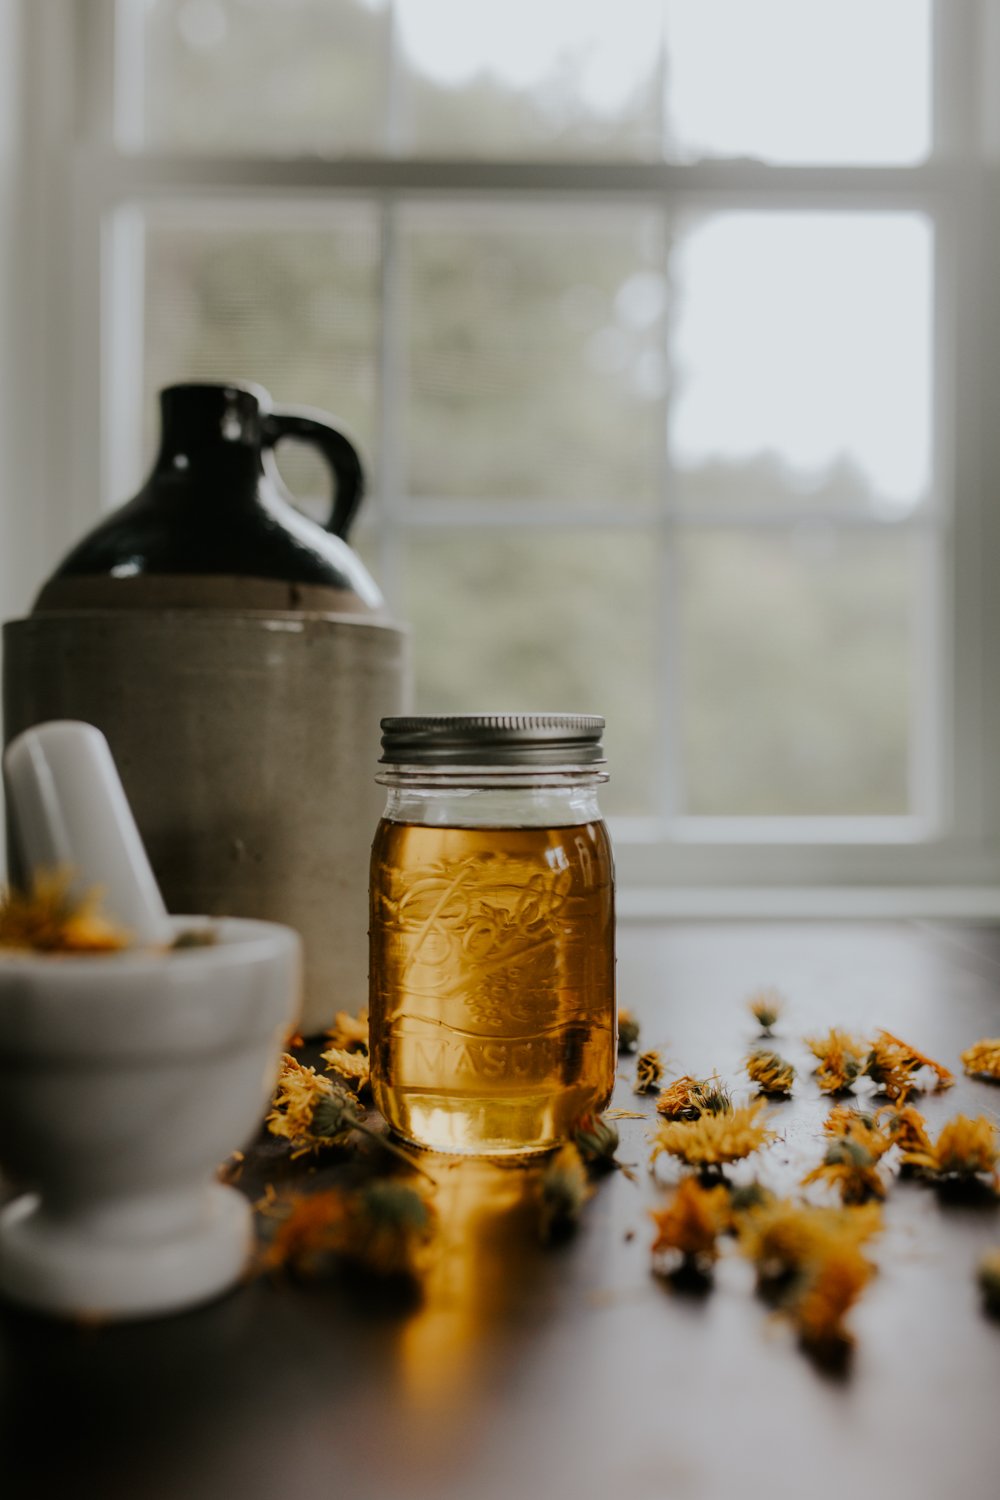
If you’re looking to dip your toes into herbal remedies, calendula infused oil is a safe and fun place to start. Calendula is related to marigolds and is sometimes called pot marigold - it has no toxic look-a-likes and is safe even in large doses, so you really can’t mess this up! We grow calendula in our garden as a border and it serves multiple purposes for us - it adds beauty and color, traps unwanted pests who might overwise eat our food crop, feeds the pollinators and provides a useful herb for drying that we can then make into a salve. Calendula is an annual but it readily self-seeds so you really only need to buy one packet and the next year they will come back all on their own, helping you to establish your garden beds and provide a resource for neighboring insects who you share your garden with.
So what are some calendula oil benefits? Calendula is…
Antifungal
Antimicrobial
Anti-inflammatory
Antioxidant
These properties and more are the reason people use calendula to prevent infection and heal injuries to body tissues, speed up wound healing time, and reduce scarring. In addition when used as part of a wound treatment it may reduce swelling and bruising and ease muscle fatigue. Calendula may also help in preventing or reducing acne. Calendula is used to relieve symptoms from dry skin conditions like eczema, psoriasis and diaper rash. There’s even a chance calendula could be used to fight cancer and protect against heart disease.
On a personal note, psoriatic arthritis doesn’t just affect my joints. It actually started for me as a skin condition with extremely dry itchy skin that cracks and flakes. I’ve felt so self conscious about my skin condition for so long, and want to normalize this struggle which so many of us with chronic illness go through. So often the more minor symptoms of our disease are tossed to the side as insignificant, but all these little insecurities add up. Needless to say this has been quite unpleasant, and a big reason that I began exploring natural remedies like this infused calendula oil was that I found my skin was really sensitive to the ingredients in most drugstore moisturizers and lotions. I wanted to find a way to make my own moisturizer that was simple and cost effective, and calendula oil was one of the very first DIY skincare products I made at home myself. I use my salve as a preventative product, as well as for acute flares. I just love really easy DIY projects like this one that anyone can do!
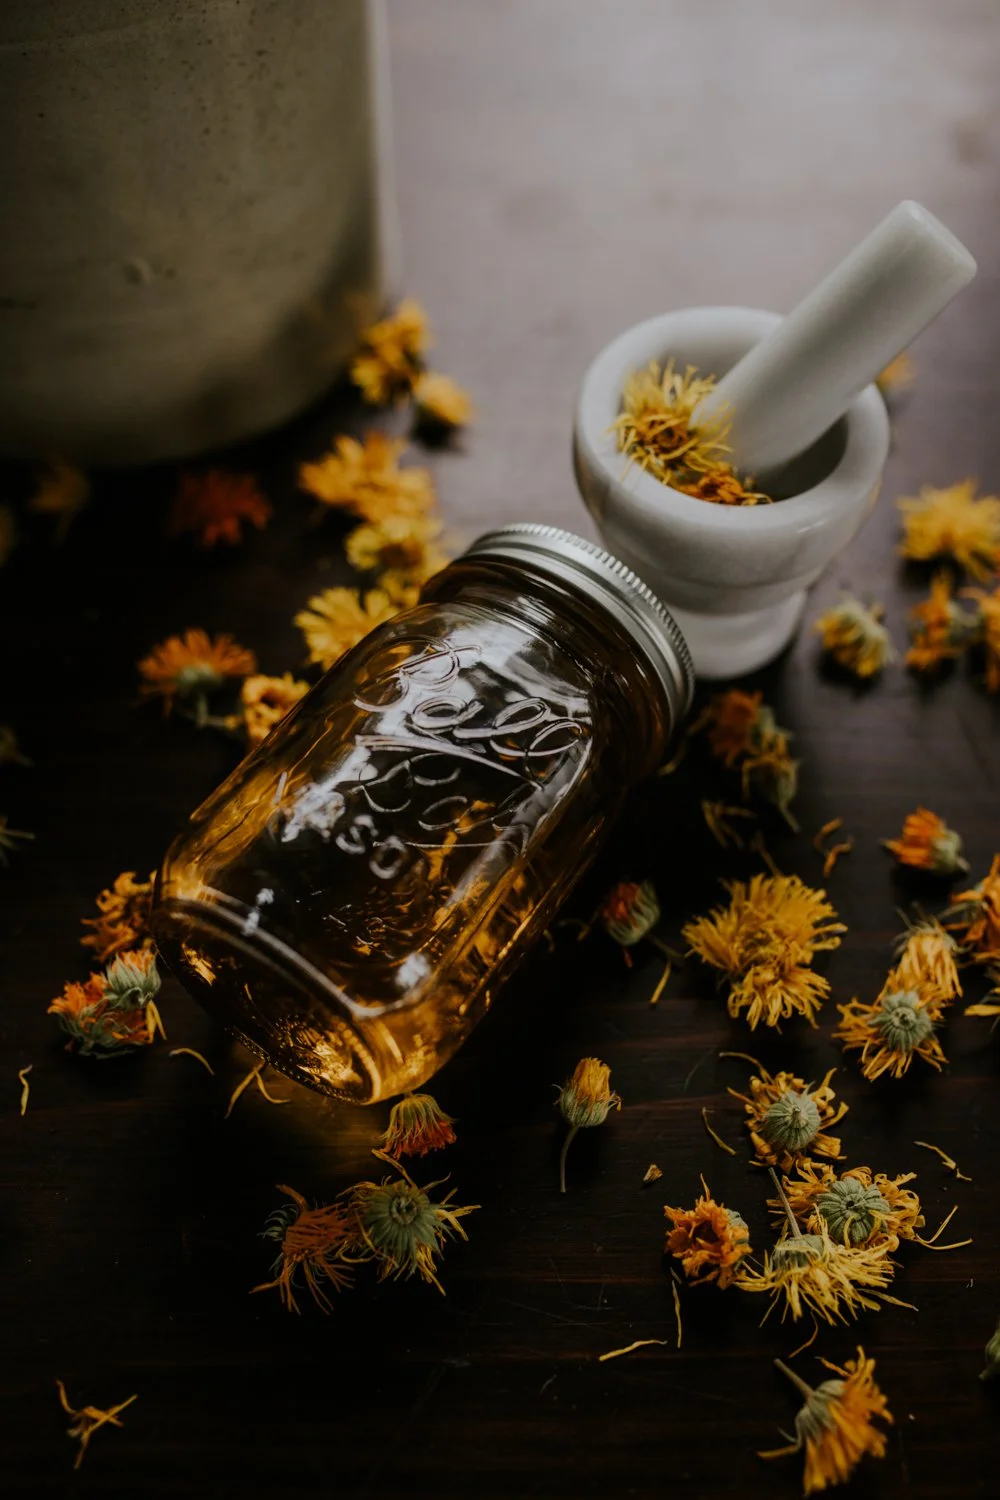
Calendula oil or salve makes a pretty great handmade holiday gift too! For the holidays last year I gave a tin of handmade calendula salve to every one of my friends tied up with a piece of twine and ribbon, and they all continue to rave about it and ask for more to this day.
Is Marigold the Same as Calendula?
Marigold and calendula belong to the same family, but the active beneficial compounds are present in different amounts in each plant, and only certain types of marigolds are edible.
How to Use Calendula Oil
Calendula oil may be used on its own as a moisturizing oil, or blended into butters, creams, salves and lotions along with other ingredients like beeswax and shea butter. I make a simple beeswax salve with my calendula oil that can be used for burns, cuts, scrapes, bruises, rashes and dry skin. You can even incorporate it into your favorite salad dressing depending on what oil you use (make sure it’s food grade)
What Type of Oil is Best for Infusing Herbs?
You can use many different oils to infuse herbs depending on your preference, budget and intended use. I used sweet almond oil for this herbal oil infusion, but olive oil, grapeseed oil and apricot oil also will work as carrier oils safe for topical use. Olive oil is by far the cheapest and most easy to find, and has a longer shelf life, but sweet almond oil is affordable as well and has no smell, plus it includes vitamin E and K. Both are good options that I use regularly! I haven’t tried grapeseed or apricot oil myself.
Best Container for Herbal Infusions
When infusing herbs in oil, you should always choose a plastic free container to avoid leaching any dangerous chemicals into your oil. I like to use a glass mason jar to infuse my oil since we always have so many extra on hand and they are durable and cheap, but if you don’t have somewhere dark you can store a clear jar, then a tinted glass jar or bottle is best to keep out sunlight, since UV rays can reduce the effectiveness and longevity of your infused oils.
Homegrown VS Store Bought Herbs

Store bought herbs don't just look different, they ARE different. So why are homegrown herbs better for you?
Think about the difference between a bagged, pre-chopped salad and the lettuce you picked up from the farmers market.
They're both still lettuce, but one is darker, fresher, and much more flavorful.
That flavor directly translates to compounds in the plant that are nutritionally dense. It tastes better because it's better for you! The older the produce is, the more those nutrients break down.
Herbs are the same way. When you get store bought herbs, there is almost no way to guarantee their freshness or quality. Yes, even dried herbs can be fresh! It's likely that if you're seeing faded colors or a lot of dust in your herbs indicating it's begun to break down, the beneficial compounds within the herbs themselves are not potent anymore.
Growing your own herbs (here’s my favorite place to buy calendula seeds) or buying from a small herbalist shop is the best way to ensure the quality of your final herbal preparation. It also eliminates the great amount of waste and emissions involved in packaging and shipping herbs, since even though many herbs like calendula grow all over the country, when you purchase them from a large store they often come from overseas. If you can’t grow your herbs yourself or find a small local shop: Find these herbs and more by tapping here to visit my favorite online herb shop!
How to Make Calendula Infused Oil
There are many ways to make an infused oil but my favorite is a simple folk method - this means we won’t be making any exact measurements. You’ll find that many herbalists employ a folk method for their skincare concoctions since accuracy in dosing is not generally a requirement unless taken internally.
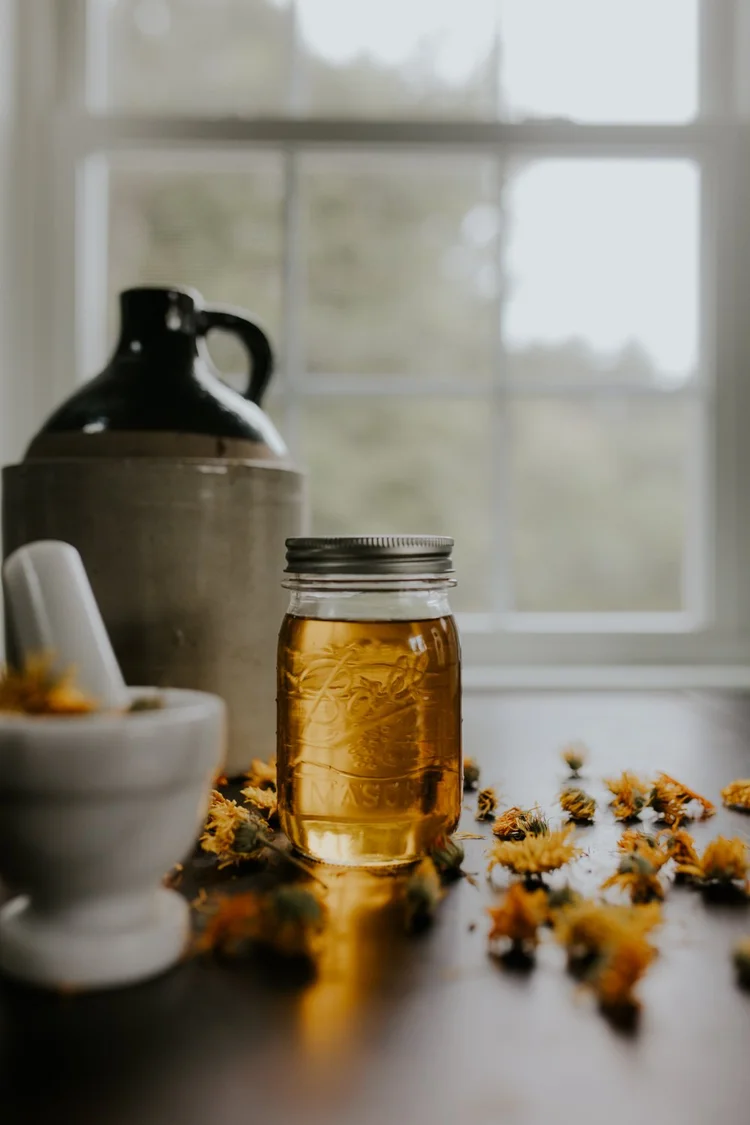
To make an infused oil using the folk method, all you need to do is fill your mason jar about halfway with calendula flowers, then cover at least an inch above the herbs with your oil of choice. I usually end up filling the jar almost all the way to the top. Tap lightly on a solid surface to make sure there are no air bubbles trapped in the oil and place the infusing oil jar in a cool dark place such as a closet or pantry (somewhere out of direct sunlight) for about six weeks. You can regularly shake the jar to redistribute the oil, and you may notice that after the first day or two much of the oil has been absorbed into the dried herbs and you will need to add more to keep the flowers completely covered in oil. This is normal and to be expected.
Infused Calendula Oil
Ingredients
- Dried calendula flowers - about 1 cup
- Almond oil, grapeseed oil, apricot oil or olive oil - about 2 cups
Instructions
- To make an infused oil using the folk method, all you need to do is fill your mason jar about halfway with calendula flowers, then cover at least an inch above the herbs with your oil of choice.
- I usually end up filling the jar almost all the way to the top.
- Tap lightly on a solid surface to make sure there are no air bubbles trapped in the oil and place the infusing oil jar in a cool dark place such as a closet or pantry (somewhere out of direct sunlight) for about six weeks.
- You can regularly shake the jar to redistribute the oil, and you may notice that after the first day or two much of the oil has been absorbed into the dried herbs and you will need to add more to keep the flowers completely covered in oil. This is normal and to be expected.
- If you would rather not wait a full six weeks to have ready to use infused oil, you can speed up the infusion process using your stove top. Place your jar in a double boiler on your stove and simmer as low as possible for up to 3 hours.
- Your oil will be ready to use as soon as it cools, or you can wait a couple of weeks to allow your infusion to develop and grow stronger.
- You can also simmer your jar in a slow cooker for 3 hours the same way.
Notes
Some herbalists allow their oil to infuse on a sunny windowsill - personally I am against this method in most cases as it causes the oil to be exposed to large amounts of ultraviolet light which can break down the beneficial compounds. It may be fine if you plan to immediately move the jar to dark storage once it is done, or if you allow it to infuse only a couple of weeks on the windowsill before moving to a darker spot to finish infusing.
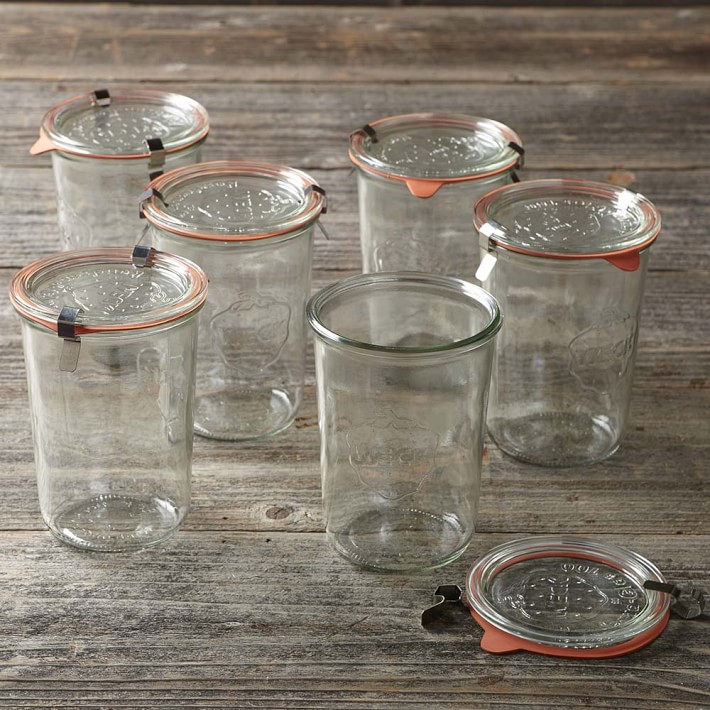

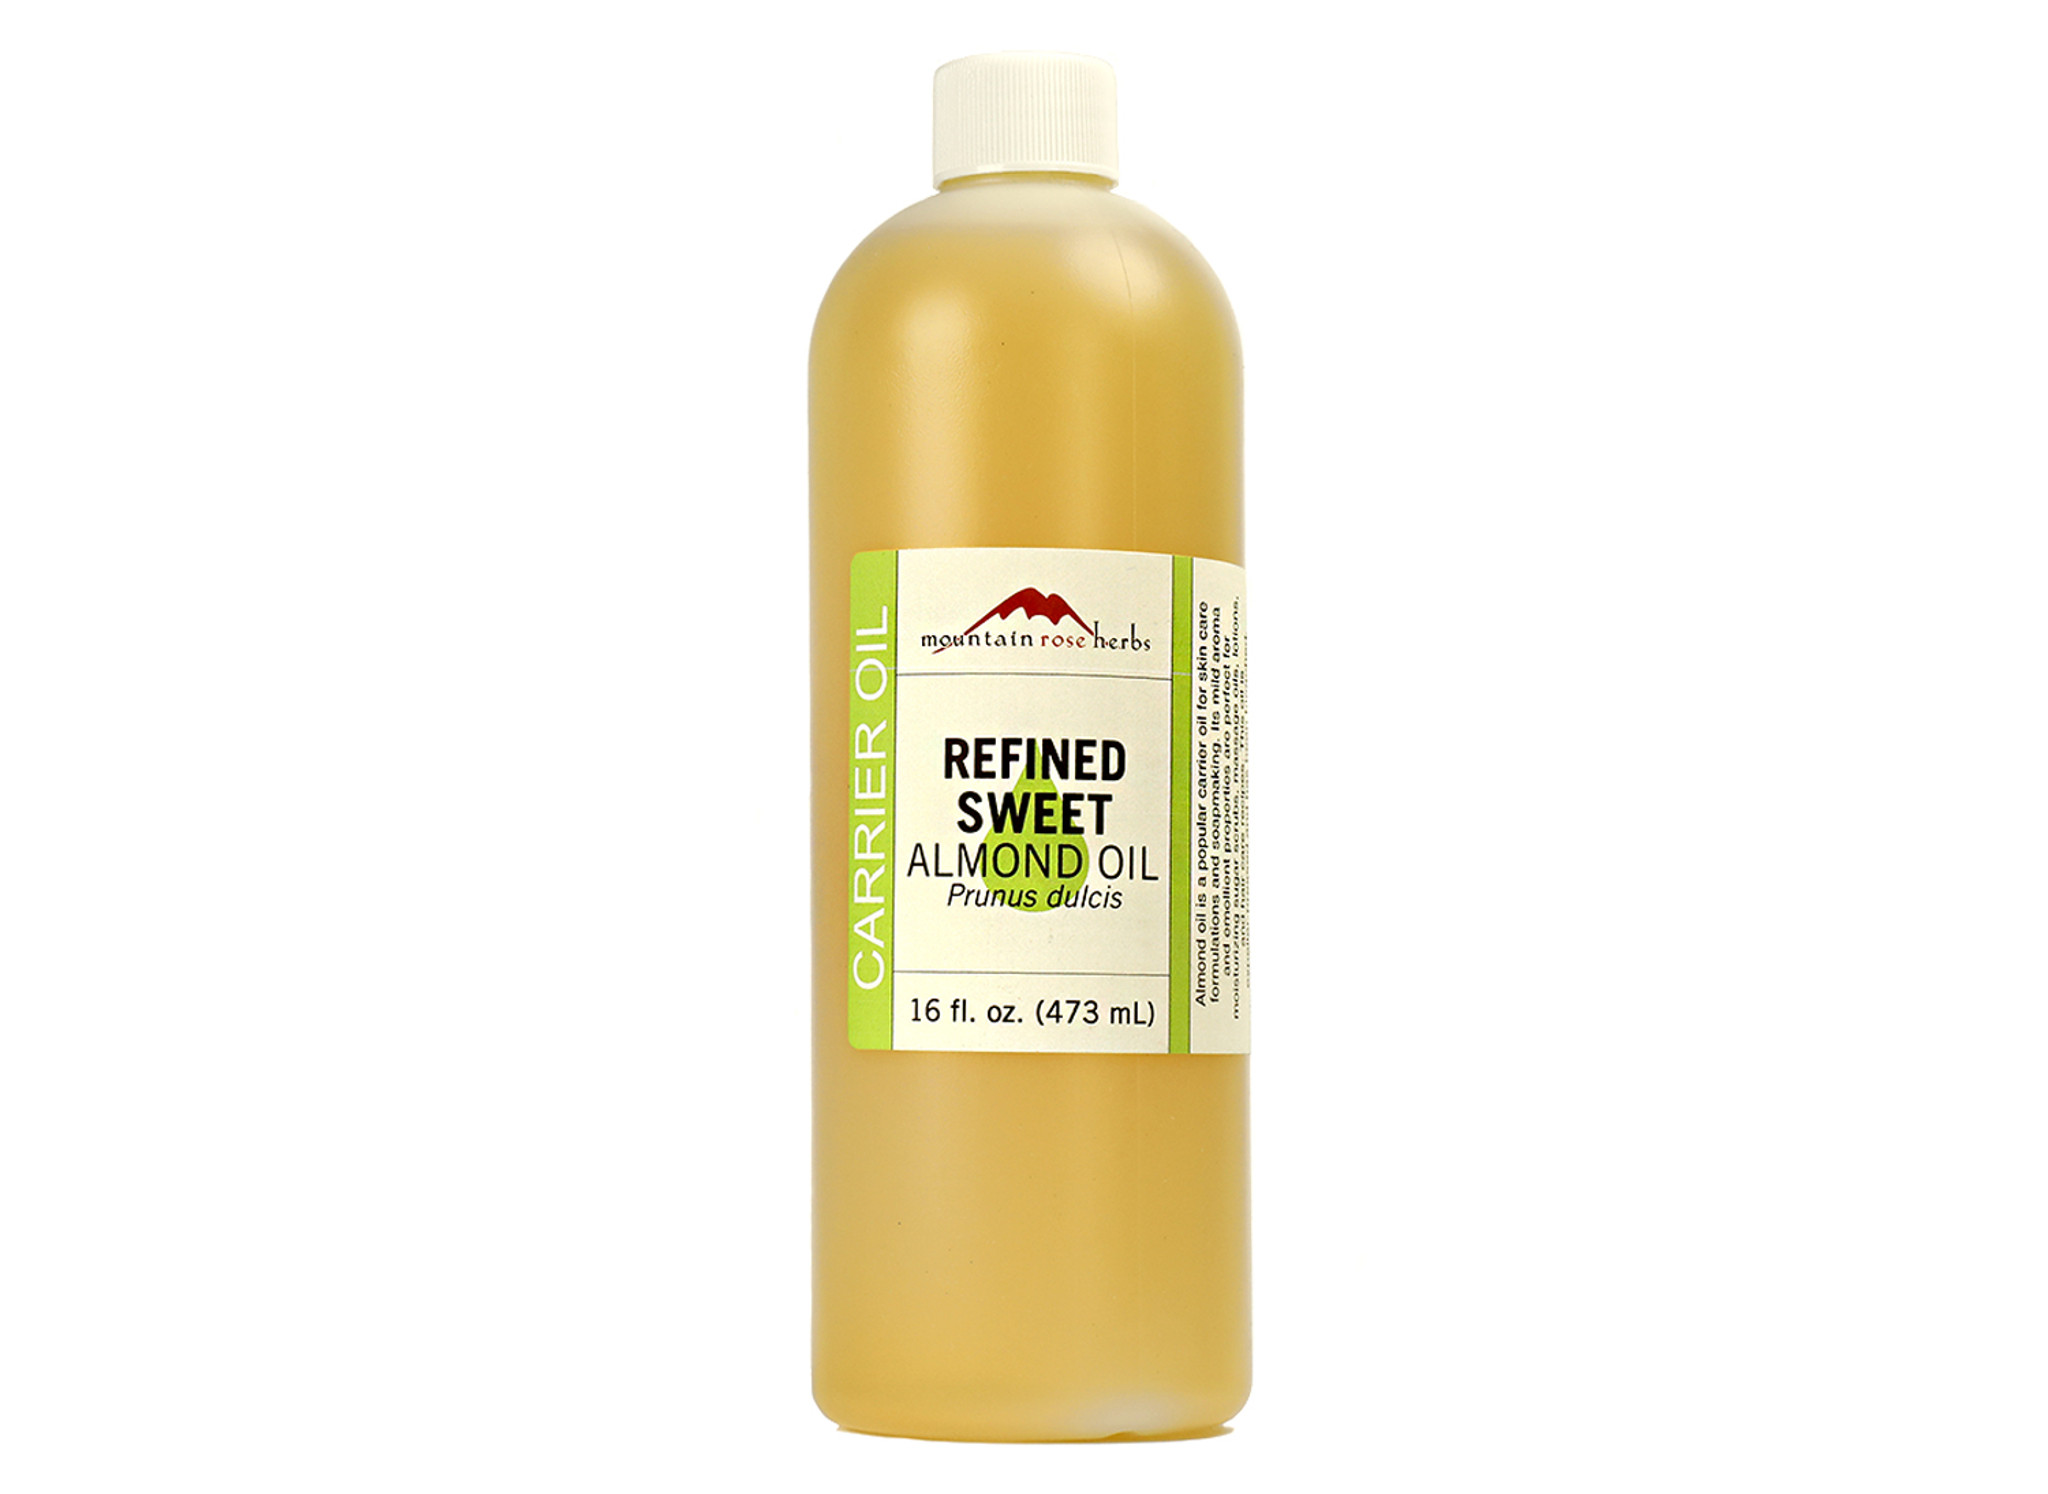
If you would rather not wait a full six weeks to have ready to use infused oil, you can speed up the infusion process using your stove top. Place your jar in a double boiler on your stove and simmer as low as possible for up to 3 hours. Your oil will be ready to use as soon as it cools, or you can wait a couple of weeks to allow your infusion to develop and grow stronger. You can also simmer your jar in a slow cooker for 3 hours the same way.
Some herbalists allow their oil to infuse on a sunny windowsill - personally I am against this method in most cases as it causes the oil to be exposed to large amounts of ultraviolet light which can break down the beneficial compounds. It may be fine if you plan to immediately move the jar to dark storage once it is done, or if you allow it to infuse only a couple of weeks on the windowsill before moving to a darker spot to finish infusing.
Ways to use calendula oil
After your oil is finished infusing, you can incorporate it into many different salves, balms, butters, creams and other skincare products. I hope this has shown you all the amazing benefits of calendula oil! It’s so easy to make an herb infused oil like this. I hope you’ll give it a try.

![The Power of Nature: How To Make Infused Oregano Oil for Your Health and Wellness [Recipe]](https://images.squarespace-cdn.com/content/v1/60e85024dc86d643da81c96a/1682625337753-AFI1M6MRRMDQ5CBNY2TX/unsplash-image-Fl2Ki3_GZIU.jpg)
![Make This Easy + Natural Botanical Hand Salve [Recipe]](https://images.squarespace-cdn.com/content/v1/60e85024dc86d643da81c96a/b57698b0-de70-4101-afaf-7af57788237d/Herbal+Face+Steam+Recipe+by+The+Cottage+Peach-1.jpg)
How to Make Healthy Homemade Granola (Recipe)
There’s something about the smell of warm granola cooking in the oven, earthy and sweet, that means home to me. When I was a kid I would smell it from up in my room, and I could just picture my mom mixing it up, spreading it on baking sheets, and tending the oven to pull it out at just the right time. She even made sure to leave a few big chunks for me not broken up, just how I liked it. I’m lucky in that we were never without fresh granola - as soon as my mom noticed the jar getting low, she would quickly pop another batch in the oven to fill up the jar all over again.
There’s something about the smell of warm granola cooking in the oven, earthy and sweet, that means home to me. When I was a kid I would smell it from up in my room, and I could just picture my mom mixing it up, spreading it on baking sheets, and tending the oven to pull it out at just the right time. She even made sure to leave a few big chunks for me not broken up, just how I liked it. I’m lucky in that we were never without fresh granola - as soon as my mom noticed the jar getting low, she would quickly pop another batch in the oven to fill up the jar all over again.
Now I keep a never-ending supply of granola on my own kitchen counter to fill my own house with the aroma of earth and sweetness and home. There really is nothing quite so comforting as the scent of warm granola cooling on the stovetop! You can mix up the flavors to complement the season with cinnamon and pumpkin seeds in the fall, pecans and allspice in the winter, apricots and almonds in the spring, and dried raspberries and blueberries in the summer. Granola also makes a great personalized zero waste edible homemade gift for the holidays - just pop your favorite blend of granola in a mason jar with a cute wooden lid and add some twine and a ribbon for a thoughtful, edible gift everyone will love.
Granola is my favorite mid-afternoon snack with berries and oat milk, and the best thing to bring on a day hike in the woods. What could be more satisfying than sitting down with a Stasher bag filled with granola after a long and strenuous hike in nature? It’s the perfect filling snack.
Why Make Homemade Granola?
There are plenty of tasty granolas available to buy, so why take the time to make your own?
The granola you find at stores is expensive, and making it yourself is much less so. You’ll also have complete control over the ingredients you choose, and won’t add any more packaging to our overburdened planet. And granola is so easy to make!

Homemade granola is healthy, delicious, vegan, and gluten-free (check your oatmeal’s packaging to be sure it is not processed in a factory that also processes products with gluten). It’s also completely customizable.
There’s no need to ever make exactly the same granola twice. Once you’ve mastered the basic method for making homemade granola, you’ll have a feel for it and can begin to make substitutions in oils and sweeteners, and try out additional ingredients.
The basic ingredients of granola are rolled oats, sweetener, oil, and salt. That’s it. And it tastes amazing!
As the main ingredient of the recipe, whole grain oats deliver lots of health benefits and are very filling. They’re anti-inflammatory, both inside the body and to the skin, which is why they’re often used in baths to soothe inflammatory conditions such as eczema.
But why stop at four ingredients when there are other delicious and nutritious foods you can add to take your granola up a level?
Delicious Add-Ins for Granola
The best part about granola is making it your own with different spices, fruits, nuts, seeds and sweeteners. It would be impossible to list all the delicious add-ins you could include in your homemade granola recipe, but here are some ideas to get you started:
Spices:
Cinnamon
Nutmeg
Allspice
Ginger
Nuts and seeds:
Both nuts and seeds provide protein, fiber, healthy fats, and other vitamins, magnesium, and other nutrients. Walnuts, chia, and flax seeds are great sources of plant-based omega-3 fatty acids.
Nuts can be used whole, or you can break them up if you want them to be more integrated into the granola. Mix and match what you’d like, and use it in place of 1 cup of the oatmeal.
Sunflower seeds
Sesame seeds
Pumpkin seeds
Chia seeds
Ground flax seed
Almonds
Pecans
Walnuts
Dried fruit:
In some ways, dried fruits are even better for you than fresh. They contain more fiber and antioxidants which can help lower your chances of developing heart disease, some kinds of cancer, and diabetes.

Raisins
Cranberries
Dates
Apricots
Fig
Banana chips
Cherries
Shaved coconut
Candied orange peel
Flavorings:
Peanut or almond butter
Molasses
Orange zest
Chocolate chips
Cacao nibs
Vanilla
Applesauce
Substitutions for a Homemade Granola Recipe
Experimenting with different oils and sweeteners can take the flavor of your granola in different directions.
Oils:
You can completely replace the vegetable oil with other edible oils, or add a dollop of butter to your oil of choice.
Vegetable oil
Coconut oil
Olive Oil
Butter
Sweeteners:
I love the flavor of maple syrup, and the inflammation-reducing antioxidants, zinc, magnesium, potassium, and calcium that come along with it. But different sweeteners can make a huge difference to the flavor, and also the texture, of your granola.
A crunchy granola is a great option, but if you’d like a chewy granola you could try substituting the maple syrup with honey, for example.
Maple syrup
Honey
Agave
Molasses
Simple Vegan Granola
Ingredients
- 5 cups rolled oats, or 4 cups oats and 1 cup nuts
- ½ cup dark brown sugar
- 1 cup pure maple syrup
- 4 Tablespoons vegetable oil
- 2 pinches of salt
Instructions
- Preheat your oven to 300°F
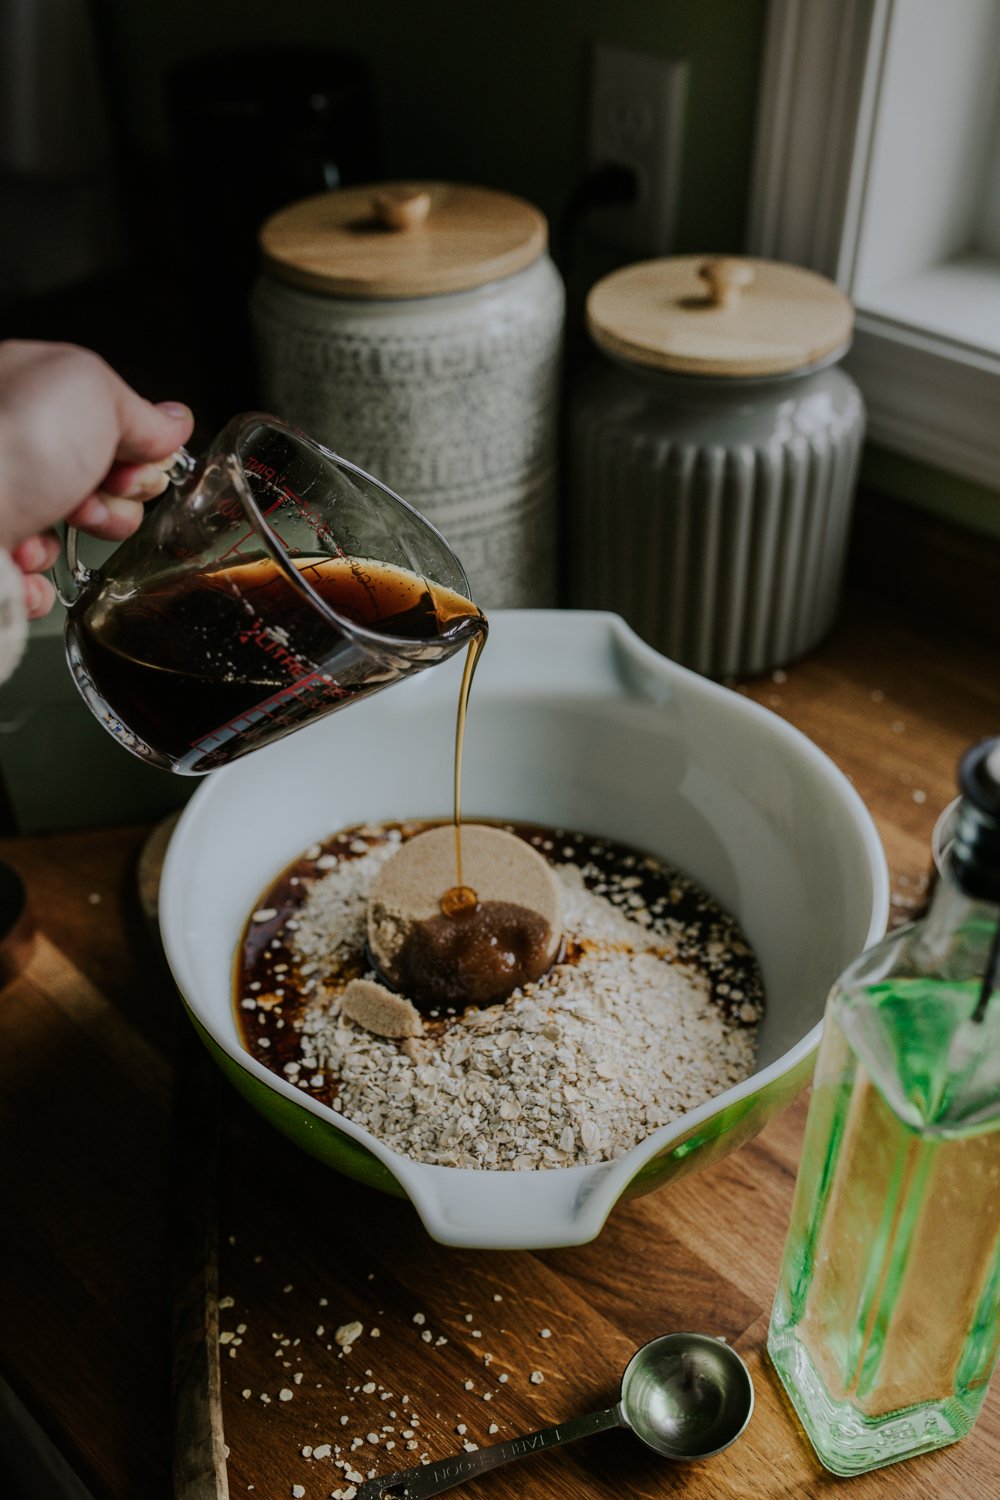
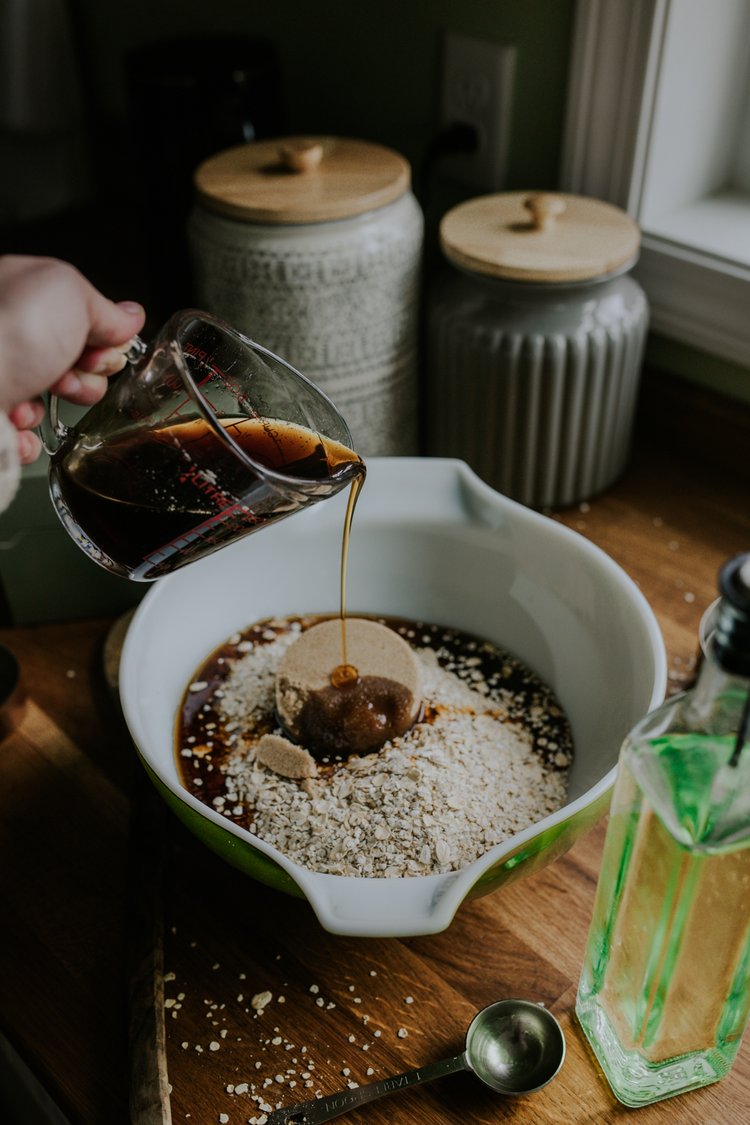
- Mix the ingredients in the order listed, stirring between each, until well combined.
- Spread the granola in an even layer on the baking sheets.
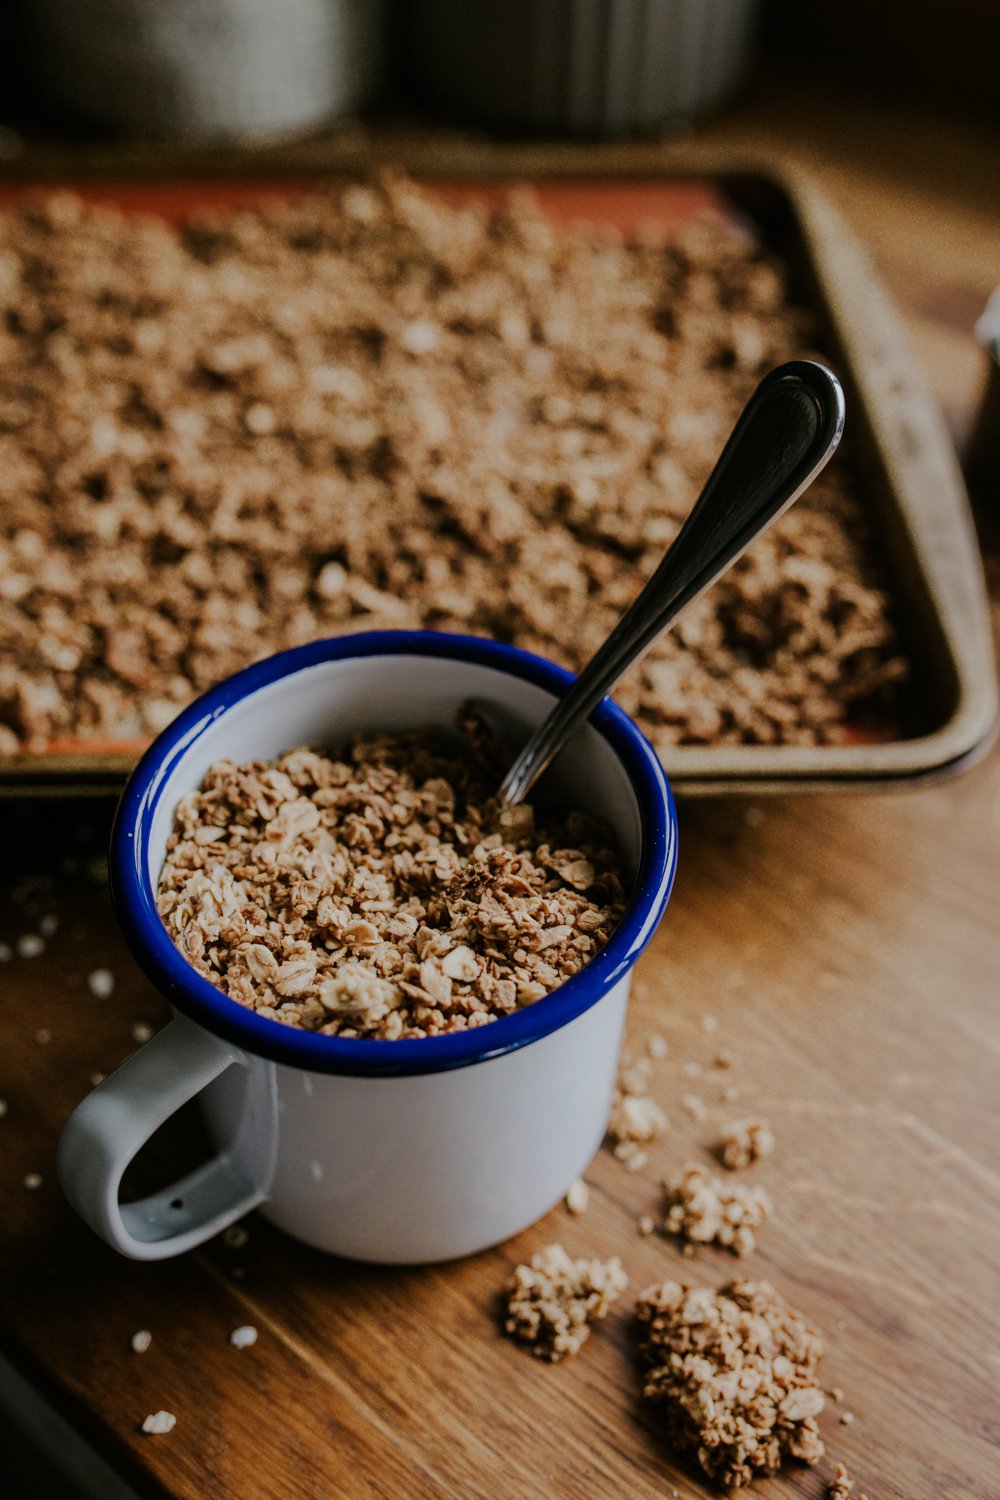
- Bake for 15 minutes, then stir it around a bit.
- Bake for 10 minutes and stir it again.
- Bake 10 more minutes, and you’re done.
Notes
Customize this simple vegan granola recipe by adding your favorite dried nuts and seeds or fruits and switching up the oil and sugar.
Nutrition Facts
Calories
138.29Fat
3.49Sat. Fat
0.61Carbs
24.98Fiber
2.69Net carbs
23.54Sugar
14.18Protein
2.24Sodium
35.8Cholesterol
0Recipe: Homemade Healthy Granola
Supplies:
2 baking sheets lined with Silpat or parchment paper
A spoon or spatula
A large mixing bowl
Ingredients:
5 cups rolled oats, or 4 cups oats and 1 cup nuts
½ cup dark brown sugar
1 cup pure maple syrup
4 Tablespoons vegetable oil
2 pinches of salt
Instructions:
Preheat your oven to 300 degrees.
Mix the ingredients in the order listed, stirring between each, until well combined.
Spread the granola in an even layer on the baking sheets.
Bake for 15 minutes, then stir it around a bit.
Bake for 10 minutes and stir it again.
Bake 10 more minutes, and you’re done.
Tips for Making Granola
Keep an eye on the granola for the last 10 minutes. Ovens vary, and there’s a short line between done and slightly burned.

The more granola you make, the better you’ll be at judging when it’s ready. You are looking for toasty and golden brown. It may feel a bit soft when you first remove it from the oven. If that happens and you’re not sure if it’s done, take a taste-sized bit out of the oven, let it sit for 1 minute, and then try it.
If you are adding other ingredients, you may need to adjust the amount of oil you use. Many granola recipes will suggest you use equal amounts of oil and sugar. I find that to be too oily. Aim for your oats to be coated, but not soggy with oil.
You can adjust the amount of salt, but don’t remove it completely. The salt enhances each flavor, and helps to bring them all together.
If you’d like your granola to be clumpy rather than loose, press it down with a spatula or the back of a spoon after you’ve done your last stir, and then again when you take it out of the oven.
If you add dried fruit while the granola is still warm, then press it down, that will also help hold the granola together. If you’d like it looser, add the fruit after the granola has cooled. If you’d like it to cook with the granola, only add it for the last 10 or 15 minutes.
If adding nut butter, melt it slightly and combine it with the maple syrup. Vanilla should also be added to a liquid, so that it will coat the oats more evenly.
Chocolate chips can be added after the granola has cooled, or while it’s slightly warm if you’d like it to melt into the oats a bit.
Mistakes to Avoid When Making Granola
If you put an uneven amount of granola on each baking sheet, they will cook at different rates. Be consistent with the amount of granola on each of the baking sheets, so both will cook at the same speed.
Make sure your layer of granola does not thin out around the edges. It is easy to burn granola, and thinner areas will cook much faster.
Coconut shavings burn easily. Don’t add them until the last stir if you’d like them toasted, or after the granola is out of the oven if you’d like them untoasted.
Storing Homemade Granola
Store your granola in an airtight container. It looks pretty in a glass jar on the counter, but a Ziploc will also do.
If you make a large batch, you can store some in the freezer to thaw for later use.
How to Use Granola
Granola is a great snack on it’s own, but there are also tons of ways to use it as an ingredient with other foods:
Ways to use granola
As cereal, in milk or kefir with berries and chocolate chips
On yogurt with a sliced banana
As a crunchy top for muffins or apple cake
On ice cream
Defrost frozen berries in a bowl, then add yogurt and granola for a delicious breakfast
On pancakes with maple syrup
On a salad


How to Save Sunflower Seeds
If you’re wondering if sunflower seeds are good for you, here’s what you need to know: a quarter cup of shelled sunflower seeds has almost 6 grams of protein and 4 grams of fiber, and the seeds are packed with nutrition, providing a variety of vitamins, iron, copper, calcium, selenium, zinc, potassium, and manganese. Sunflower seeds are helpful to our bodies in many ways, from decreasing risk of heart disease to boosting our immune systems.
Health benefits of sunflower seeds include:
Ask me what snack tastes most like summer to me and I’ll say tomatoes, but sunflower seeds come in as a close second. Crunchy, salty, natural and good for you - who could ask for more in a snack?
Health Benefits of Sunflower Seeds
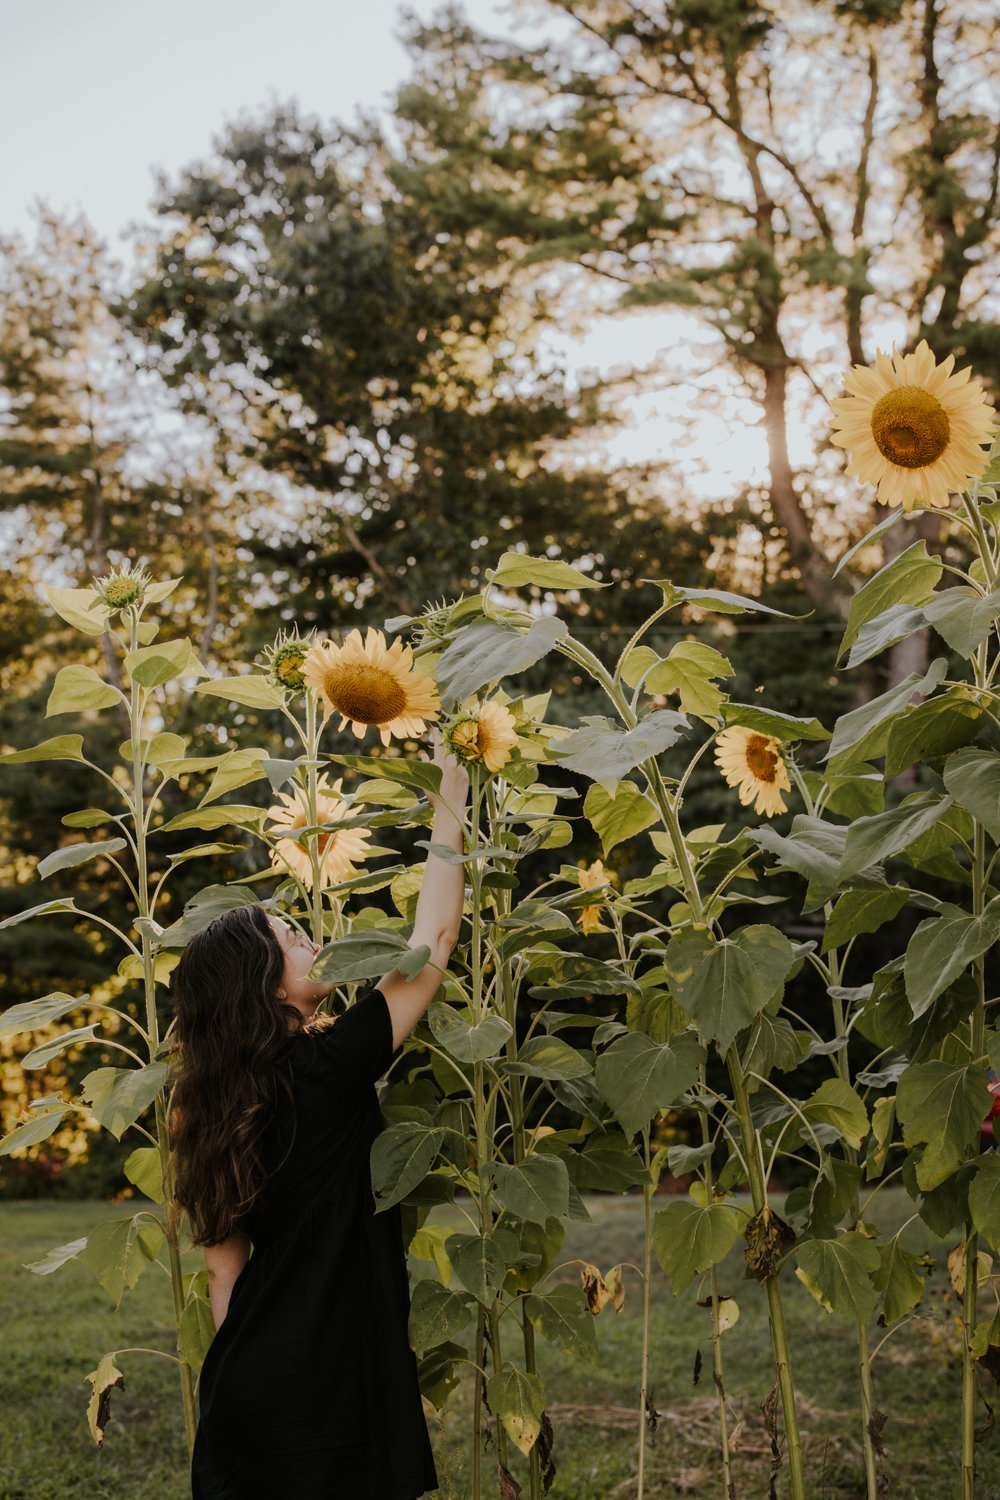
If you’re wondering if sunflower seeds are good for you, here’s what you need to know: a quarter cup of shelled sunflower seeds has almost 6 grams of protein and 4 grams of fiber, and the seeds are packed with nutrition, providing a variety of vitamins, iron, copper, calcium, selenium, zinc, potassium, and manganese. Sunflower seeds are helpful to our bodies in many ways, from decreasing risk of heart disease to boosting our immune systems.
Health benefits of sunflower seeds include:
Anti-inflammatory Properties: The vitamin E , selenium, and flavonoids in sunflower seeds can reduce inflammation.
Healthy fats: A 1/4 cup serving of sunflower seeds contains about 14 grams of polyunsaturated and monounsaturated fats. These fats are linked to lower rates of heart disease, high cholesterol, and high blood pressure.
A boost for the immune system: The zinc and selenium in sunflower seeds can boost your body’s ability to fight off viruses. Zinc is vital to helping your body develop and maintain immune cells, while selenium helps fight infection.
Energy: Sunflower seeds are rich in protein, which directly contributes to your energy levels, but other nutrients in the seeds also contribute to keeping you active. Vitamin B1 (thiamin) helps your body convert food to energy, while vitamin B helps maintain that energy. The same selenium which helps your body fight infections also increases your blood flow, delivering more oxygen to your body, resulting in more energy.
How to Plant Sunflower Seeds
Sunflowers grow easily from seed and can be sown directly into the ground. They are not particular about soil conditions, and will be happy as long as they are planted in full sun.
Sunflower seeds do not like cold, and should be planted two to three weeks after the last average frost date, when the temperature of the soil is consistently warmed.
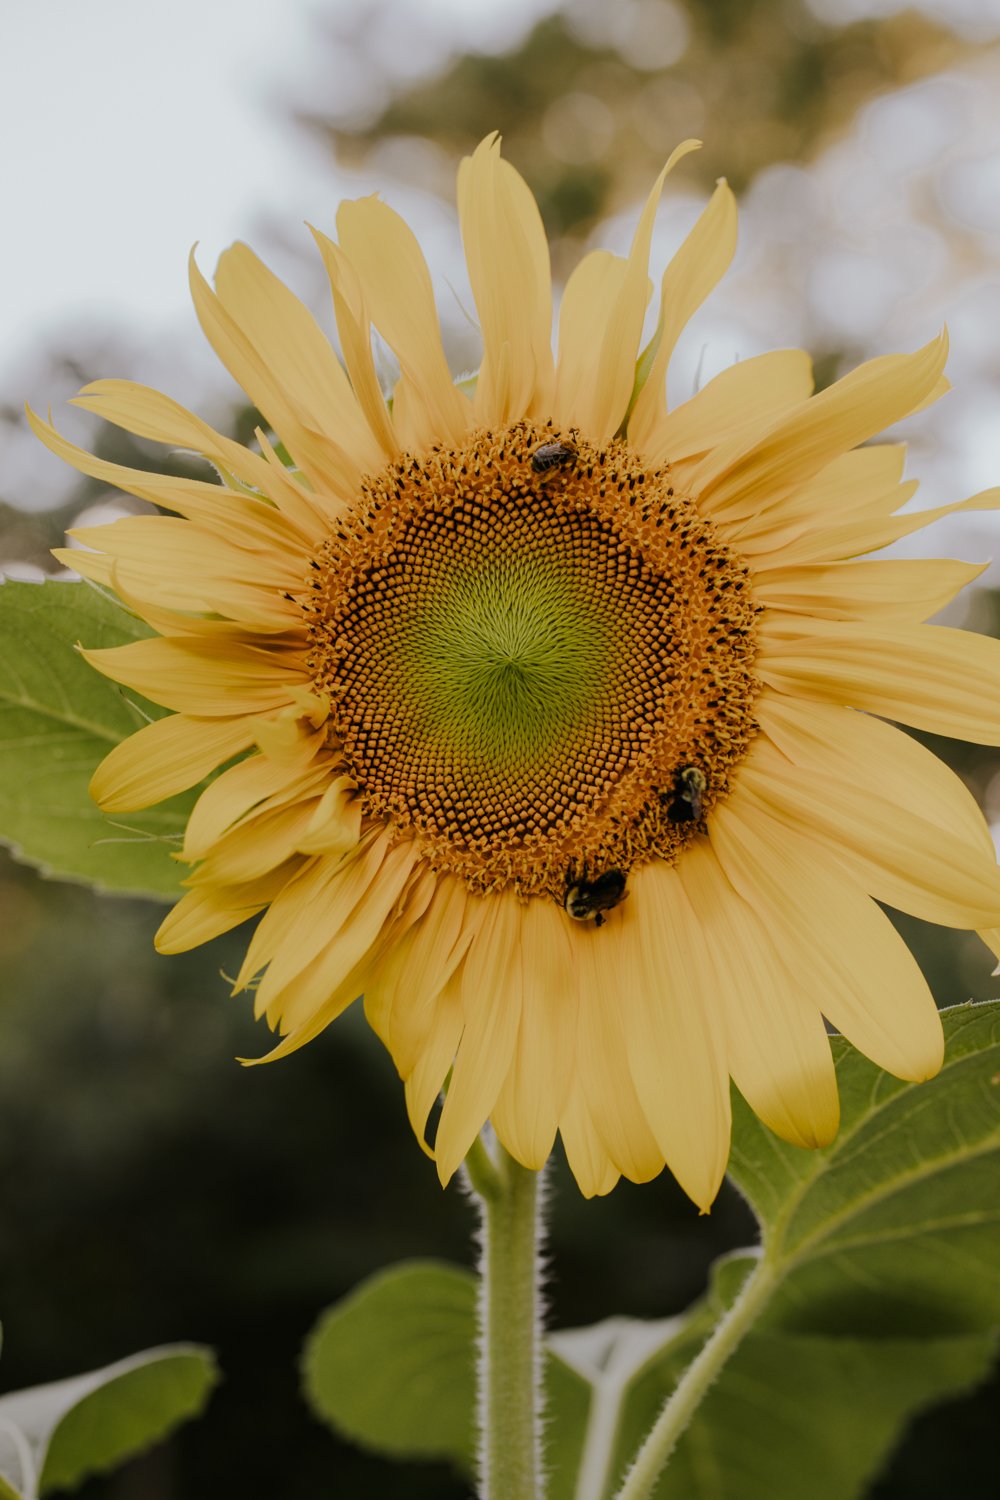
This will generally be somewhere between mid-April and mid-June. The timing of the planting can be individual to the variety, so check your seed packet.
From that point on you can succession sow, planting seeds every couple of weeks to extend your season.
Most sunflower seeds are planted 1-2” deep, but follow the directions for spacing printed on your seed packet. If you would like to produce smaller flowers, plant your seeds a bit closer than recommended.
Keep your seeds consistently moist until the plants’ root systems have had a chance to establish themselves.
Sunflower seeds are a favorite among the animals and birds we typically share the land with, so it’s best to protect the seeds through germination. This can be done by placing a mason jar upside-down on top of the soil above each seed. This will not only prevent thieving critters from stealing your seed, it will create a warm and moist environment for germination.
Once your plants emerge, remove the jars and thin the plants to provide proper spacing.
What Kinds of Sunflowers Should I Plant to Eat?
Some sunflowers are grown for cutting, and produce little to no pollen, without which they cannot produce seed. Others are grown particularly for their ability to produce delicious seed.
Varieties grown for edible seeds are sometimes called ‘confection’ types. Taller sunflowers produce the biggest crop of seeds, but there are shorter cultivars available which are bred to produce plump, delicious seeds.
What edible sunflower seeds should you buy?
It’s worth nothing that not only are the seeds edible, but the small buds of many varieties can also be grilled, marinated, or sauteed for an unusual appetizer or side dish.
With yellow-tipped, bronze-red petals, 'Shock-O-Lat' is sure to draw attention. Contrasting purple-tinged stems are well-branched, offering a multitude of pollenless blooms for bouquets. Sunflowers are edible, with a bittersweet flavor. The petals add a pretty pop of color ion salads and desserts. The young, sunflower buds are edible, with a flavor similar to artichoke hearts. They can be grilled, marinated, or sauteed for an unusual appetizer or side dish. The 6" flowers can be tamed down to 3" by spacing plants closely (10" apart). Tap to shop.
Each 'Mongolian Giant' plant produces a single yellow flower up to 18" across that will provide extra-large seeds filled with tasty, hearty kernels. These single-stem sunflowers attract pollinators and are very easy to grow in almost any sunny garden, although a sunflower's size is dependent on the growing conditions. They also are drought tolerant and fast growing; you can almost watch them gain an inch or more a day! Inside this packet, we've included tips on how to protect your ripening seeds from squirrels and birds, and a recipe for roasting seeds. Edible, bittersweet petals make a sunny garnish on salads and appetizer plates. Tap to shop
This giant among sunflowers is a fast grower whose single stalk can reach 12' tall and produces one 10"-12" flower! Not fussy about soil, it's very easy to grow and drought tolerant. Grow in a tight row to make an attractive screen. Sow monthly for continual bloom. Tap to shop
A unique addition to your flower bed, these bright yellow puffball blossoms will give you a warm, fuzzy feeling! 'Teddy Bear' produces many 3"-5" flowers on a 24"-36" tall, multi-branching plant; beautiful as a short hedge and makes a fabulous cut flower. Sunflowers are edible, with a bittersweet flavor. The petals add a pretty pop of color ion salads and desserts. The young, sunflower buds are edible, with a flavor similar to artichoke hearts. They can be grilled, marinated, or sauteed for an unusual appetizer or side dish. Great for kids to grow due to the large seed and fast growth. Drought-tolerant once established, and attracts pollinators. Non-fussy plant blooms until fall. Tap to shop
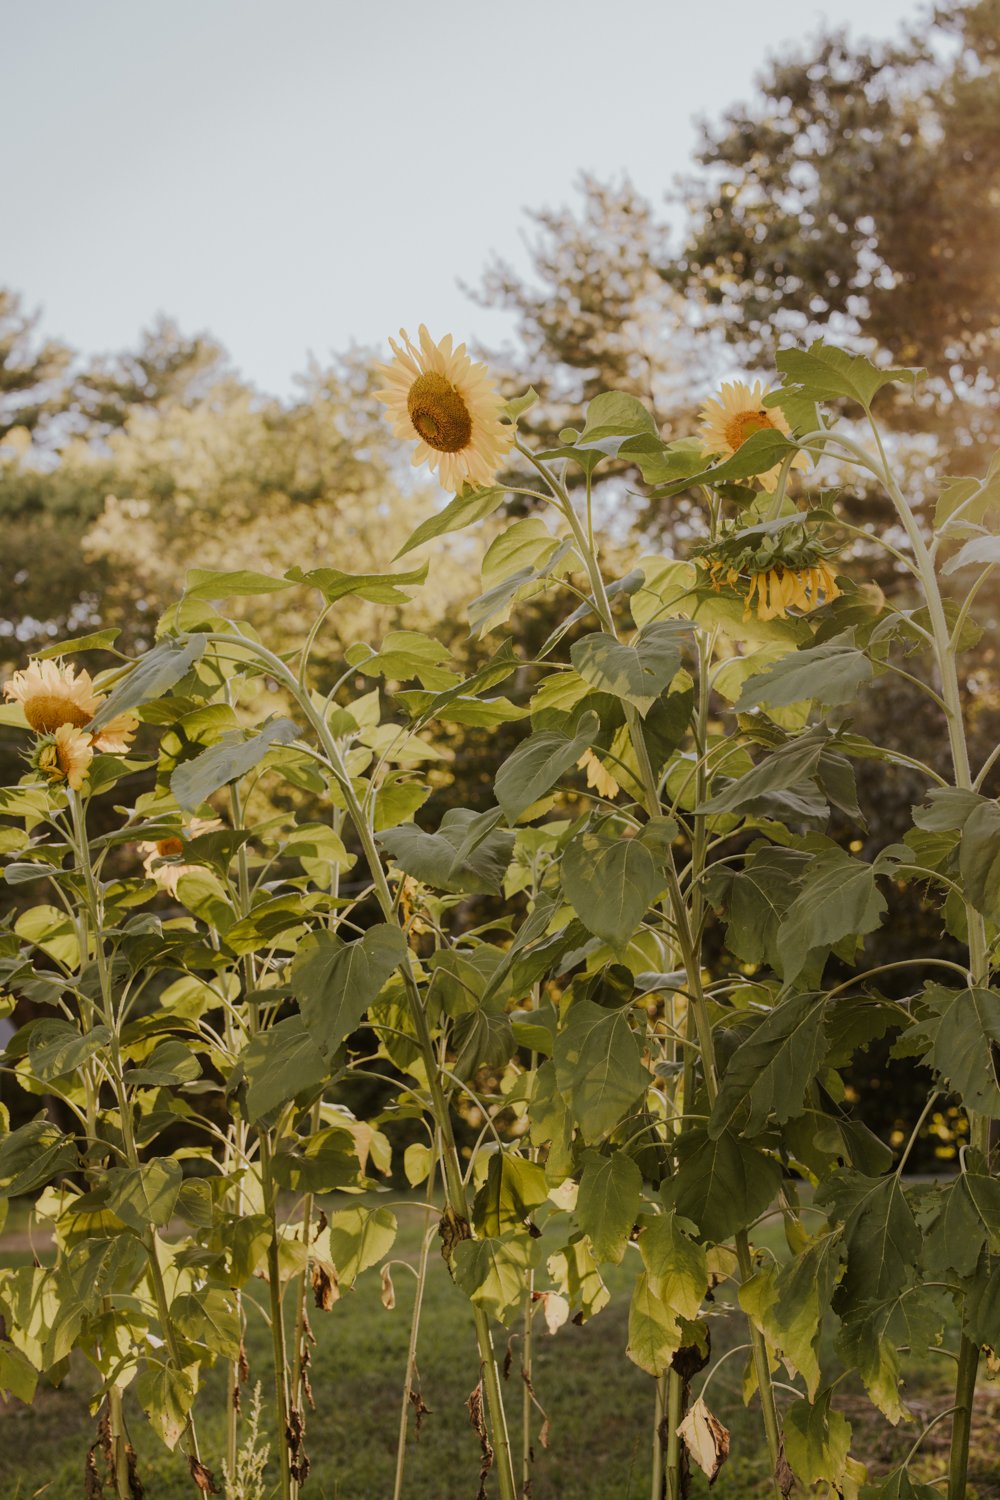
When to Harvest Sunflower Seeds for Eating
You will want to wait to harvest when the sunflower has lost petals, and the back of the flower is yellow with some brown spots. Any flower on which seeds feel a bit like wiggly teeth should be harvested immediately.
If it’s almost time to harvest and you’re concerned about wildlife getting to the seeds before you do, as soon as petals start falling, tie a brown paper bag or some cheesecloth around the flower right out in the garden and leave it until the seeds are mature.
How to Harvest Sunflowers
Once the flowers are ready for harvesting cut them off the stem an inch or so behind the flower. Remove the leaves and the loose petals around the edge of the flower.
Sunflower seeds form beneath tiny flowers (florets). At this point, the florets will be dry, and you can use your hand to wipe them off and reveal the seeds.
Harvesting Sunflower Seeds to Eat
Some flowers will have seeds you can easily coax out with your fingers or by rubbing two sunflowers together.
For tighter groupings of seeds, you have a few options:
Cutting the flower will expose edges, making it easier to get in under the seeds.
A spoon will allow you to dig in a bit to get things started.
A knife accomplishes the same thing as a spoon, with a bit more danger for thrill-seekers.
If the seeds are extremely tight, allow them to dry longer on the flower head before harvesting.
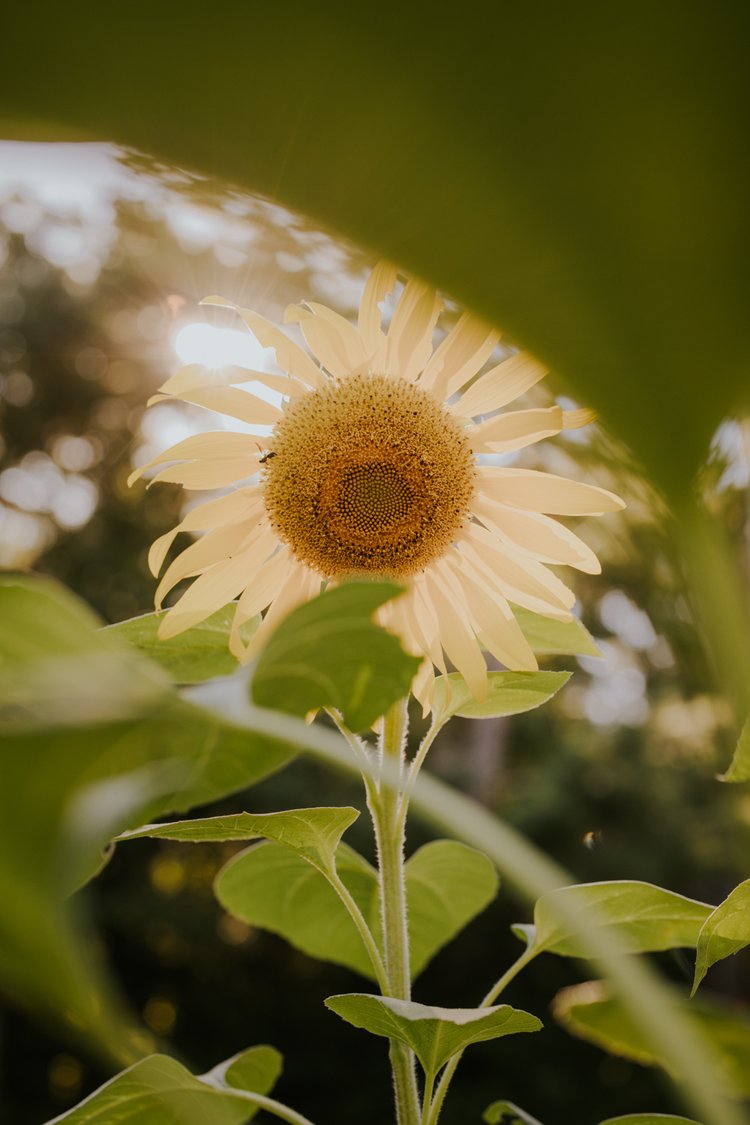
Roasted sunflower seeds
Ingredients
- 8 cups warm water
- ½ cup table salt
Instructions
- Dissolve the salt in the warm water and stir in your sunflower seeds, making sure that the seeds are completely covered with liquid. The sunflower seeds will want to float so you can put a plate on top to weigh them down and keep them submerged in the brine.
- Allow the sunflower seeds to soak for 12-24 hours. The salt will stick to the seeds. Stir well and drain, transferring the seeds to a baking sheet. Spread the sunflower seeds in a single layer.
- Preheat the oven to 325°F and bake the sunflower seeds for 25-30 minutes to completely dry. Store in an airtight container.
- Don’t have time to soak your sunflower seeds overnight? You can bring a pot of salted water to a boil, reduce the heat to a simmer and simmer your sunflower seeds for 1-1.5 hours and then roast.
Notes
Once roasted, you can eat the seeds as they are or with a bit of oil and a sprinkle of spices.
You can also use them wherever you want to add a salty, crunchy ingredient. They’re delicious in trail mix with dried fruit and chocolate chips, and make a nice addition to salads. They can be used as nuts for cookies or cakes, stirred into oatmeal, or added to a stir fry.
What To Avoid Doing When Drying Sunflower Seeds
Some people recommend rinsing your seeds before beginning to dry them. I don’t find this to be necessary, and don’t recommend adding any moisture when the goal is to get the seeds completely dried out.
Roasting Sunflower Seeds
Some people skip brining sunflower seeds and just roast them on cookie sheet at 300 degrees for 15 minutes, but salting and roasting improves their flavor and extends their shelf life. Fresher seeds will have a better flavor after roasting than older seeds would so it’s best to do this soon after harvesting your seeds.
Roasted Sunflower Seeds Recipe
Once you’ve removed the seeds from the flower, pour them into a bowl and skim through with your fingers, removing any leaves or flower debris.

Ingredients:
8 cups warm water
½ cup table salt
Dissolve the salt in the warm water and stir in your sunflower seeds, making sure that the seeds are completely covered with liquid. The sunflower seeds will want to float so you can put a plate on top to weigh them down and keep them submerged in the brine.
Allow the sunflower seeds to soak for 12-24 hours. The salt will stick to the seeds. Stir well and drain, transferring the seeds to a baking sheet. Spread the sunflower seeds in a single layer.
Preheat the oven to 325 and bake the sunflower seeds for 25-30 minutes to completely dry. Store in an airtight container.
Don’t have time to soak your sunflower seeds overnight? You can bring a pot of salted water to a boil, reduce the heat to a simmer and simmer your sunflower seeds for 1-1.5 hours and then roast.
Ways to Eat Sunflower Seeds
Once roasted, you can eat the seeds as they are or with a bit of oil and a sprinkle of spices.
You can also use them wherever you want to add a salty, crunchy ingredient. They’re delicious in trail mix with dried fruit and chocolate chips, and make a nice addition to salads. They can be used as nuts for cookies or cakes, stirred into oatmeal, or added to a stir fry.
Saving Sunflower Seeds For Planting:
Sunflowers are an annual plant, meaning they fulfill their life cycle in one season: planted in the spring, setting seed in the fall, then dying back all together. Because of this, new seeds must be planted each year.
Saving seed from sunflowers you have grown is simple and will help you save money on buying new seeds!
When to harvest sunflower seeds for planting
As the seeds grow in size, the flower will begin to bend over from the weight. Eventually, outer petals will become dry and begin to drop. When the back of the sunflower goes from green to yellow and brown spots appear, the flower is ready for harvesting.
How to harvest sunflower seeds for planting
When the flower is ready, cut it with a 12” stem. Unlike with sunflower seeds you intend to eat, seeds for planting must dry on the flower itself. Tie a brown paper bag around the flower head and hang it upside down indoors for two weeks.
At that point, the seeds are ready to be taken off the flower. Remove them, spread them out, and allow them to dry out for another week or so.
When the seeds will crack if you try to bend them, they are completely dry and ready for storage.
How to store sunflower seeds for planting
Choose the biggest seeds to save. (The rest can be roasted) Put the dried seeds in an airtight container and label with the variety and date.
Sunflower seeds stored in a mason jar will stay viable for about five years. They can also be stored in a Ziploc bag or paper envelope but won’t retain viability for as long. If you don’t have a jar available, a Ziploc is a better choice than an envelope, giving your seeds another year or so of use. Keeping the seeds in the refrigerator is another way to extend their usefulness.
Can you harvest seeds for planting from cut flowers you buy?
The short answer is no. Sellers harvest cut sunflowers before their seeds fully develop, or sometimes before they set at all. Even if the seller is a little late in the cutting and seeds have begun to set, they will not reach maturity on a cut flower.

Benefits of Lavender and How to Grow Your Own
Lavender is beautiful, but that’s only one of its many benefits. Its soothing scent makes it a much-loved ingredient in soaps, sachets, lotions, eye pillows, and shampoos.
The aroma itself comes from oil in the small flowers, which grow together on long stems above the silver-green foliage. Lavender essential oil has been studied for a variety of potential medicinal uses, including preventing hair loss and reducing agitation in people with dementia. Its antiviral and antibacterial uses are also being studied.
The Cottage Peach is reader-supported. When you purchase through links on our site, we may earn an affiliate commission at no additional cost to you. All opinions are our own.
Since we grow more lavender than any one family needs, we’ve found just about every way possible to enjoy dried lavender around here. Recipes and gift ideas are below, but first let's talk a little about why I love lavender so much!
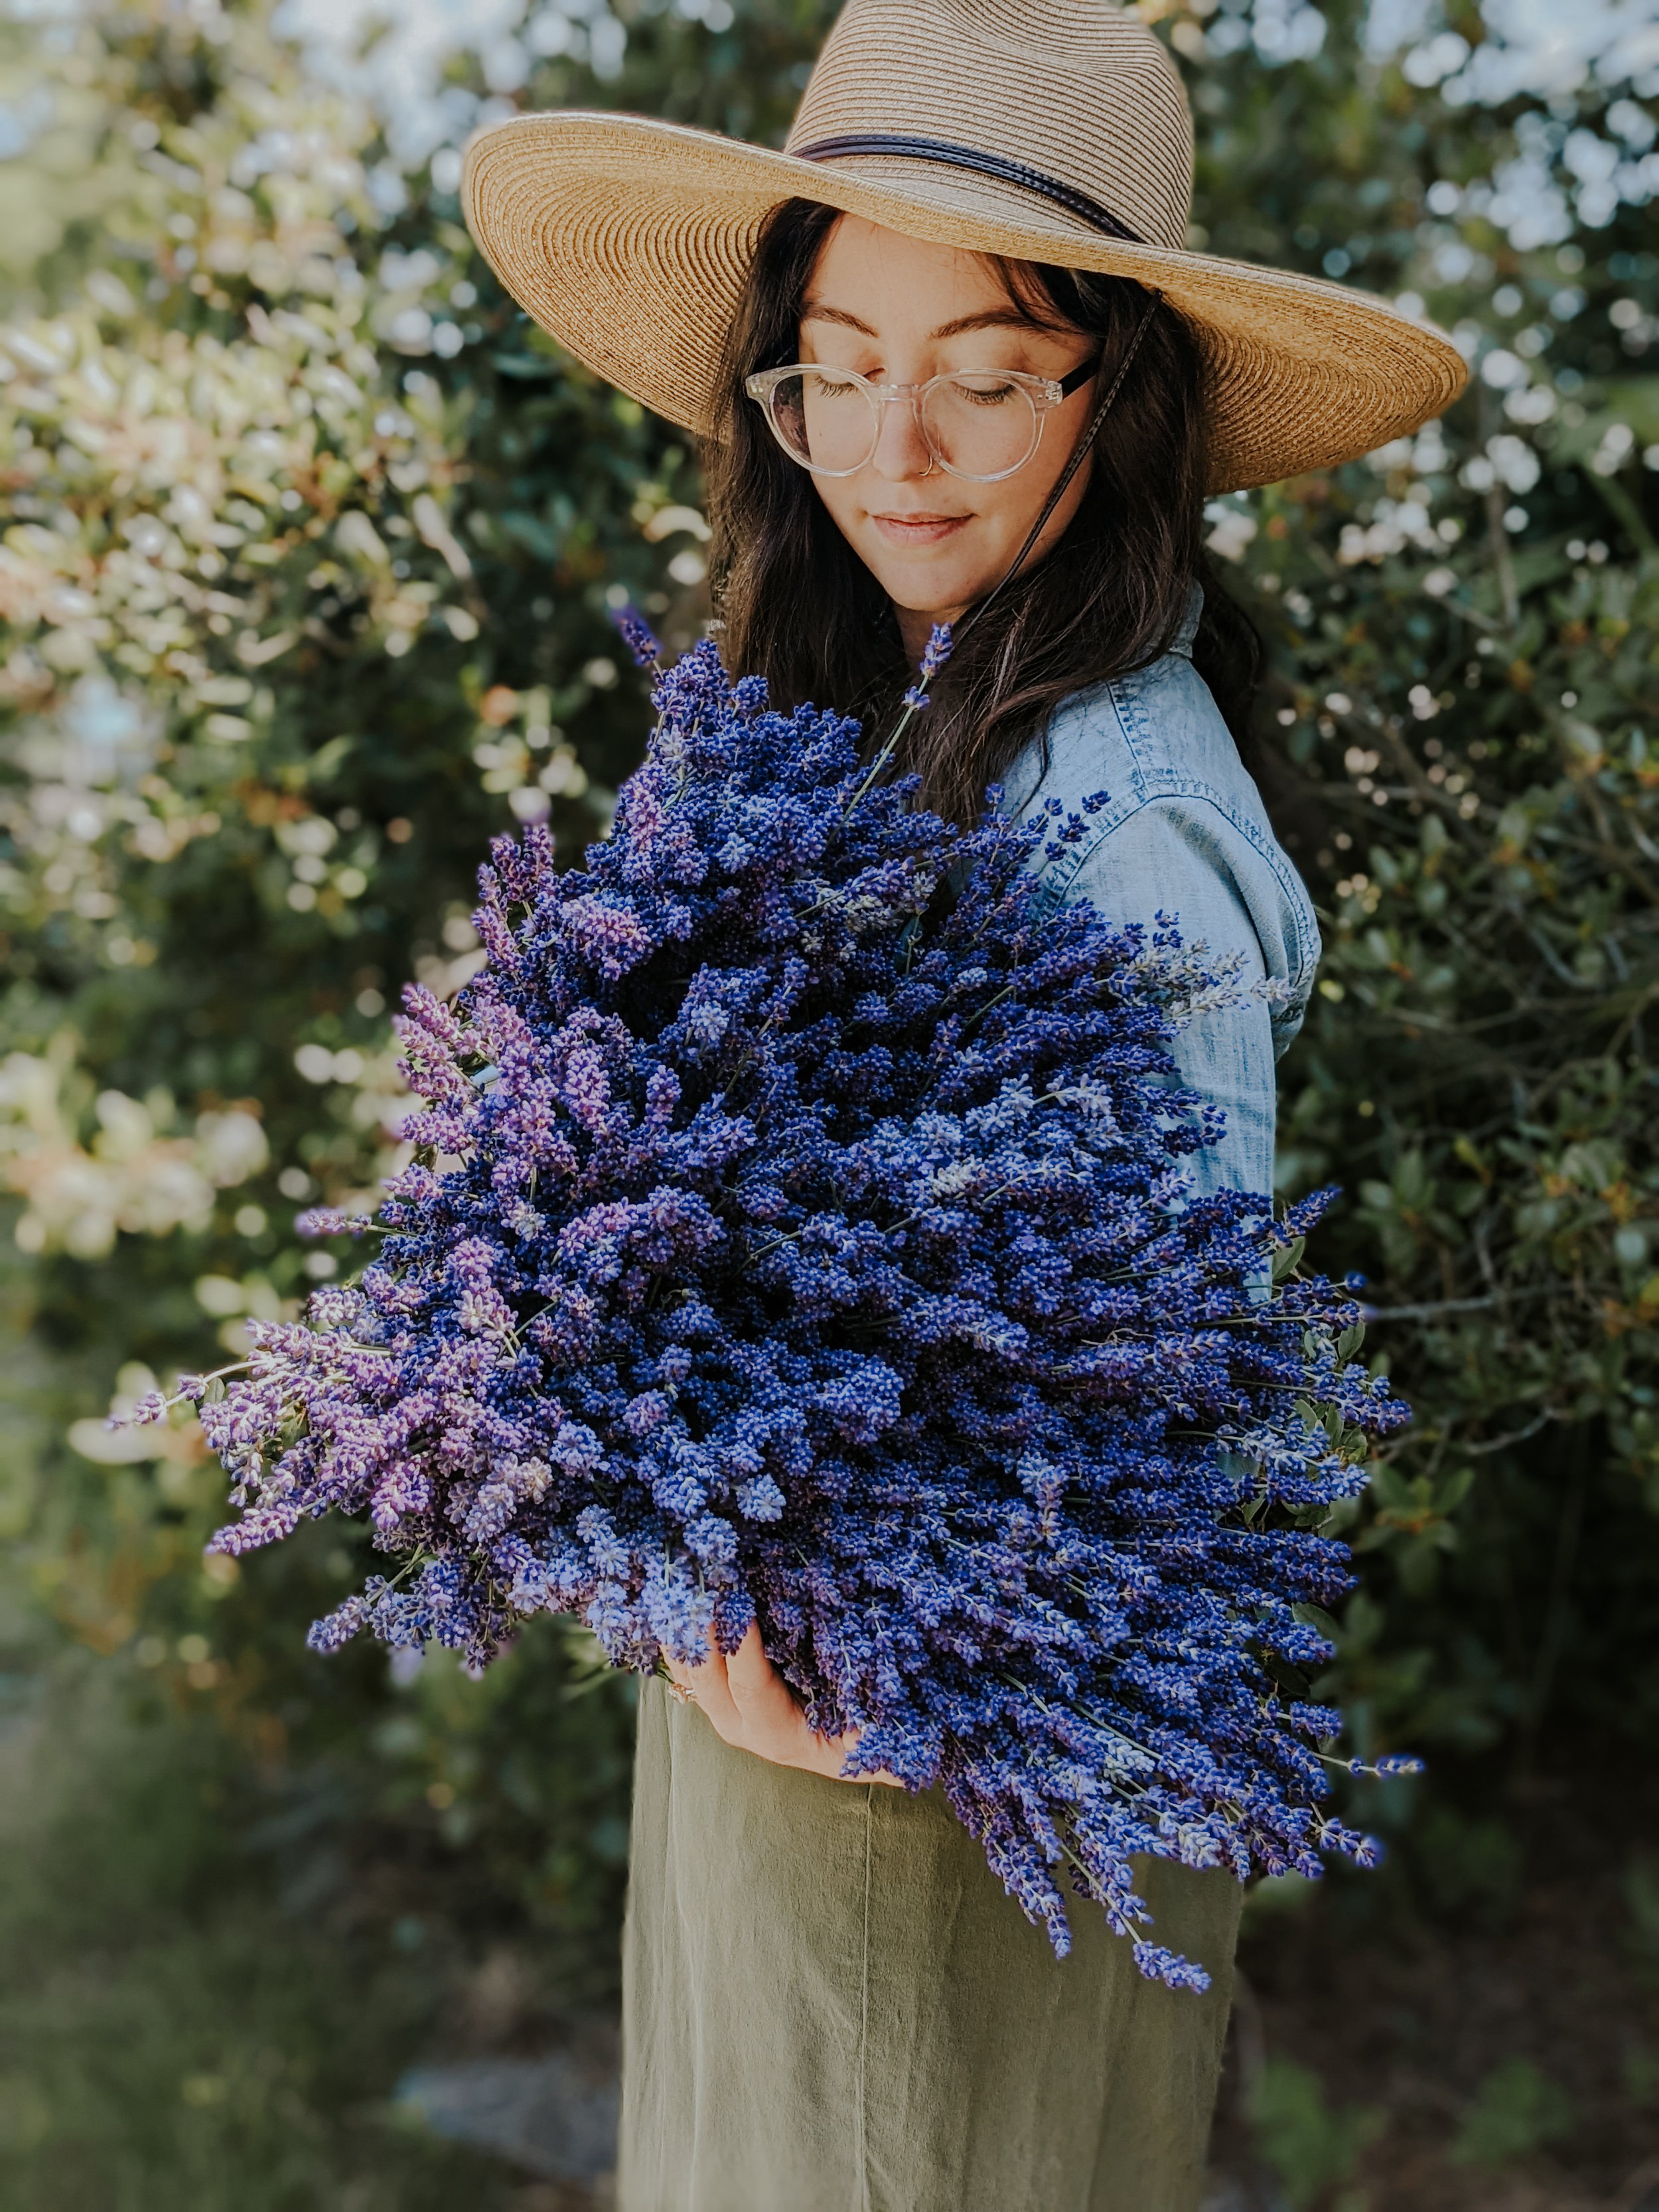
What are the benefits of lavender?
Lavender is beautiful, but that’s only one of its many benefits. Its soothing scent makes it a much-loved ingredient in soaps, sachets, lotions, eye pillows, and shampoos.
The aroma itself comes from oil in the small flowers, which grow together on long stems above the silver-green foliage. Lavender essential oil has been studied for a variety of potential medicinal uses, including preventing hair loss and reducing agitation in people with dementia. Its antiviral and antibacterial uses are also being studied.
Lavender has traditionally been used medicinally for insomnia and anxiety due to the sedative effects of its aroma. It is frequently used to fill pillows in order to encourage sleepiness, and strewn in water to make a hot bath even more relaxing.
I've been using lavender to soothe my anxiety since I first sprayed a lavender scented room spray on my pillow as a teenager. Now I like to put a few drops of oil on my hair scrunchie when I'm feeling stressed, and keep a bundle on the windowsill beside my bed for sweet dreams.
How to Use Lavender for Aromatherapy
Want to know the secret to a soothing shower? I bet you won’t be surprised when I say lavender. Simply bundle some stems of dried lavender and tie them together with a length of twine. Make a loop with the end of the twine, which you can drape over your showerhead.

This simple, beautiful, natural decor item will bring a sense of peace to your home. Bring your lavender in the shower with you - I promise you won’t regret it!
Alternatively, dried lavender can be mixed with Epsom salts in a bath.
Lavender will make your bathroom a retreat in which to relax, calm, and soothe not only your mind but your skin as well.
Lavender-Infused Sugar Recipe
Add a handful of dried lavender buds to a cup of sugar. Store it in a cabinet or on the counter in a pretty mason jar - I love these wooden lids you can put on Ball mason jars. Lavender-infused sugar is a delicious addition to tea, cookies, or pound cake.
Lavender Simple Syrup Recipe
My favorite thing to do with our homegrown lavender by far is to infuse it into a simple syrup. This syrup can then be used to make mocktails (see recipe below), popsicles and many other desserts. You can make your own lavender simple syrup for drinks and desserts at home in just a few minutes!
Ingredients and supplies:
1 Tablespoon lavender buds
1 cup sugar
1 cup water
A sieve or cheesecloth
A leak-proof jar
Directions:
In a small pot combine the lavender, sugar, and water.
Bring the mixture to a boil, then let it boil for one minute.
Remove the pan from the heat and steep the syrup for one hour before straining.
Strain with the sieve or cheesecloth.
Pour into an airtight jar and store in the refrigerator.
This simple syrup keeps well in the fridge for about 3 weeks, but don’t worry - you’ll finish it long before it has a chance to go bad!
Lavender Lemonade Summer Mocktail Recipe
Summertime drinks are just more refreshing when fresh fruit, herbs, and flowers are added. This Lavender Lemonade Mocktail recipe is a favorite. Just don’t ask me how many glasses of this I’ve enjoyed over the past summer - it’s more than I care to admit!
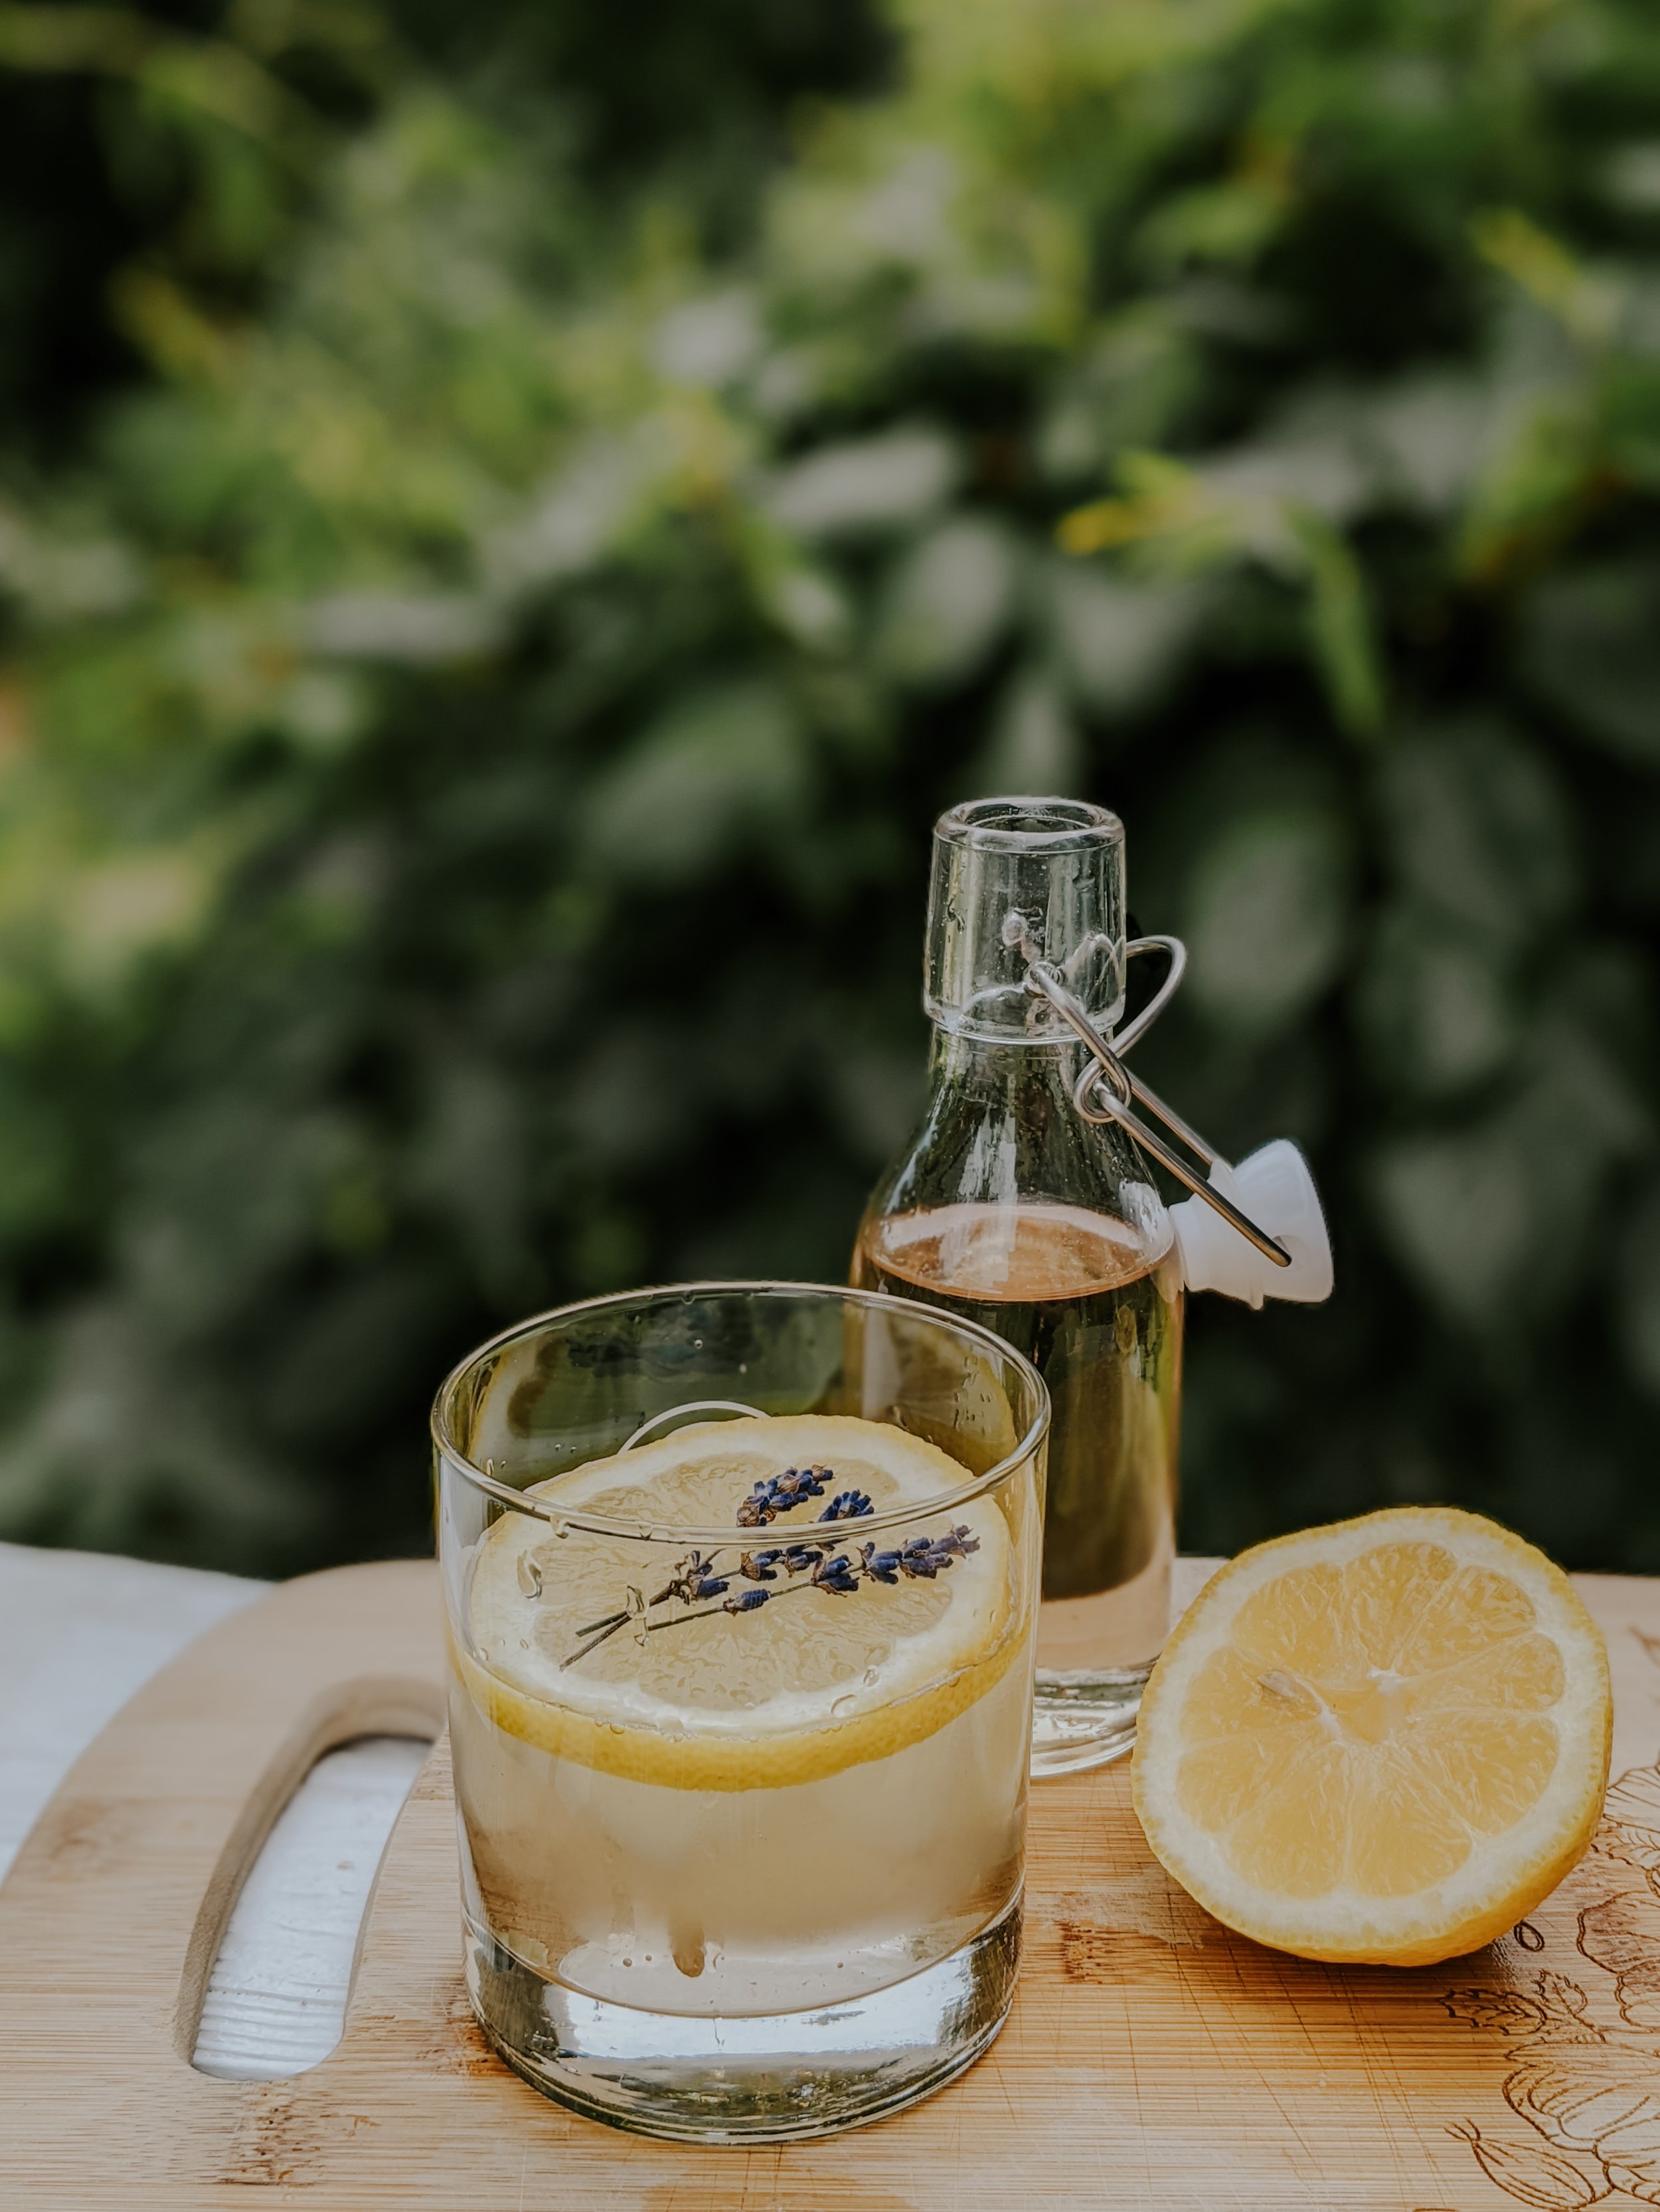
Ingredients:
1 oz lavender simple syrup (see recipe above)
1 oz lemon juice (fresh-squeezed is a must!)
1 oz sparkling water or seltzer (tequila would work too)
A slice of lemon
2 small sprigs of lavender
Directions:
Combine simple syrup, lemon juice, and sparkling water in a glass with plenty of ice. Top with a slice of lemon and the lavender sprigs and enjoy!
DIY Lavender Sachets
Lavender sachets are super useful in drawers and cupboards where clothes are kept, as they will both keep your clothes smelling fresh and deter moths. Consider placing one between each of your wool sweaters for extra protection.
Supplies:

Fabric scraps (Thinner fabric is best, to allow the scent to easily diffuse. Quilter’s cotton works well.)
Needle
Thread
Dried Lavender buds
Directions:
Sew fabric scraps into small squares or rectangles, with the fronts of the fabric facing each other. Leave one side open. Turn right-side out and stuff with dried lavender flowers, then finish sewing it closed. Alternatively you can use hem tape for a no-sew version.
How to Grow Your Own Lavender
Of course, these five ideas for using lavender are even more fun if you grow your own! Lavender is native to the Mediterranean, so it prefers a hot, dry spot. It isn’t picky as to soil type, and will grow just fine in a rocky or sandy area.
Lavender plants are quite easy to care for, and don’t need fertilizer or supplemental watering. To make the treats above, be sure to plant an edible variety.
We like to grow Hicote and Munstead lavenders, both of which are English varieties. Hidcote has dark purple flowers which form tightly, while Munstead has lighter flowers that are more loose and open. Our favorites are the Hidcote, as the color is deep and doesn’t fade much, if at all, when it is dried, but combining the two makes for a beautiful garden bed and bouquets.
How to Prune Lavender
Lavender wants to grow into a woody and not very attractive plant, so it’s important to trim it twice a year, once when the first flush of flowers is ready for harvest, and again in the fall to prepare them for winter. After the first pruning of the year, they will bloom again, although the harvest won’t be as thick or showy.
I think of this pruning as giving the plants a haircut. You don’t want to give them a buzz cut, removing all of the green leaves. Instead, leave two or three inches of green growth on each stem.
Keeping up on this pruning twice a year will ensure your plants maintain a pleasing shape and prevent the stems from hardening. Once a lavender plant becomes woody, it won’t produce well and you’ll likely want to replace it.
How to Harvest and Cure Lavender
The key to long-lasting dried lavender is the timing of the harvest. Through years of research, trial + error, I’ve learned the optimal time to pick each bloom so the dried flowers are less likely to fall from the stems, and the scent will not quickly fade away. It’s best to harvest lavender early in the day, while it’s cool but the sun has been out long enough to dry any remaining dew, and just before the flowers have completely opened.

I count down the minutes until I can pluck each stem from its plant and bring it into our home. For weeks after the lavender harvest, our whole house smells like sweet lavender, and peace prevails.
When the time came for our latest harvest, I made my way outside as the sun was just beginning to peek over the horizon, and I experienced a really beautiful moment. I looked up and the moon was still high overhead, and at the same time the morning sun warmed my face. Having both the sun + moon to keep me company was more than enough, but then I heard a rustle beside me and when I turned, I saw the most peaceful bunny eating breakfast. We coexisted together while I finished my work and then went our separate ways.
You will find that a lavender bed is full of bumble bees just about any time you look at it. Sometimes they try to hitch a ride on the cut flowers! Lavender attracts all sorts of beneficial insects.
To harvest, I gather bunches of stems with one hand, and cut each bunch all together, being careful to keep the stems as long as possible. I find Felcos to be the best tool for the job. A Hori Hori garden knife is also effective, but tends to leave the plants looking a tiny bit shaggier and not as neatly clipped.
While still outside, I separate the harvest into bouquets which I bind with a strong elastic to dry. The elastic works best for drying because the bundles will shrink as the moisture evaporates making twine too loose.
Curing locks in the unmistakable scent we all know and love so well. Our bouquets hold their scent for more than a year - you can re-activate it by giving the bouquet a gentle squeeze to release more essential oils! Just do this over a sink as some buds will fall off.
This curing process is essential to your bouquet carrying the smell of lavender through your home for many months to come. Over weeks we watch the buds pulling closer together and feel the stems turning crisp under our fingers. It can be done very simply by hanging the bundles by loops in their twine on a folding laundry rack or even your curtain rods.
One fully dried, a flurry of commotion results at my kitchen table as bundles are wrapped with twine. Now our bouquets are fair game for all of the above uses and more.
What is your favorite way to use lavender?

Slow Living in the Garden with Chronic Illness
In August, the garden becomes a jungle dense with life, the most self-sufficient it will be as established plants require less and less of my daily attention.
I do not take for granted that the systems I labored to put in place all year long have finally paid off, the dividends materializing in the form of bell peppers, beans, squash, broccoli, chard and more. But I still like to think I am needed in this season, if only to fend off errant pests and the occasional drought. Feeling needed in the garden is one of the most fulfilling pieces of working with the land.
Winter
Last winter my Psoriatic Arthritis flared the worst it ever has, and I found myself wondering if there would be any bit of me that was able to enjoy summer. It hurts my heart to even think about the place I was in mentally. How stuck I was. When you don't have the choice to do the things you love, it can feel like your identity is slipping away.

On a particularly bad day, I thought of geese.
Being the lead goose in a formation is hard. Research has shown that the passage of the leading bird through the air provides an aerodynamic increase in the lift to the bird following behind. This is why geese fly in a V formation.
How do geese decide who will lead their journey? Is it the strongest bird? The one with the largest wings?
The truth is much more humbling.
Each goose is equally responsible for leading, at different times. They take turns. They share the burden.
I see similar patterns in my own life in this season. We cannot always lead our flock. Sometimes our flock needs to lend a wing, and increase our own lift in turn.
Struggling under the weight of extreme fatigue, pain, and inflammation, I had to accept help more than I’m comfortable with. I had to take on a role of rest and recuperation, and put aside responsibilities.
I learned to be comfortable in the physical and mental discomfort and believe that the people around me want to help me to shoulder that burden.
This vulnerability grounds me. It makes me strong.
Spring
With spring came new growth and new medication. I've struggled to write about my chronic illness since finding a treatment that helps, because not everyone gets to come out of that place I was in. I'm also waiting for the other shoe to drop, feeling like I am on borrowed time.
The weight of that knowledge is heavy on my mind any time I celebrate how far I've come or I realize I was able to do more than I could have before my medication change. It also feels like things were so bad, any improvement is seen from the outside as me being 100% "better" by comparison - which is just never going to happen. It's difficult for me to just appreciate the positive changes without that tinge of uncertainty. Autoimmune disease is like that. When so little is understood you are forced to reckon with an ever changing emotional and physical reality and accept the unknown. Otherwise you miss out on enjoying the good times.
It was a long winter, and spring has been full of hope and realized dreams. But we don't have to find the silver lining in everything all of the time. Sometimes there really isn’t one until you look back later and realize how much you’ve grown through what you’ve gone through.
I know in my heart that these struggles have always made me stronger and more empathetic. I hope sharing my struggles can help someone else feel less alone.
These really hard days don't last. Even when they feel like they will never end, there is always some type of pause and laughter and forgetting of what you’ve gone through, what you’re going through.
I watch what a seed must accomplish before it can become a harvestable, mature plant and wonder if I too am like the seed. Maybe, just maybe, I will form roots and strength where pain and loneliness once was.
This spring I feel tightly encased in my hardened shell, but ready to burst forth and see the sunshine again. But I worry - I know that my love of gardening will test my physical limits, and I need a plan to modify the garden to fit my limitations.
The work of preparing the garden this spring has been harder than ever before, but it wasn't because I planted more - I planted less. It was harder because of my arthritis.
Anyone with chronic illness will tell you that the energy we have is limited. Even medicated and feeling so much better than I did all winter it's still hard to do the things I used to do.
I cried in frustration multiple times. I almost gave up. I have had to let others help me do the things I was so looking forward to doing.
I can’t say, "I got it done anyway" because that's not how chronic illness works - I didn't finish all my tasks. I felt disappointed and so very angry with my body. Something I love to do has been changed in a way I don't know if I'll ever get back and it's okay if that's an adjustment and it's ok if I spend half my time enjoying it and the other half with tear stained dirt streaks running down my face.
Two things can be true. Life isn't a straight line path we get to walk down, even on a moment to moment basis there will be ups and downs.
Accessible Garden Planning
I have the luxury of space, of sprawling land to wander and call home. I have the luxury of time, to spend planning what I'll grow where, to dig in the earth. I have the luxury of knowledge, gathered through my failures.
I can grow my food and watch it from the comfort of this space, this sanctuary I am creating on our land.

These things are not afforded to everyone. Accessible sustainability should be the norm, but it is not.
This season, I took a few steps in order to make it possible for me to garden WITH my chronic illness, not despite it. The first was to accept that I wouldn’t grow as much as I have previously. The second was to set up elevated garden beds.
Since gardening involves a fair amount of kneeling, I knew I had to find a way around that, and elevated beds seemed to be the way to go. I began to research elevated beds, looking for a solution that would work for me.
It turned out that solution was staring me right in the face.
As we began a deep spring clean of our basement my eyes landed on two raised wooden retail tables from a store closing sale that have been sitting in storage for years. We didn’t have to buy anything, we didn’t even have to BUILD anything.
I dragged them outside and got them into position, then I wiped them down and drilled drainage holes into the plywood “floor” of the bed. A layer of weed barrier, then small sticks and top soil blended with last season’s compost, and I had two elevated beds. Our food waste would feed our plants, and our plants would feed us.
I also installed olla watering pots in our garden beds.
Ollas keep your plants watered through a process called soil moisture tension. When the soil around the olla is dry, the water is pulled out through the pot’s “pores”, or microscopic holes in the unglazed clay, and makes its way to your thirsty plants. If the soil is already moist, the water stays in the pot.
With the ollas installed, I would only need to water the gardens every 3-5 days, and instead of standing there holding a hose for what felt like hours I could simply fill the olla pot with water and call it done.
The last thing I did was to get ahead of the weeding. We still had one main in-ground garden bed for larger plants like our corn and squash, and I knew that bending and kneeling to battle the weeds would not be an option any more. I combated this by spreading a very thick layer of straw over the entire bed before I planted anything.
Summer
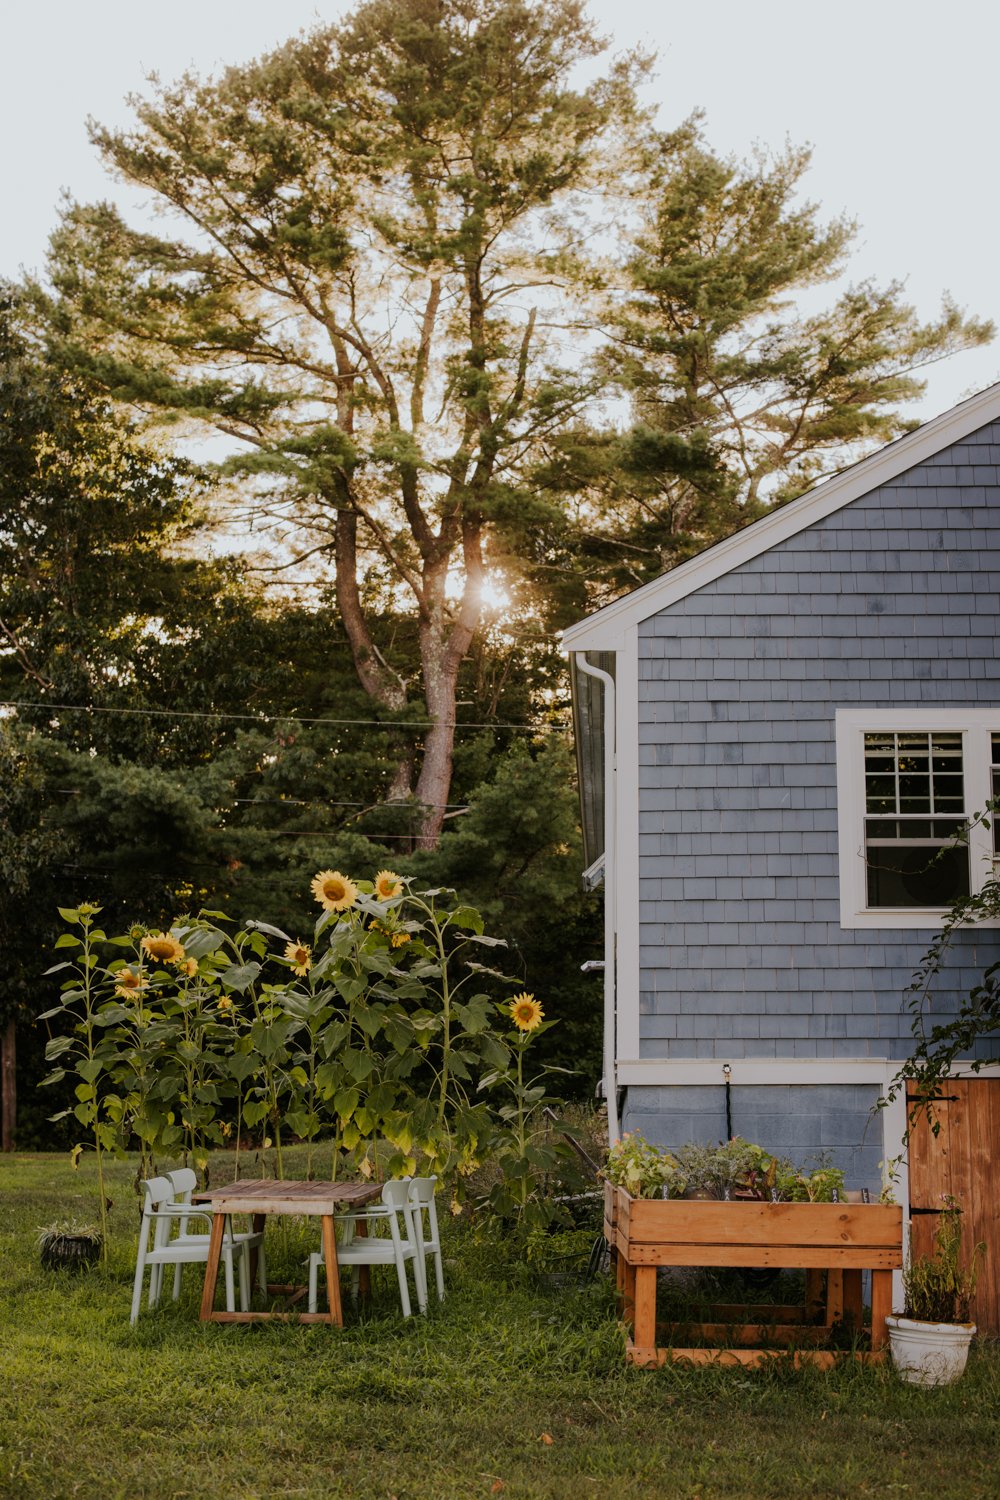
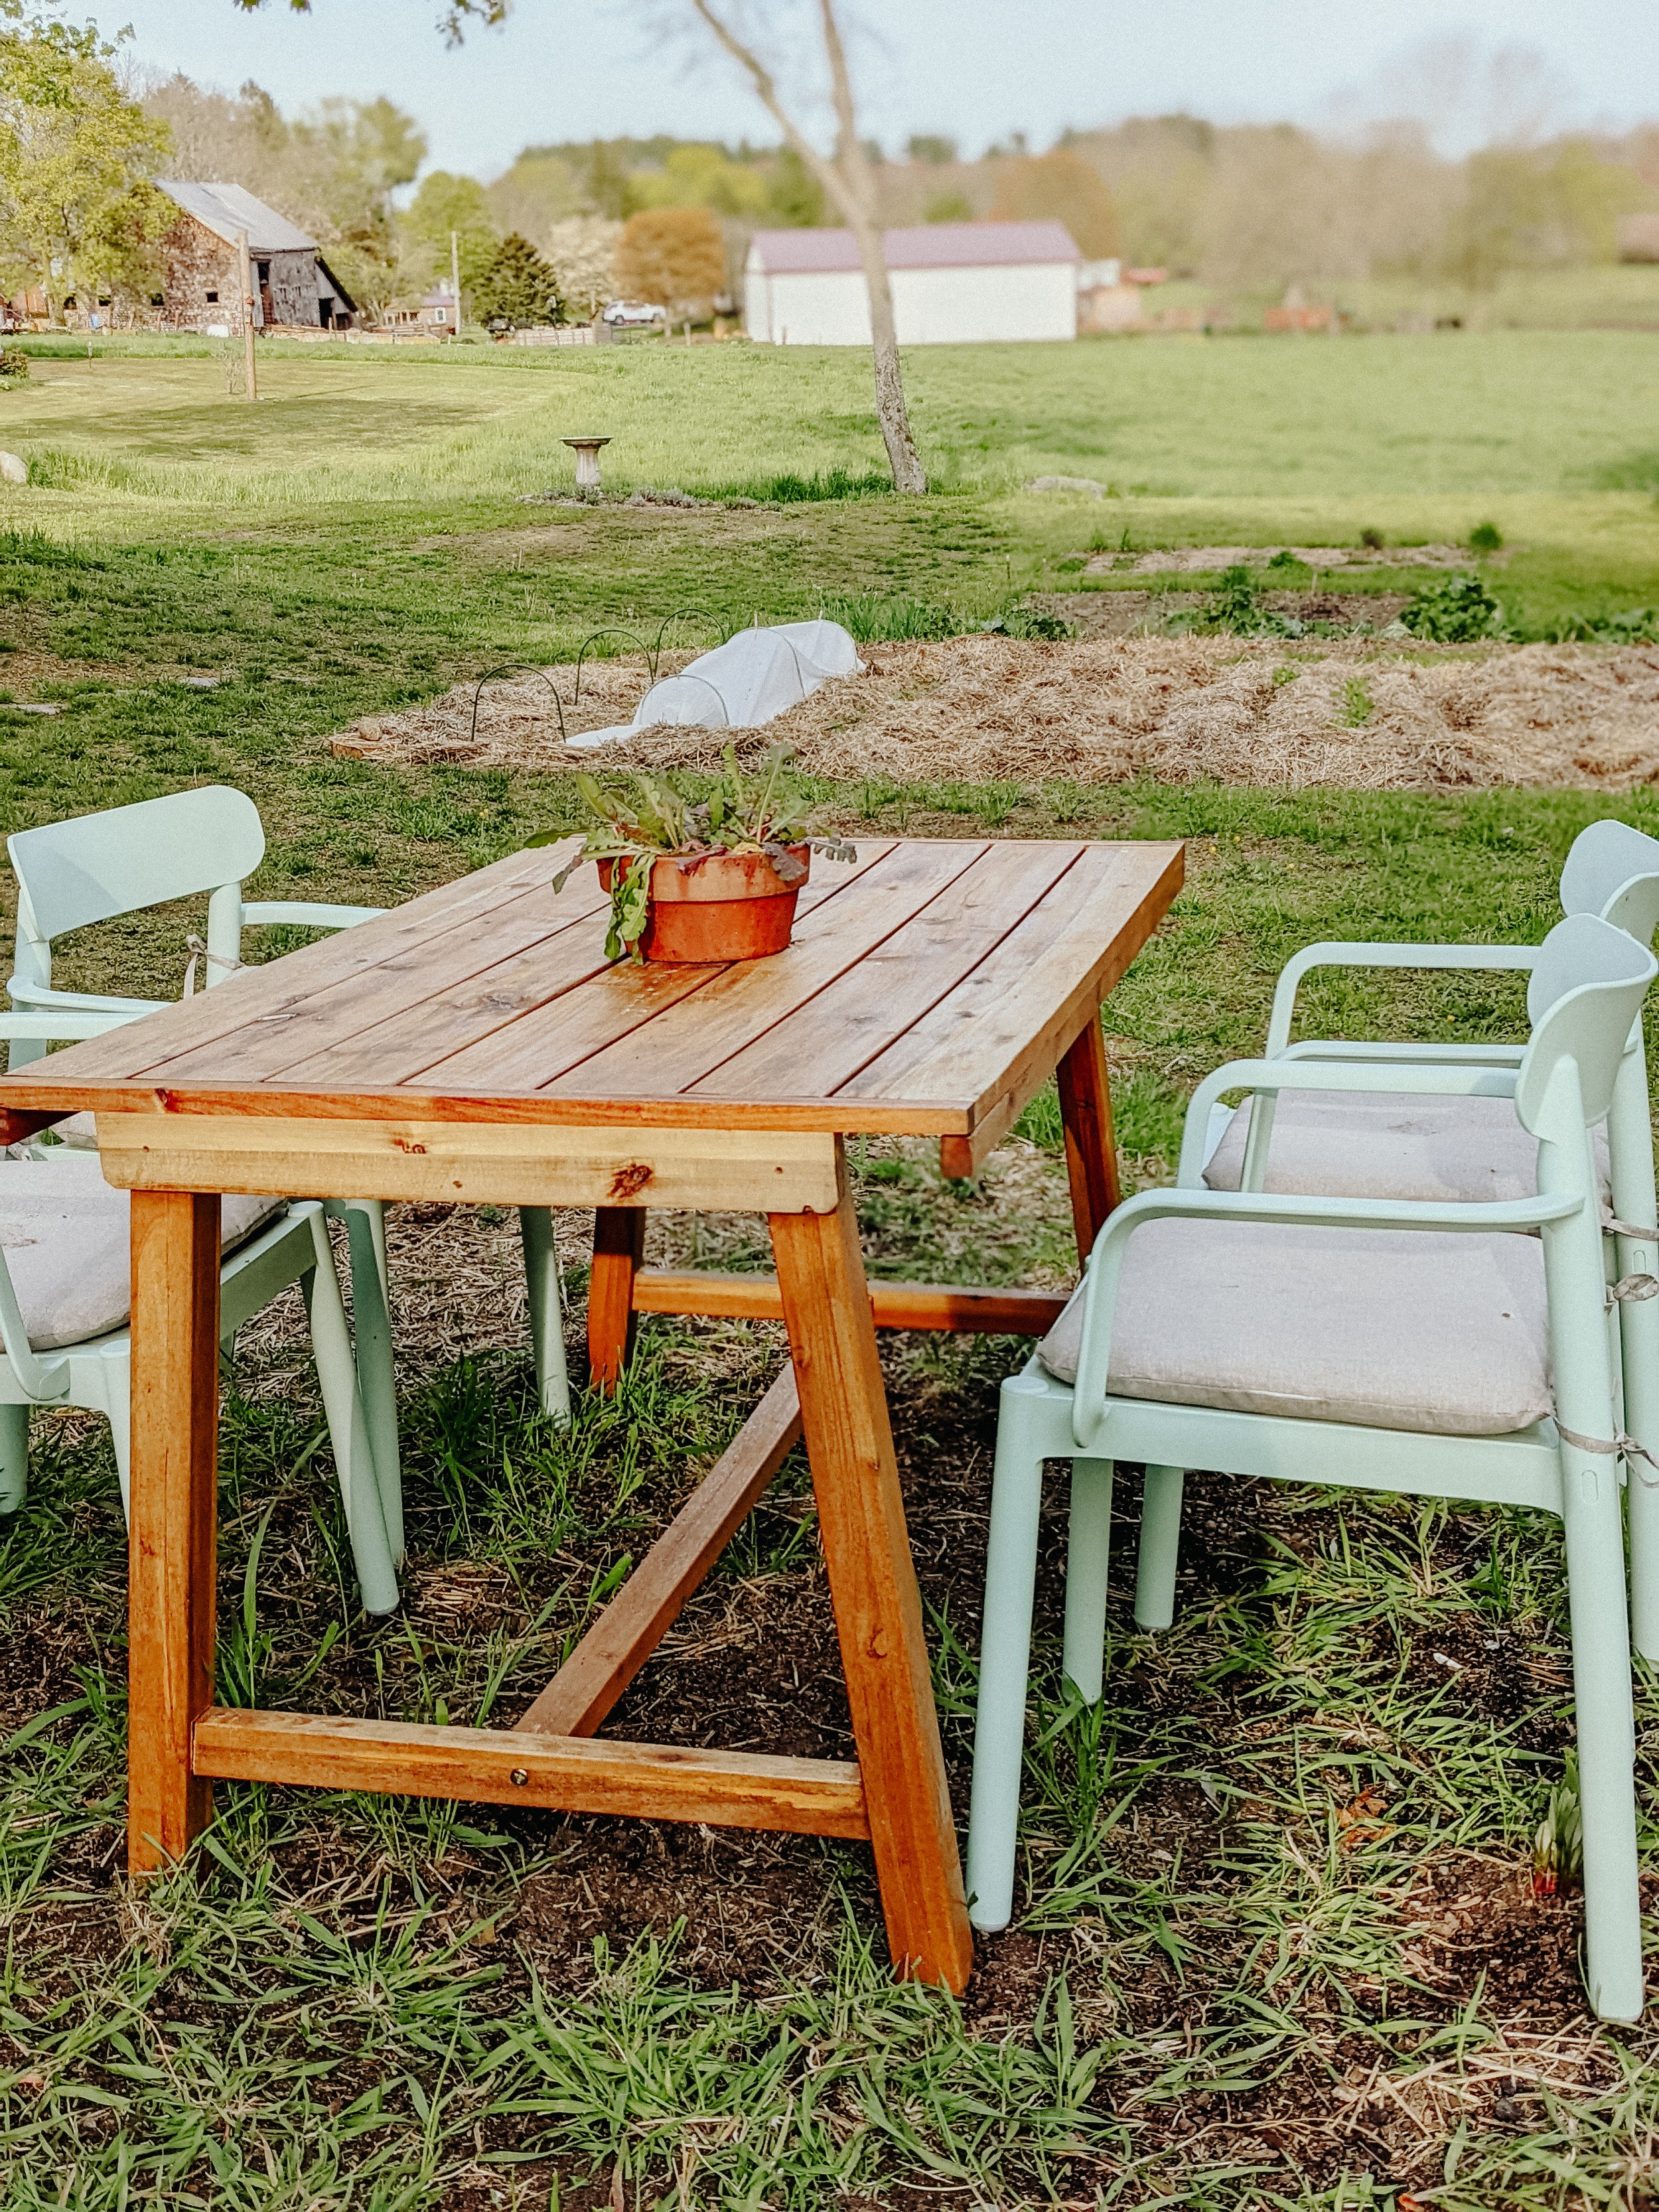
My accessible garden plan is working. We’ve pulled a spare table out to give me a spot to sit and rest by the sunflowers. It has become a sanctuary for me. I am frustrated at times with how little I have been able to grow in comparison to years past, but I appreciate that I do not have to spent hours tending the garden every week if I’m not able to. The garden will be just fine without me for a bit. I let go and let nature take over.
In August, the garden becomes a jungle dense with life, the most self-sufficient it will be as established plants require less and less of my daily attention.

I do not take for granted that the systems I labored to put in place all year long have finally paid off, the dividends materializing in the form of bell peppers, beans, squash, broccoli, chard and more. But I still like to think I am needed in this season, if only to fend off errant pests and the occasional drought. Feeling needed in the garden is one of the most fulfilling pieces of working with the land.
I’m still processing some disappointment as I've watched other gardeners with their huge lush garden beds, and it's felt like another form of grieving my life before chronic illness. I was able to do that once, and now I can't.
Yes, I am making the most of my circumstance, and yes - my medications have allowed me to return to the activities that make me "me" to some degree. But unless you have chronic illness, you can't understand how hard it is to know things will never be exactly the same as they were when you were healthy.
I am proud of what I have accomplished - I may not have grown the usual quantity of plants, but I have learned to appreciate what I have, accept and support my body, and dedicate time to things that make me happy.
I could go on forever about how chronic illness forces you to put things in perspective in a way that gives as much as it takes, but I'll leave it at that. I went from hating getting up early to go to work at my office job in a call center to making excuses to get up early to tend to the garden, grow our own food and flowers, create art and just enjoy nature. At it’s root, no matter how much or how little I grow - this is what matters.
Your dream life is just one decision away from becoming reality - what small steps can you take today to bring yourself closer to your dreams?
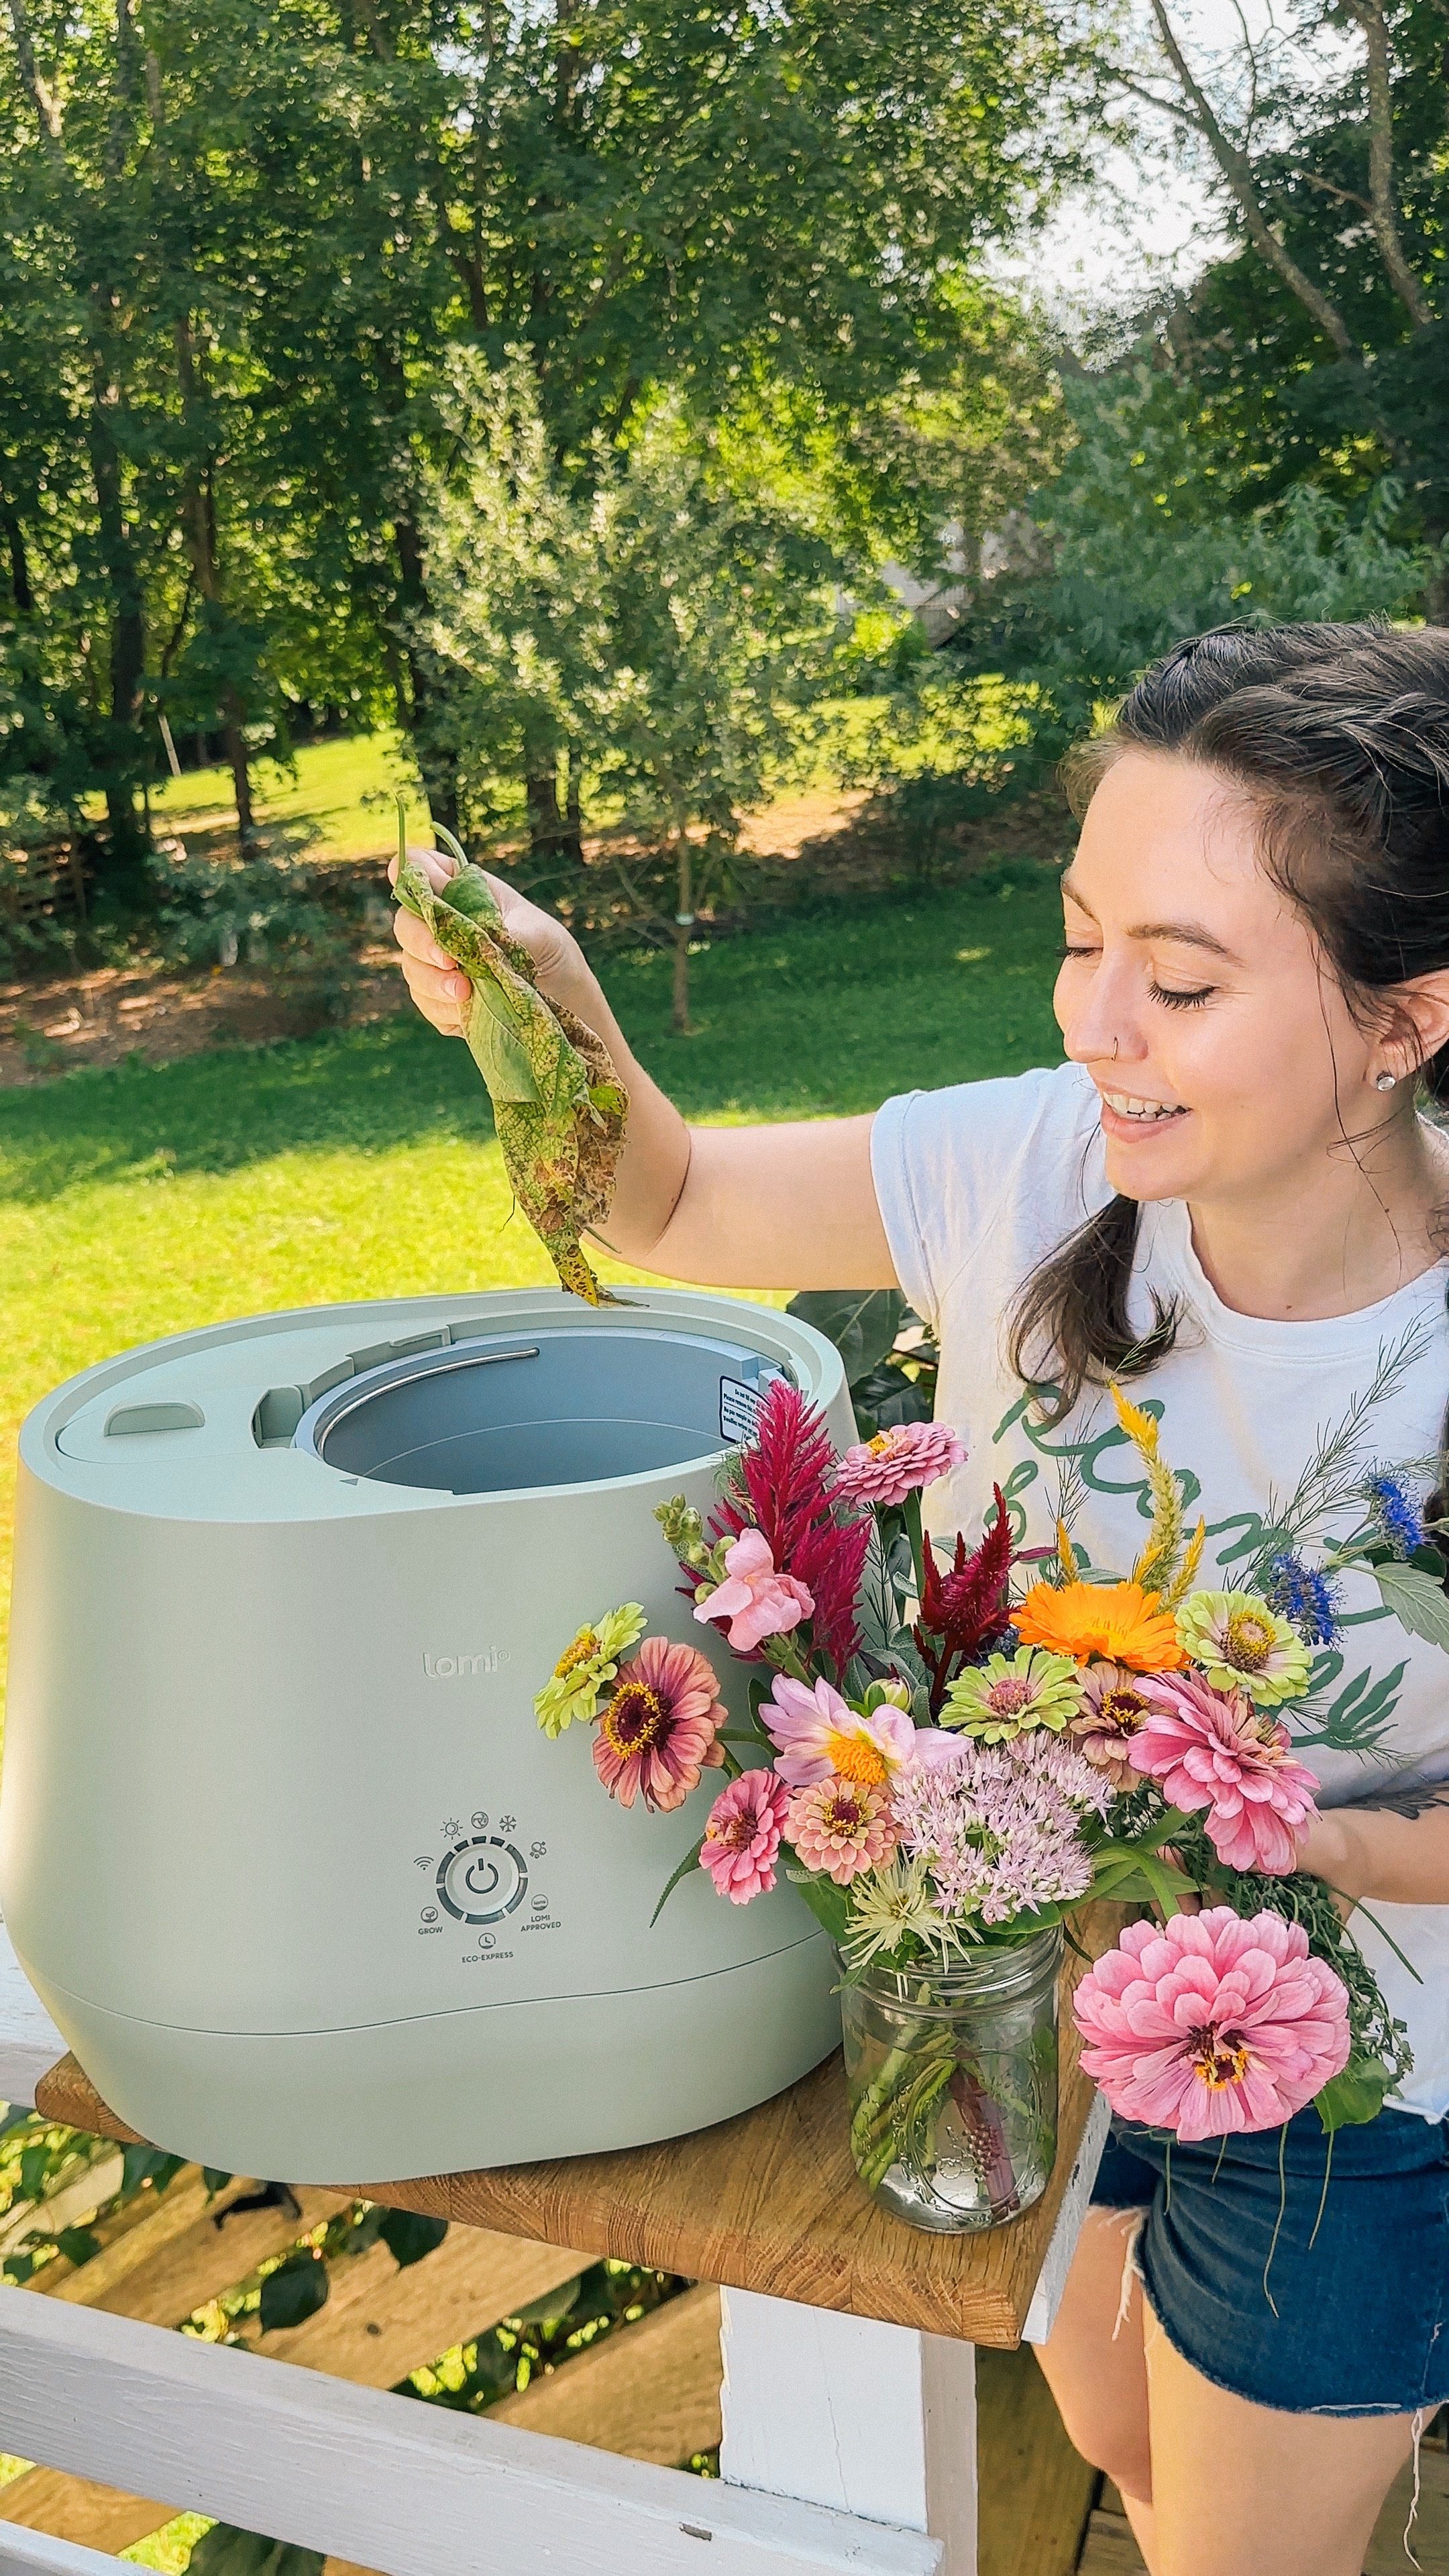


Adding herbal and aromatherapy elements to your bathing ritual has been a long standing tradition in cultures around the world, but there’s just something extra rewarding about it when you grow those flowers and herbs yourself. So head out to the garden and clip a few sprigs of whatever calls to you - we’ll go over some of the easiest ways to include plants in your shower routine.
Learning about how different herbs can provide different benefits for the skin and body can bring you closer to nature and yourself, as well as offering a ton of ways you can support yourself through a self care ritual not rooted in consumerism (hard to find these days). You’re probably familiar with using fragrant botanicals like eucalyptus and lavender in your spa shower routine, but here’s a few more herbs and flowers you should consider including next time you’re looking for a soothing sensory experience in the shower: