
Step-By-Step Tips For Growing, Harvesting, Storing, and Using Beans [Guide]
Beans are a versatile and nutritious addition to any garden. Whether you're growing them for their delicious pods or protein-rich seeds, beans are relatively easy to grow and offer abundant harvests. In this comprehensive guide, we will explore the different types of beans, how to start them from seeds, provide them with optimal growing conditions, and tackle common issues that may arise during the growing process. Get ready to enjoy a bountiful harvest of homegrown beans!
Types of Beans to Grow
Bush Beans
Bush beans are compact plants that do not require support and tend to reach a height of about 1-2 feet. Some popular bush bean varieties include 'Provider,' 'Contender,' and 'Royal Burgundy.' Bush beans typically produce a concentrated harvest over a few weeks.
Pole Beans
Pole beans are climbing vines that require support such as trellises, poles, or fences. Common pole bean varieties include 'Kentucky Wonder,' 'Blue Lake,' and 'Scarlet Runner.' Pole beans generally have an extended harvest period, with continuous production throughout the season.
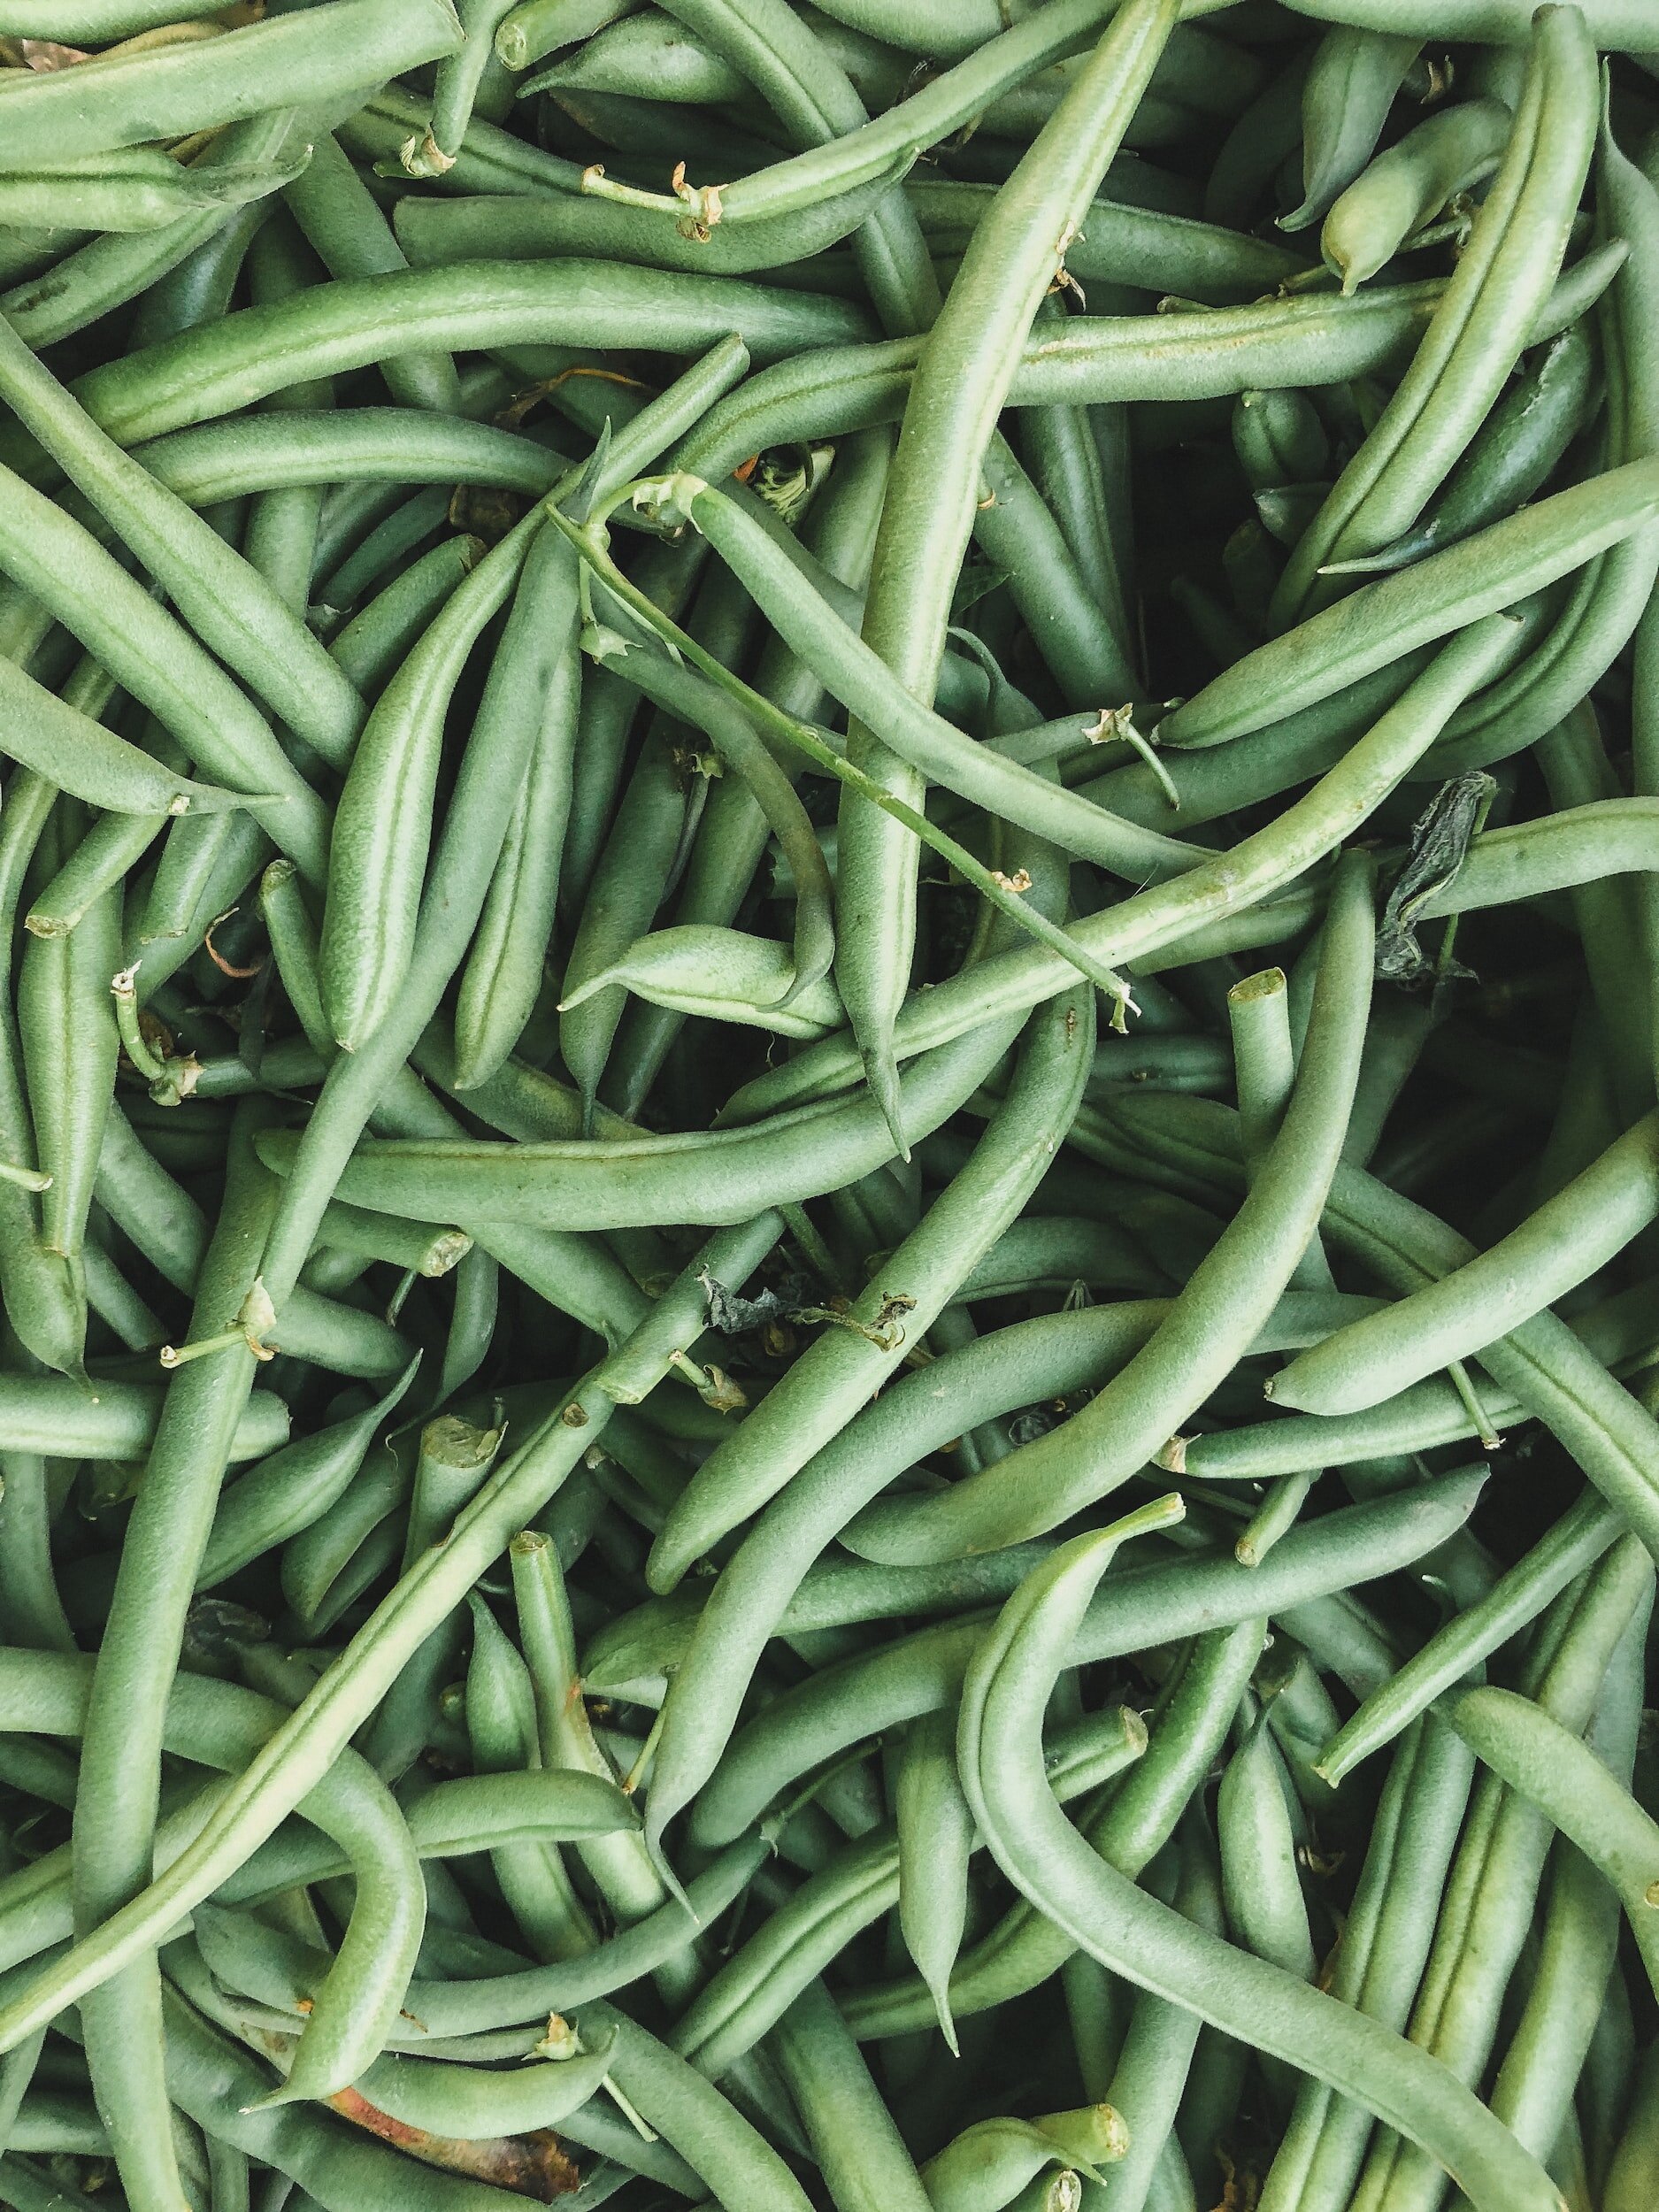
Snap Beans
Snap beans, also known as green beans, are eaten with the pods while they are still tender and immature. Popular snap bean varieties include 'Tendergreen,' 'Provider,' and 'Blue Lake.' Snap beans are typically harvested when the pods are plump and before the seeds fully develop.
Dry Beans
Dry beans are allowed to fully mature on the plant, and the seeds are harvested and dried for storage. Common dry bean varieties include 'Black Turtle,' 'Pinto,' and 'Kidney.' Dry beans are harvested when the pods are dry and brittle, and the seeds rattle inside.
Starting Beans from Seed
Beans require warm soil temperatures to germinate, ideally between 70-85°F (21-29°C). Plant the seeds directly into the garden after the danger of frost has passed and the soil has warmed up. Prepare the soil by loosening it and removing any weeds or debris. Dig a small hole, approximately 1-2 inches deep, and place the bean seed in the hole. Space the seeds according to the recommended spacing for the specific bean variety.
Watering and Care
Keep the soil evenly moist but not waterlogged during germination and early growth. Once the seedlings emerge, provide consistent moisture, particularly during flowering and pod development. Mulch around the base of the plants to help conserve soil moisture and suppress weeds.
Best Growing Conditions for Bean Plants
Beans thrive in full sun, requiring at least 6-8 hours of direct sunlight daily. They prefer well-draining soil rich in organic matter with a soil pH level between 6.0 and 7.0 for optimal growth.
Regular watering is essential for healthy bean plants. Water deeply, ensuring the soil is moist but not waterlogged. Avoid overhead watering, as it can promote the development of fungal diseases.
Beans are generally light feeders, but incorporating compost or well-balanced organic fertilizer before planting can provide a nutrient boost. Avoid excessive nitrogen fertilization, as it may result in lush foliage growth at the expense of bean production.
Pests on Bean Plants
Common pests can pose a threat to your bean plants, potentially affecting their growth and productivity. Here are some common pests that may target bean plants and effective organic pest control methods to combat them:
Aphids: Aphids are small, soft-bodied insects that cluster on the undersides of leaves and suck sap from the plants, causing curling leaves and stunted growth. To manage aphids, regularly inspect your bean plants, paying close attention to the undersides of leaves. Use a strong blast of water from a hose to dislodge aphids from the plants. Introduce beneficial insects such as ladybugs, lacewings, or parasitic wasps that feed on aphids.
Bean Beetles: Bean beetles are small, yellow or brown beetles that chew on leaves and pods, leaving behind irregular holes. To control bean beetles, handpick and remove beetles from the plants, particularly during early morning when they are sluggish. Encourage natural predators like birds, spiders, or ground beetles that feed on bean beetles. Apply a layer of organic mulch around the base of plants to deter bean beetles from laying eggs in the soil. Consider using floating row covers to physically block beetles from reaching your plants.
Spider Mites: Spider mites are tiny arachnids that infest the undersides of leaves, causing yellow stippling and webbing. To manage spider mites, regularly inspect plants, paying attention to signs of stippling or webbing. Spray plants with a strong blast of water to dislodge spider mites. Introduce predatory mites or lacewings, which feed on spider mites.
Maintain good garden hygiene by removing plant debris and weeds that can harbor pests. Practice crop rotation, avoiding planting beans in the same spot for consecutive years, to disrupt pest life cycles. Companion planting with pest-repellent plants like marigolds, garlic, or onions can help deter pests. Use organic fertilizers and maintain proper plant nutrition to promote healthy plant growth, making them more resistant to pests.

Bean Plant Diseases
Bean plants are vulnerable to various diseases that can hinder their growth and reduce crop yields. By implementing good gardening practices and preventive measures, you can minimize the risk of diseases and keep your bean plants healthy.
Powdery Mildew: Powdery mildew appears as a white, powdery coating on the leaves, stems, and pods of bean plants. It thrives in warm and humid conditions. To prevent and manage powdery mildew, ensure proper air circulation by providing adequate spacing between plants. Avoid overhead watering to minimize moisture on foliage. Apply organic fungicides like sulfur or neem oil early in the growing season as a preventive measure. Remove and destroy infected plant parts to prevent the spread of spores.
Bacterial Blight: Bacterial blight causes dark, water-soaked spots on leaves, stems, and pods of bean plants. It spreads through splashing water and contaminated tools. To control bacterial blight, practice good garden sanitation by removing and destroying infected plants. Avoid overhead watering and minimize moisture on leaves and stems. Apply copper-based fungicides as a preventive measure. Rotate bean crops, avoiding planting beans in the same area for at least three years.
Mosaic Viruses: Mosaic viruses cause mottled or distorted leaves, stunted growth, and reduced yields. These viruses are primarily transmitted by aphids. To manage mosaic viruses, control aphid populations using organic pest control methods, such as insecticidal soap or companion planting with insect-repellent plants. Remove and destroy infected plants promptly to prevent further spread. Use virus-resistant bean varieties if available.
In addition to specific disease management strategies, practicing good garden sanitation, proper spacing between plants, and crop rotation can significantly reduce the risk of disease. Clean garden tools and equipment between uses to prevent the spread of pathogens. Remove and dispose of plant debris, including infected plant material, to eliminate potential disease sources. Provide adequate spacing between bean plants to improve air circulation and reduce humidity, minimizing favorable conditions for disease development. Practice crop rotation by avoiding planting beans in the same spot for consecutive years. Rotate with unrelated crops to break disease cycles and prevent the buildup of soil-borne pathogens.
How Can Bean Plants Improve Soil Health?
Bean plants have a remarkable ability to act as nitrogen fixers, which means they have a symbiotic relationship with beneficial soil bacteria called rhizobia. This relationship allows them to convert atmospheric nitrogen gas into a form that can be utilized by plants and other organisms. Through this process, bean plants contribute to improving soil health in several ways:
Bean plants form nodules on their roots where rhizobia bacteria reside. These bacteria have the unique ability to convert atmospheric nitrogen gas (N2) into ammonia (NH3), a form of nitrogen that plants can absorb and utilize for growth. This process is known as nitrogen fixation. By hosting these beneficial bacteria, bean plants essentially "fix" nitrogen from the air and make it available to themselves and neighboring plants.
As bean plants fix atmospheric nitrogen, they enrich the soil with this essential nutrient. The nitrogen released by the bean plants becomes available to other plants in the vicinity, improving overall soil fertility. This is particularly beneficial in areas where nitrogen levels in the soil are naturally low.
The addition of nitrogen-rich organic matter, such as bean plant residues, after harvest enhances soil fertility. When bean plants are incorporated into the soil or left as mulch, they decompose, releasing nitrogen and other nutrients. This organic matter improves soil structure, moisture retention, and overall soil health.
Bean plants can be incorporated into a crop rotation plan to benefit subsequent crops. The nitrogen left behind by the beans enriches the soil, providing a nutrient boost for plants in the following growing seasons. Crop rotation involving beans can help maintain a healthy balance of nutrients in the soil and reduce the need for external inputs.
By harnessing the nitrogen-fixing ability of bean plants, gardeners and farmers can reduce the need for synthetic nitrogen fertilizers, enhance soil fertility, and promote sustainable agriculture practices. Incorporating beans into crop rotations and utilizing their natural nitrogen-fixing capacity can contribute to improved soil health, increased plant productivity, and more sustainable farming systems.
Harvesting Snap Beans
Snap beans are ready to harvest when the pods are crisp, tender, and plump. Gently snap or cut the pods from the plant, being careful not to damage the vines.
Harvesting Dry Beans
Allow the pods to dry on the plants until they are fully mature and dry. Harvest the pods and remove the beans from the pods. Dry the beans further indoors in a well-ventilated area before storing.
Storing Beans
Store snap beans in the refrigerator and use them within a week for the best flavor and texture. Dry beans should be stored in a cool, dry place in airtight containers to maintain their quality.
Growing your own beans can be a rewarding experience, providing you with fresh and delicious produce right from your garden. By understanding the different bean varieties, starting them from seeds, providing optimal growing conditions, and addressing common issues, you can enjoy a bountiful harvest of homegrown beans. So, get ready to sow those seeds and watch your bean plants flourish with an abundance of nutritious and flavorful pods or seeds. Happy bean growing!
