
BACKYARD GARDENING MADE SIMPLE
How to Grow, Care for and Arrange Hydrangea Flowers
I’ve been somewhat frantically snipping blooms for the kitchen, because the shift of seasons is in the air and I’m determined to make the most of every summer moment before it’s too late.
Slow living is all about letting go of worries about the future and living in the moment so we can fully enjoy the present. When I smell fall in the air and feel a moment of panic that a long, cold winter is on its way, that’s my cue to take a deep breath and make an effort to notice and enjoy what’s happening around me. One of the first places I’m likely to turn in order to reground myself is my garden.
The Cottage Peach is reader-supported. When you purchase through links on our site, we may earn an affiliate commission at no additional cost to you. All opinions are our own.

I’ve been somewhat frantically snipping blooms for the kitchen, because the shift of seasons is in the air and I’m determined to make the most of every summer moment before it’s too late.
Slow living is all about letting go of worries about the future and living in the moment so we can fully enjoy the present. When I smell fall in the air and feel a moment of panic that a long, cold winter is on its way, that’s my cue to take a deep breath and make an effort to notice and enjoy what’s happening around me. One of the first places I’m likely to turn in order to reground myself is my garden.
Flowers That Bloom in August and September
The biggest show going on outside my window (in zone 6) at this time of year is being hosted by my Endless Summer Hydrangea bushes. Hydrangea bushes are at their happiest after the worst of the summer heat has passed. In July, they can look almost as though they are dying, with drooping leaves and flowers that look a bit pinched and dehydrated, even with consistent supplemental watering.
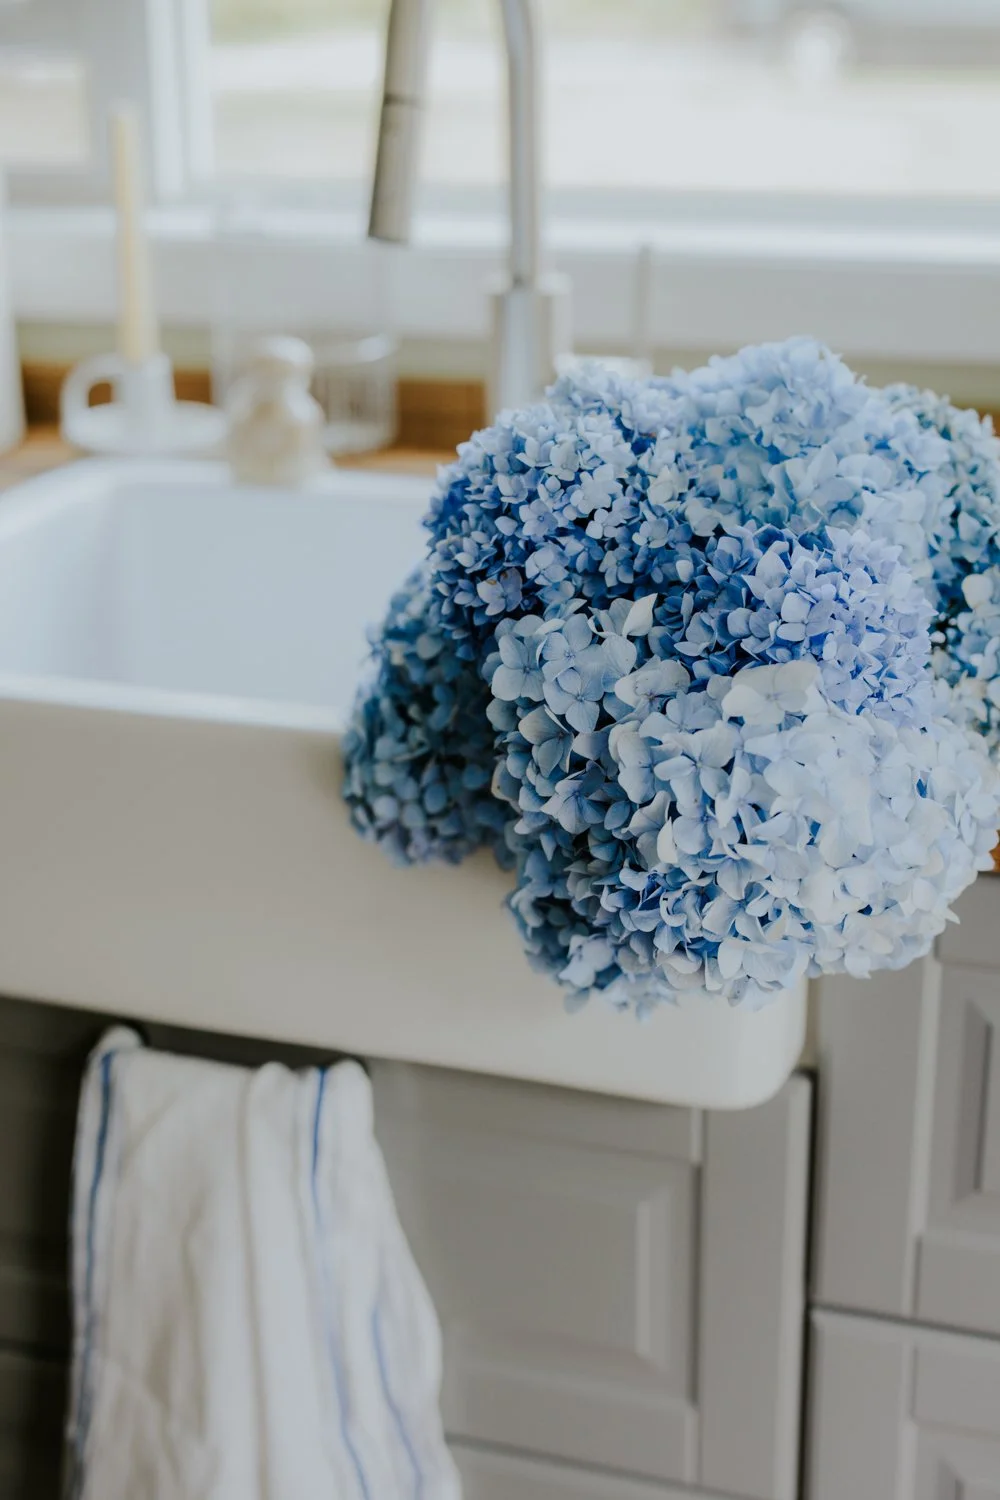
In August and September the bushes grow taller and more hardy-looking, and absolutely overflow with flowers. Hydrangea blooms are so large, just one stem in a small vase or jar can be a striking moment on a counter or bedside table. I’m lucky to have more than a few bushes, though, with a seemingly unlimited supply of flowers, so I decided to use quite a few stems in a larger vessel.
Choosing a Container for Flower Arrangements
Vases are great, but just about anything that will hold water can be used for a flower arrangement, whether a small one or one as large as I wanted to put together. Many things we have at home can easily be repurposed, including bottles, cans, and drinking glasses. In the case of a large arrangement, the choices are endless.
There are also all sorts of options available to purchase which are not intended to be used for cut flowers, but would make for an interesting and unusual arrangement. For example, any of these items would make for a beautiful arrangement:
In this case, I chose to use a large Ohio stoneware fermenting crock for my hydrangea bouquet. In the past I have used it for making sauerkraut and storing utensils. I make intentional purchases by prioritizing owning things which can be used for multiple purposes. That way, in the end, I need to buy, store and clean fewer things, which is better for me, my budget, and the environment.
Here’s a few options if you’re looking to purchase something new for flower arranging that would be multi-purpose:

How to Arrange Flowers in a Large Container
As I started placing the hydrangea flowers into my fermenting crock, I found the flower stems were flopping all over the place, making it difficult to form them into any sort of pleasing arrangement. I also realized getting new, clean water into the crock to keep the flowers fresh was going to be a bit of a pain. I was able to solve both of these problems with one simple solution: I put a smaller Ball mason jar inside the crock to hold the stems upright.
I can’t believe it took me this long to think of it! It was really effective in keeping the stems upright and allowing me to arrange them in a way that looked purposeful and pretty. A bonus is that using a smaller container inside of a larger one reduces water waste, as there’s no need to fill that larger container with water. That’s less water wasted when I change it out, and less water I have to pay for.
How to pick Hydrangea Flowers
Like most flowers, hydrangeas appreciate being treated with a bit of care when they are picked. Here’s what you’ll need to cut your Hydrangea:
-A pair of flower snips. I use Felcos for pruning and love them, so I tend to use those when cutting flowers as well since I always have them handy. There are less expensive options available, though, if your tool will only be used for cutting flowers, such as these flower snips from Terrain.
-A bucket with a bit of water. While the ‘hydra’ in hydrangea does not, in fact, derive from the word for water, but rather from the fact that the person who named them thought their shape was reminiscent of a water pitcher, hydrangeas are water-hungry plants that produce water-hungry flowers. Putting the stems directly into water after cutting will prolong their vase life and prevent them from drooping while you finish gathering the rest of your flowers.
Place your bucket in a shady spot. Using your snips, cut at the desired length, just above a set of leaves. Strip the leaves from at least the bottom few inches of your stem, and all the way up if you prefer that look. Doing this outside makes for less of a mess to clean up indoors.
How to Make Cut Flowers Last
For best results, cut-flower food should be added to the water in your vessel. There are many ready-made options for sale, but you can also mix up your own from ingredients you likely have in the house.
Here’s a recipe for flower food:
1 Quart of water
2 Tablespoons of lemon juice
1 Tablespoon of sugar
½ Teaspoon of bleach (The bleach is not food, but rather a way to inhibit fungal and bacterial growth.)
One thing that will help hydrangeas in particular last longer in a vessel is to dunk them in cold water when you get back into the house. That water can then be used to water other plants, so it doesn’t go to waste. Alternatively, cold water can be run from the faucet over the blooms. Give them a gentle shake, and they’re ready for arranging.
The next important step before you start arranging is to make sure that if you’ve left any leaves on the stems, they will not make contact with the water in the vessel. Rotting leaves will spread bacteria, which is not only bad for the flowers themselves, but creates an unpleasant look and smell.
Finally, the water in the vessel should be changed often – every two days or so. When changing the water, each stem should be cut slightly shorter, to provide a fresh area through which the flower can take in the water.
If you follow the steps above, your flowers should look fresh and healthy for a week or more longer than they would otherwise have.
What Kind of Hydrangea to Grow

Winter is coming, there’s no denying it. Before it’s too late, take a look around at the bits of summer still remaining, and find a way to make the most of them, whether that’s going out for ice cream, walking on the beach, or cutting flowers to bring a bit of that summer inside with you. And if, like me, you don’t look forward to long, dark days, you can skip right over them and take a peek into the future, too, dreaming about what you might like to plant when the light returns.
If you’d like to grow hydrangeas yourself, there are two things to consider: do you have a sunny or a shady spot in mind, and which variety looks most attractive to you? There is a hydrangea variety for just about every garden spot. Some, in particular the Panicled or Paniculata varieties, want full sun, with a bit of afternoon shade in very hot gardening zones. Big leaf hydrangea, on the other hand, do well in shade or partial shade. I have stretched that a bit and have some in both sunny and shady spots, and while the ones in the shade definitely suffer less in the high heat of summer, I haven’t lost any bushes to the sun.
How to take care of Hydrangea plants
All hydrangea varieties are easy to care for, requiring only a bit of cleanup once a year to remove dead wood. Pruning for shape can also be done once a year, but is not strictly necessary. It’s important to note whether your variety blooms on new or old wood, and to time your pruning accordingly.
All varieties of hydrangea love water, and will do best if it’s provided consistently. Those in the shade can go without supplemental watering for the most part after the first year or two, while those in the sun will thank you for regular attention throughout the years.
On any variety of hydrangea, deadheading the bushes once or twice a summer will extend your bloom time and keep the bushes looking fresh.

How to change the color of hydrangea flowers
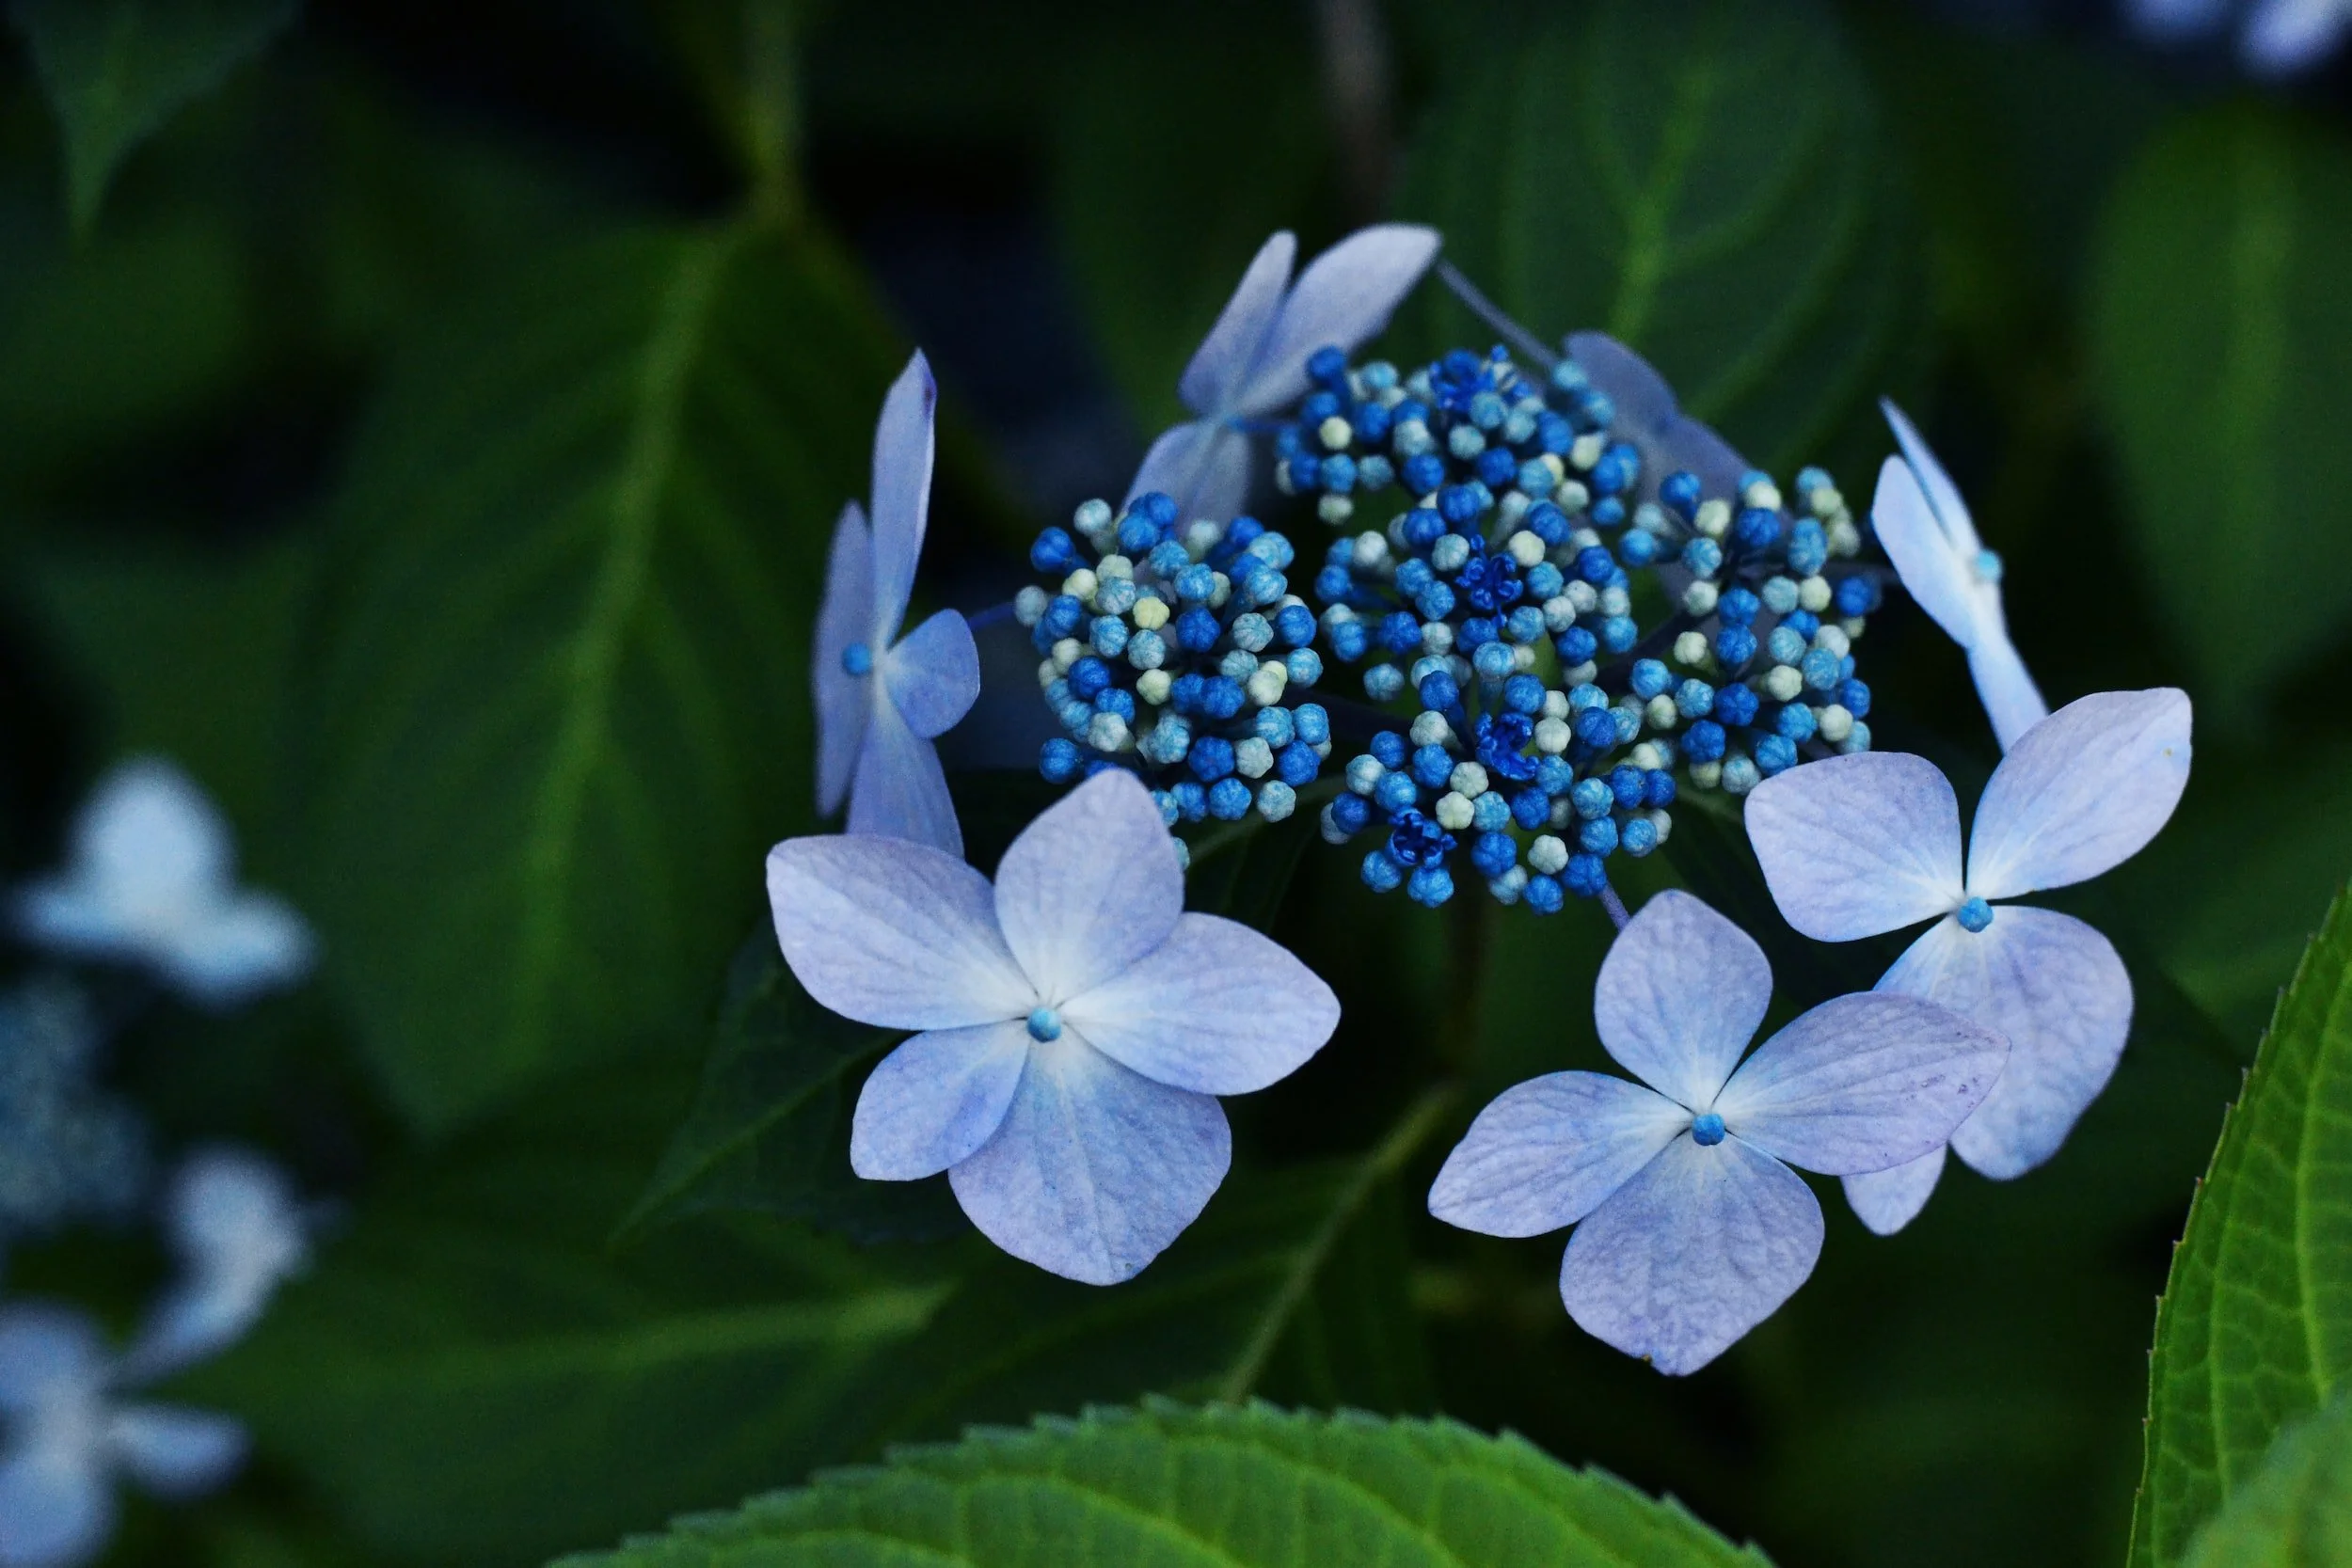
There are a few reasons the Endless Summer variety is my favorite, and what I grow so many of. I love the way they look, and that the bushes bloom from the end of May through to the first frost. But I also love that I can adjust the soil to encourage either blue or pink flowers.
Each spring, I add Holly-tone fertilizer to my soil. This increases its acidity, which results in blooms in beautiful shades of blue and violet. Without that acidity the blooms will grow in shades of pink, which are also gorgeous. Because I can switch it back and forth as I’d like, it’s as if I have two plants in one spot.
I’d love to hear from you in the comments. What’s beautiful in your life today?

![Garden-to-Plate Vegan Chickpea Salad: A Refreshing Summer Salad [Recipe]](https://images.squarespace-cdn.com/content/v1/60e85024dc86d643da81c96a/a75bd4e1-0f65-4944-b023-b975a54502e0/PXL_20220531_172419472.jpg)
Garden-to-Plate Vegan Chickpea Salad: A Refreshing Summer Salad [Recipe]
As the warm summer days approach, there is something magical about harvesting fresh produce from your own garden and transforming it into a delectable dish. Today, I invite you to embark on a culinary adventure with a Garden-to-Plate Vegan Chickpea Salad. This recipe not only celebrates the joy of eating seasonally but also highlights the incredible flavors and health benefits of the ingredients we can grow and harvest right in our own backyard. In this blog post, we will take you on a journey through the garden, delve into the nutritional benefits of chickpeas, almonds, and chives, and guide you through the steps of creating this mouthwatering salad.

Eating is an agricultural act. And so I believe we can’t talk about gardening without covering what to do with all the food your grow. Often times when we grow our own food, we are at the mercy of the garden and what it produces each week. This can make meal planning a challenge, so I often resort to everything but the kitchen sink recipes where you can start from a solid base and add whatever is filling your harvest basket that week.
This way of eating seasonally allows you the framework to eliminate yet another decision in your day - the ever present question of “what are we going to eat?” and turn it into a celebration of whatever ingredients are on hand. You might not know what you’ll pick tomorrow - but I can assure you if you follow the framework for this garden salad (chickpeas + the spices and liquids as a constant, some type of nut, some type of dried fruit and two crunchy fresh veggies) it will come out delicious every time.
As the warm summer days approach, there is something magical about harvesting fresh produce from your own garden and transforming it into a delectable dish. Today, I invite you to embark on a culinary adventure with a Garden-to-Plate Vegan Chickpea Salad. This recipe not only celebrates the joy of eating seasonally but also highlights the incredible flavors and health benefits of the ingredients we can grow and harvest right in our own backyard. In this blog post, we will take you on a journey through the garden, delve into the nutritional benefits of chickpeas, almonds, and chives, and guide you through the steps of creating this mouthwatering salad.
Embracing Seasonality and Celebrating Fresh Ingredients
Picture yourself strolling through your lush garden, feeling the sun on your skin, and taking in the fragrant aromas of blooming herbs. There's a sense of anticipation as you carefully pluck vibrant vegetables and herbs from their natural habitat. Eating seasonally is not only a celebration of the flavors nature provides, but it also connects us to the rhythm of the Earth.
By growing our own food, we have the opportunity to appreciate the beauty and diversity of the ingredients that surround us. From the tender greens to the vibrant vegetables, our gardens offer a cornucopia of flavors. Incorporating these freshly harvested treasures into our meals allows us to savor the true essence of each ingredient while embracing the philosophy of sustainability and self-sufficiency.
Health Benefits of Chickpeas, Almonds, and Chives
In addition to their exquisite taste, the ingredients in this vegan chickpea salad offer a plethora of health benefits that contribute to your overall well-being.
Chickpeas, a staple legume in plant-based diets, are a nutritional powerhouse. Packed with protein and fiber, chickpeas provide a satisfying and nourishing element to any dish. They are also rich in essential vitamins and minerals such as folate, iron, and magnesium. Consuming chickpeas has been linked to improved digestion, reduced cholesterol levels, and better weight management. Their nutty flavor and hearty texture make them a perfect addition to this summer salad.
Almonds, often referred to as "nature's multitaskers," bring a delightful crunch and a wealth of health benefits. These nutrient-dense nuts are an excellent source of healthy fats, protein, and vitamin E. Almonds are known to support heart health and boost brain function. In this salad, their presence adds a satisfying texture and nutty undertones that complement the other ingredients perfectly.
Chives, with their delicate onion-like flavor, provide more than just a pleasant taste. These leafy green herbs are a fantastic source of vitamins A, C, and K. They also offer antioxidants and potential anti-inflammatory properties. Chives not only enhance the flavor profile of the salad but also contribute to its nutritional value.
Making a Garden-to-Plate Vegan Chickpea Salad
Now that we've explored the beauty of seasonality and the health benefits of the ingredients, let's dive into creating this delicious Garden-to-Plate Vegan Chickpea Salad.
Ingredients:

Chickpea Garden Salad
Ingredients
- 2 cans (or 3 cups cooked) chickpeas
- 1 cup carrots
- 1 cup green onion/chives
- 1/2 cup craisins, raisins or chopped dates
- 1/2 cup almonds or cashews
- 1/2 cup radishes (optional)
- 1/3 cup hummus or mayo
- 3 tbs lemon juice
- 1 tbs curry powder
- 3/4 tsp garlic powder
- salt + pepper
Instructions
- Chop any vegetables.
- Mash the chickpeas until only about 1/3 is unmashed.
- Add remaining ingredients to the chickpeas and stir.
- Enjoy on it's own, on a bed of lettuce or with pita.
Notes
Keeps well in the fridge for 3-5 days.
Nutrition Facts
Calories
277.69Fat
10.57Sat. Fat
1.01Carbs
38.26Fiber
11.08Net carbs
27.21Sugar
9.66Protein
11.84Sodium
494.22Cholesterol
01 cup carrots
2 cans (or 3 cups cooked) chickpeas
1 cup green onion/chives
1/2 cup craisins, raisins or chopped dates
1/2 cup almonds or cashews
1/2 cup radishes (optional)
1/3 cup hummus or mayo
3 tbs lemon juice
1 tbs curry powder
3/4 tsp garlic powder
salt + pepper
Instructions:
Chop any vegetables
In a large bowl, mash the chickpeas until about 2/3rds are mashed
Add remaining ingredients and toss gently to ensure everything is evenly coated.
Allow the flavors to meld together for at least 15 minutes before serving.
Enjoy on it's own, in a pita or on a bed of lettuce.
Ways to Enjoy the Garden-to-Plate Vegan Chickpea Salad:
This versatile salad can be savored in various ways, allowing you to explore different culinary possibilities. Here are a few ideas:
Pita Pocket: Fill a warm pita bread with the chickpea salad, adding a dollop of hummus or tahini for extra creaminess. This creates a satisfying and portable meal for picnics or on-the-go lunches.
Bed of Greens: Serve the salad over a bed of fresh salad greens such as spinach or arugula for an extra burst of freshness and added nutrition.
Stuffed Bell Peppers: Hollow out bell peppers and stuff them with the chickpea salad. Bake until the peppers are tender for a delightful, colorful, and healthy main course.
Lettuce Wraps: Wrap the salad in large lettuce leaves, such as romaine or butter lettuce, for a light and refreshing option.
With the Garden-to-Plate Vegan Chickpea Salad, you can embark on a culinary journey that celebrates seasonality, garden-fresh ingredients, and the benefits of a plant-based diet. By savoring this delightful salad, you not only nourish your body with the nutritional goodness of chickpeas, almonds, and chives but also appreciate the joy of growing your own food. So, take advantage of the bountiful flavors of summer, cultivate your own garden-to-plate experience, and delight in the refreshing taste of this vibrant vegan salad recipe.