BACKYARD GARDENING MADE SIMPLE
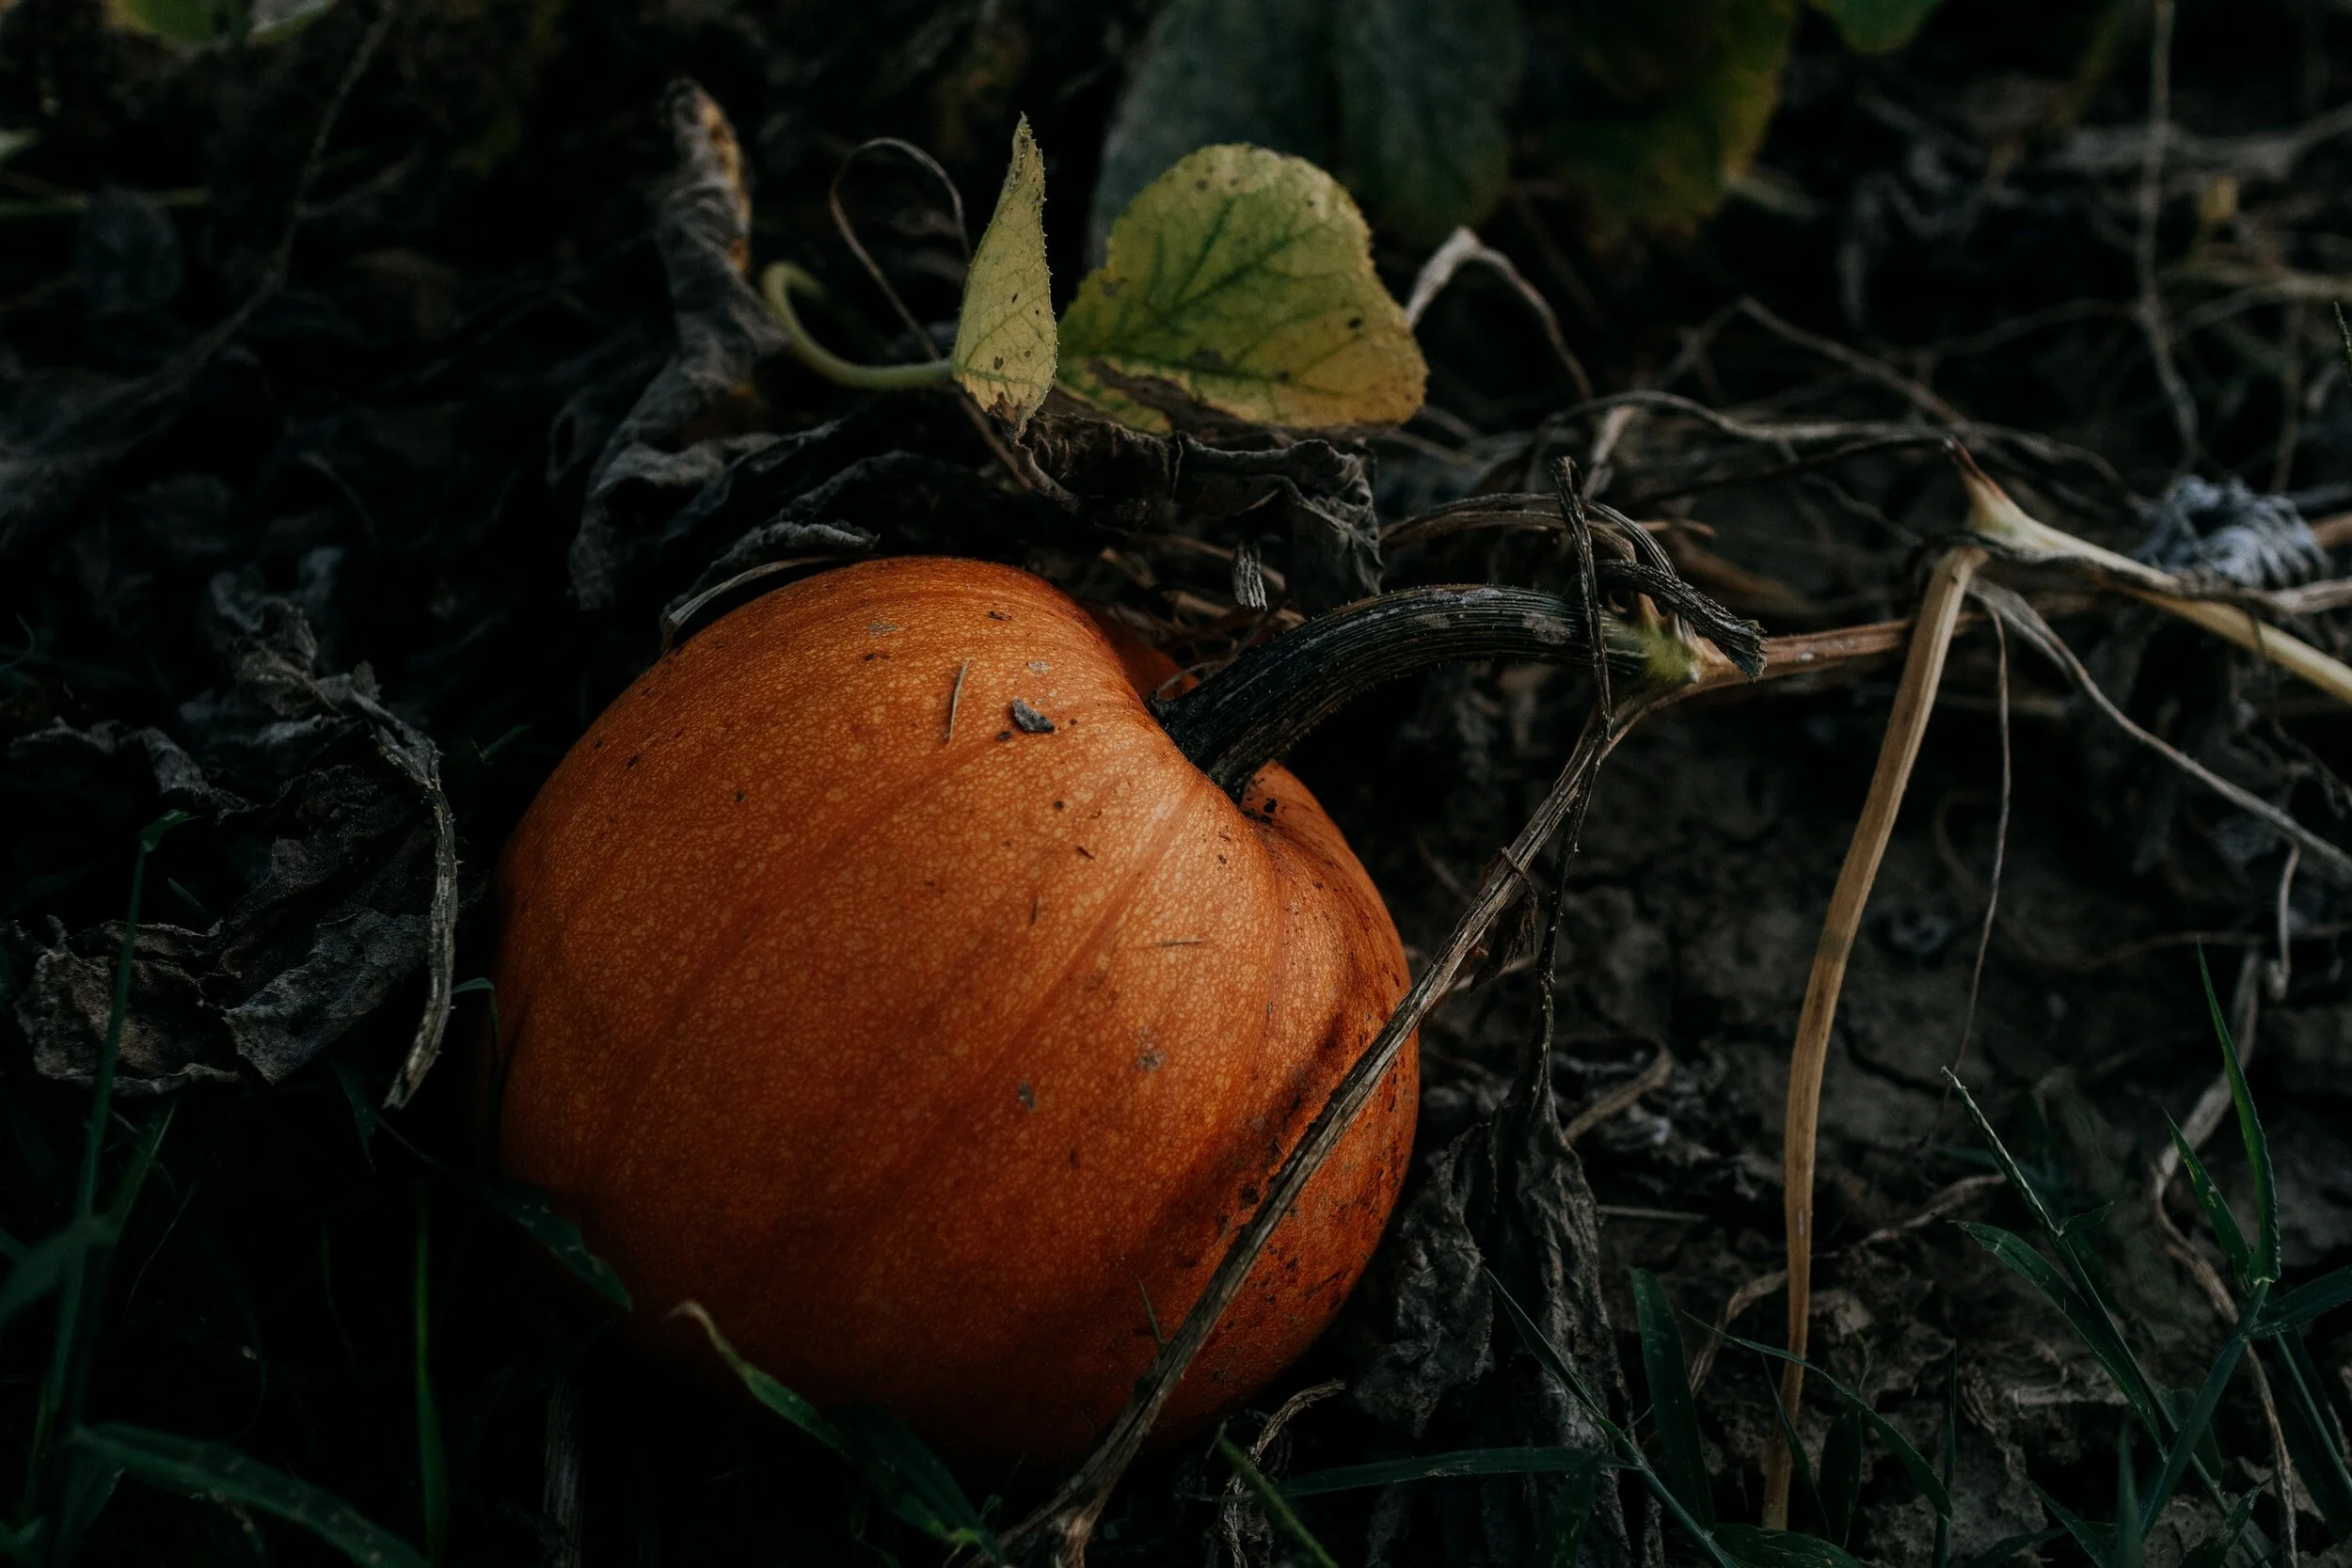
How To Grow Pumpkins In The Garden: Everything You Need To Know [Guide]
Pumpkins are a versatile and nutritious vegetable that comes in a wide variety of shapes, sizes, and flavors. From the delicate and tender to the rich and sweet, pumpkins, there is a pumpkin variety to suit every palate. Pumpkins are not only delicious but also packed with essential vitamins, minerals, and dietary fiber, making it a healthy addition to any diet. Their vibrant colors and unique textures make it a visually appealing ingredient that can elevate any dish. Whether you're looking to make comforting soups, hearty stews, vibrant salads, or even sweet desserts, pumpkin can be a go-to ingredient.
Pumpkins are a versatile and nutritious vegetable that comes in a wide variety of shapes, sizes, and flavors. From the delicate and tender to the rich and sweet, pumpkins, there is a pumpkin variety to suit every palate. Pumpkins are not only delicious but also packed with essential vitamins, minerals, and dietary fiber, making it a healthy addition to any diet. Their vibrant colors and unique textures make it a visually appealing ingredient that can elevate any dish. Whether you're looking to make comforting soups, hearty stews, vibrant salads, or even sweet desserts, pumpkin can be a go-to ingredient.
Growing pumpkins allows you to explore a wide range of varieties that may not be readily available in stores. You can experiment with heirloom or lesser-known varieties, each offering unique flavors and characteristics. This opens up a world of culinary possibilities, as you can tailor your dishes to your preferences and discover new and exciting flavor profiles.
WHAT KINDS OF PUMPKINS CAN YOU GROW?
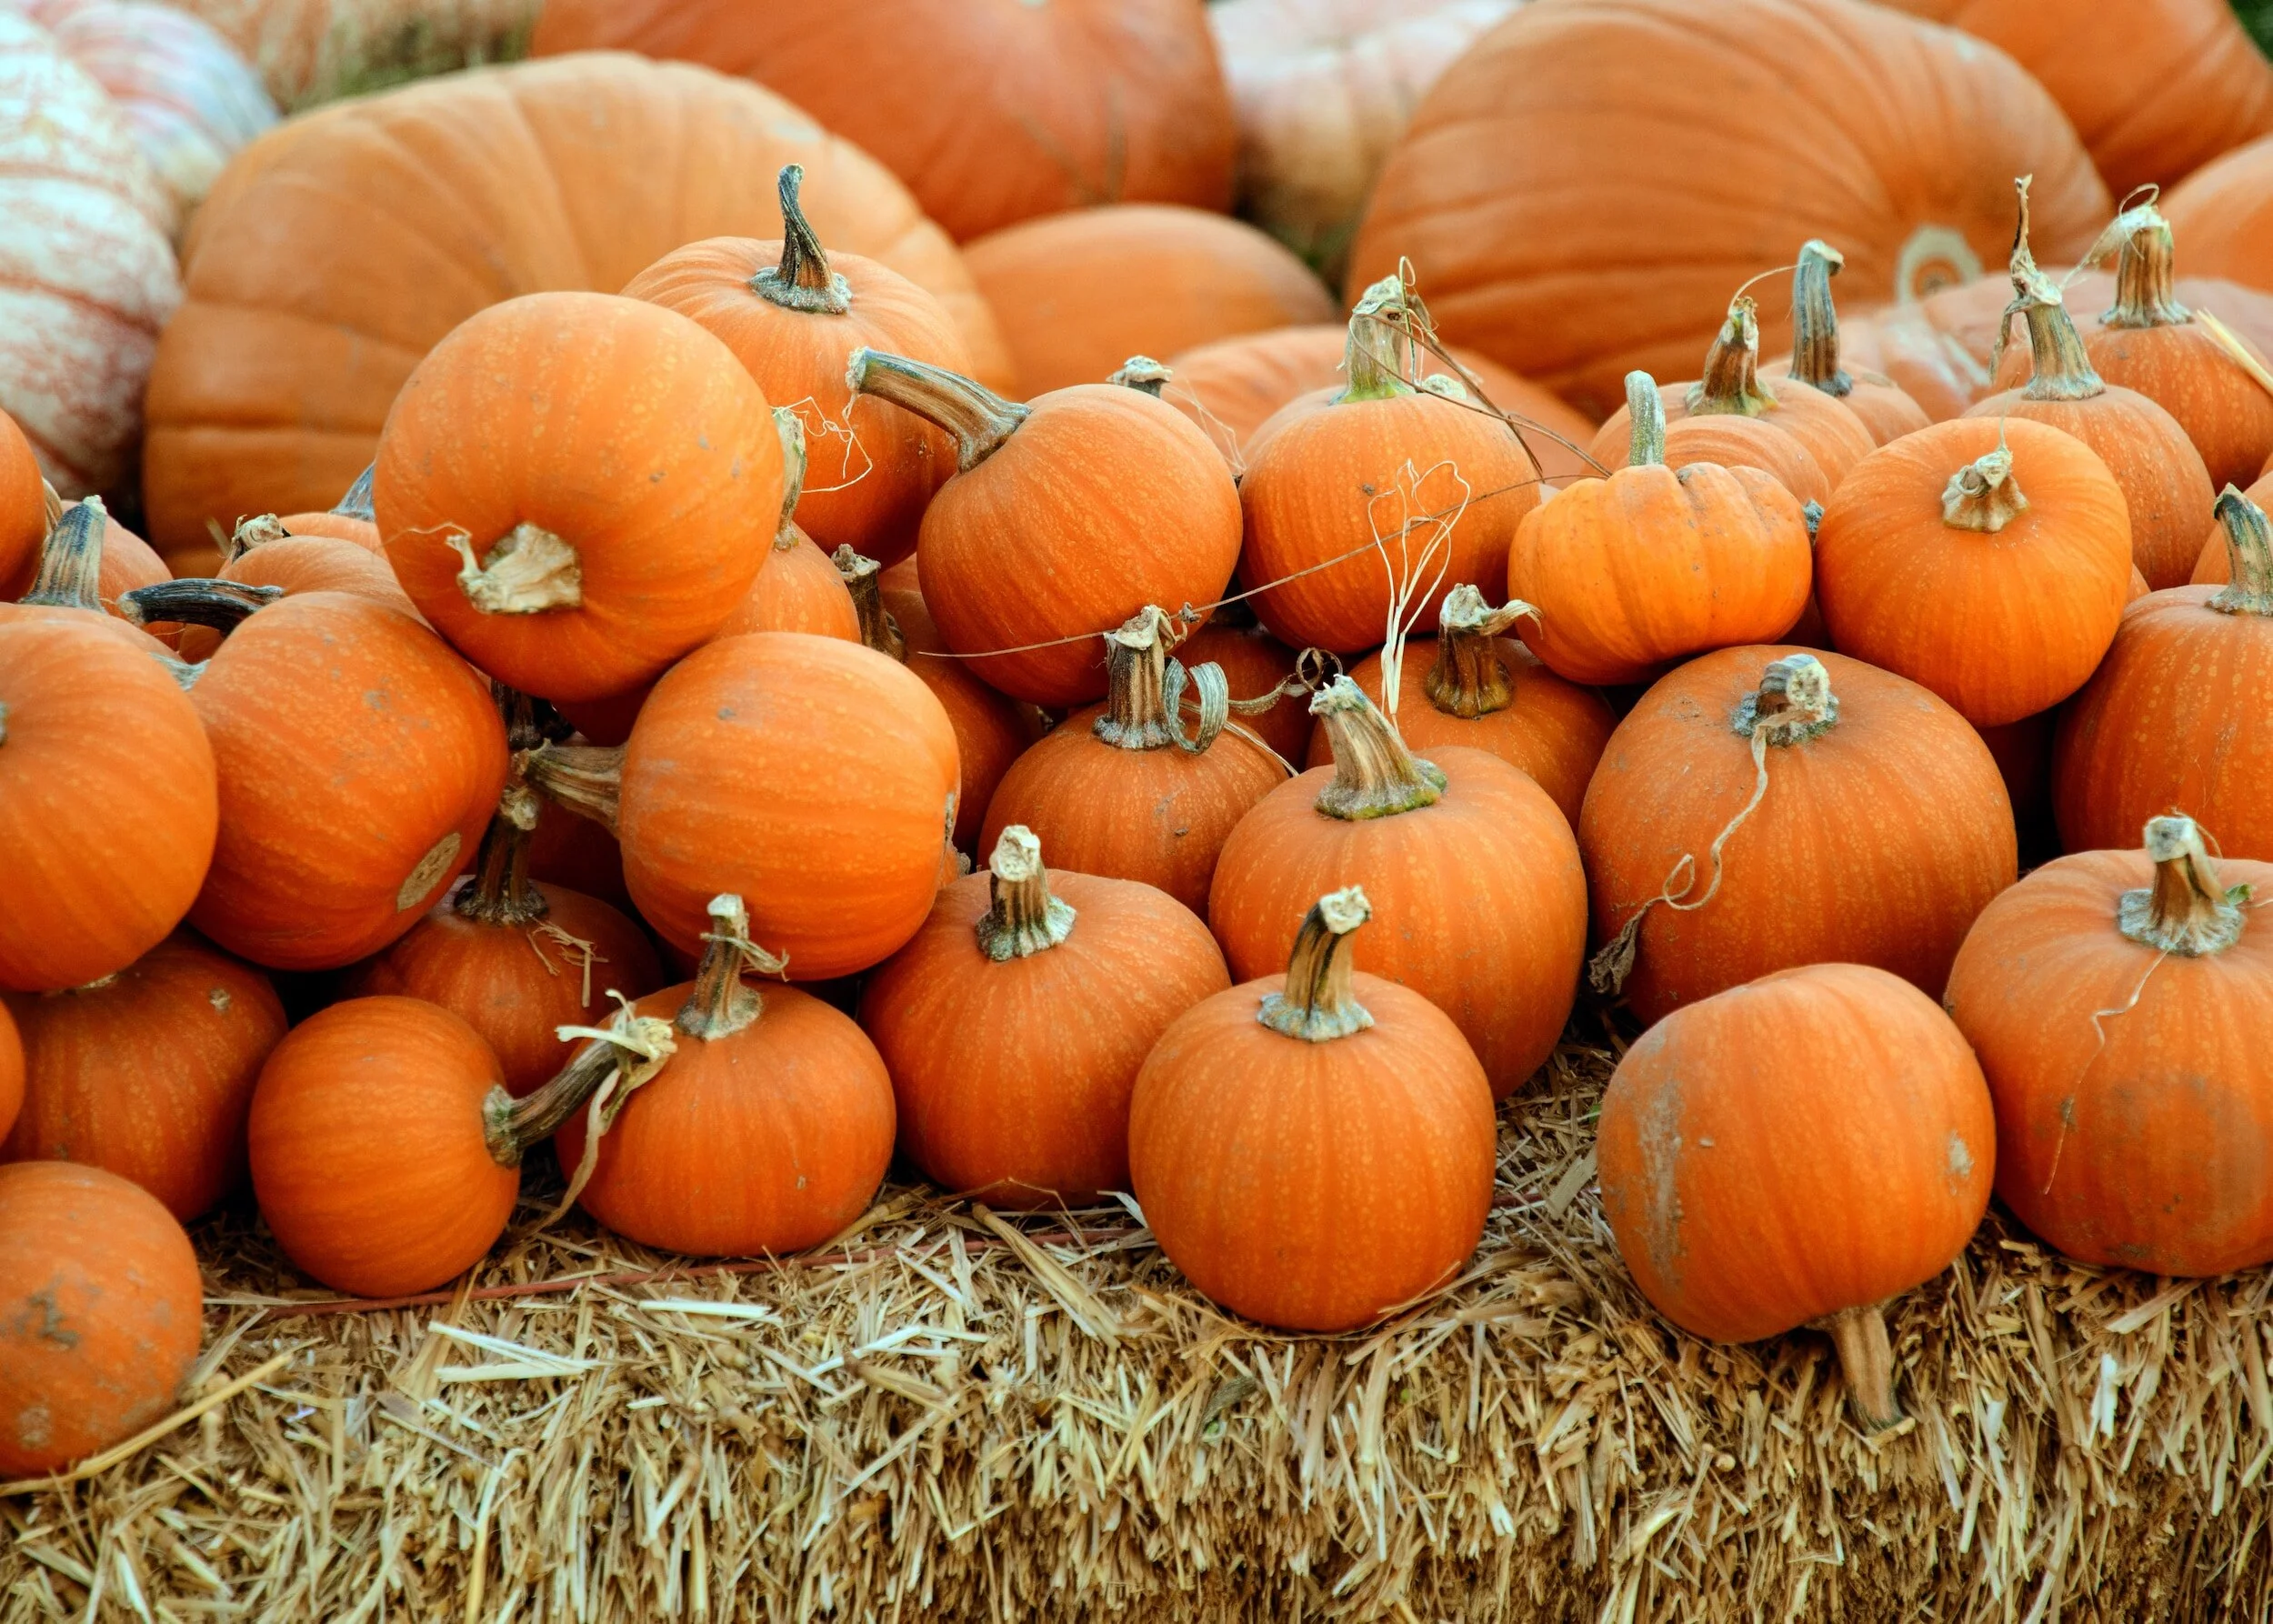
The classic Jack-O'-Lantern Pumpkin boasts a large, round shape and a vibrant orange hue, perfect for carving spooky faces during Halloween. On the sweeter side, the Sugar Pie Pumpkin is smaller and squat, ideal for crafting delicious pies and desserts with its deep orange flesh. For a touch of fairy tale charm, the Cinderella Pumpkin features a flat, deeply ribbed profile in a reddish-orange shade, excellent for both roasting and decorative use.
Opting for a unique aesthetic, the White Pumpkin with its creamy or pale white skin can be used interchangeably with traditional pumpkins in various dishes, adding a visual twist. If seeking a classic pie pumpkin with a twist, the Long Island Cheese Pumpkin flaunts a flat, cheese-wheel shape in tan with light ribbing, lending itself well to pies, soups, and baking. For those drawn to a blue-gray appearance, the Jarrahdale Pumpkin serves as a delightful option, suitable for roasting, mashing, and decorative purposes.
Adding a touch of whimsy, the Fairytale Pumpkin features a flattened and deeply lobed structure in a reddish-orange hue, perfect for roasting and purees, while also bringing a charming aesthetic to dishes. The Musquee de Provence Pumpkin, with its ribbed, squat form and greenish streaks, offers an aromatic sweetness suitable for baking, soups, and decorative applications.
For a playful twist, the Pink Banana Pumpkin stands out with its long, slender shape and pinkish-orange hue, bringing a sweet, banana-flavored note to baking, purees, and creative culinary endeavors.
Rounding out the list, the Galeux d'Eysines Pumpkin captivates with its salmon-colored skin adorned with peanut-like warts, delivering a smooth and sweet flavor profile perfect for soups, stews, and as an eye-catching decorative item. Each pumpkin variety is a canvas for culinary creativity, promising a delightful array of flavors and textures for every kitchen experiment.
WHERE SHOULD YOU PLANT PUMPKINS?
Pumpkin plants thrive in full sun, so it is essential to select a growing site that receives at least 6 to 8 hours of direct sunlight daily. Sunlight is crucial for the growth and development of pumpkins plants, as it helps them produce ample foliage and ensures optimal fruiting. Therefore, choose a location in your garden that is not shaded by trees, buildings, or other structures.
In addition to sunlight, pumpkins plants require well-draining soil. They prefer soil that is loose, fertile, and rich in organic matter. Well-draining soil prevents waterlogging, which can lead to root rot and other diseases. To improve drainage, you can amend heavy clay soil with organic matter such as compost or well-rotted manure. This helps create a looser soil structure, allowing water to flow through and preventing excess moisture retention around the plant's roots.
Pumpkin plants can spread and occupy a significant area, so ensure that you have sufficient space for the plants to grow and sprawl without overcrowding other crops or plants. Adequate spacing allows for good air circulation and helps prevent the development of fungal diseases.
STARTING PUMPKINS PLANTS FROM SEED
This method involves directly sowing pumpkins seeds into the soil or starting them indoors and later transplanting the seedlings. Sowing seeds directly in the garden is a simple and cost-effective approach. On the other hand, starting seeds indoors allows for earlier planting and a head start on the growing season.
Pumpkin seeds should be planted when the soil has warmed up and all chances of frost have passed. This is typically in spring when the soil temperature reaches around 60°F (15°C) or higher. Ensure that the soil is well-draining and enriched with organic matter. Remove any weeds or debris and break up clumps of soil. Plant pumpkins seeds about 1 inch (2.5 cm) deep into the soil. Space the seeds 2 to 3 feet (60 to 90 cm) apart in rows, or follow the spacing guidelines specific to the variety you are planting. You may also plant three seeds in a hill formation. After planting the seeds, thoroughly water the area to ensure good seed-to-soil contact and proper moisture for germination. Keep the soil consistently moist but not waterlogged as the seeds germinate and the seedlings emerge. Once the seedlings have emerged and developed their first set of true leaves, thin them out if they are planted too closely together. Thin the seedlings to the desired spacing, typically leaving the healthiest and strongest ones.
Using seedlings from a nursery offers the advantage of a shortened time to harvest, as the plants are already established. It can be particularly beneficial in areas with a shorter growing season or for gardeners who prefer a more convenient option. Seedlings provide a head start in the growing process, allowing you to harvest pumpkins earlier than if you were to start from seeds, but buying seedlings can be more expensive compared to starting from seeds, and seedlings may experience some level of transplant shock when moved from the controlled environment of the nursery to your garden. This shock can temporarily slow down growth and require extra care during the transition.
HOW TO GROW PUMPKINS VERTICALLY
Vining pumpkins tend to spread out and take up a lot of garden space. By providing support or trellises, you can train the vines to grow vertically, saving valuable space in your garden. When vining pumpkins plants are trained upwards, they allow for better airflow around the foliage, reducing the chances of diseases caused by excessive moisture and promoting overall plant health. Growing vining pumpkins vertically makes it easier to locate and harvest the fruits. The pumpkins hang down from the trellis, making them more visible and accessible.
To provide support for vining pumpkins, you can use trellises, stakes, or cages. Install the support structure at the time of planting or when the plants are young to avoid disturbing the roots later. As the vines grow, gently train them to climb the support structure, securing them with garden ties or soft twine if needed. Be sure to choose sturdy supports that can handle the weight of the developing fruits.
WATERING PUMPKIN PLANTS
Pumpkin plants have high water needs, and lack of moisture can lead to stunted growth and poor fruit development. Aim to provide about 1 to 1.5 inches (2.5 to 3.8 cm) of water per week, either through rainfall or irrigation. Fluctuating moisture levels can cause stress to the plants and lead to issues like blossom end rot or fruit cracking. Water the plants deeply, ensuring the moisture reaches the root zone. Mulching around the plants can help retain soil moisture and reduce water evaporation.
MULCHING PUMPKIN PLANTS
A layer of mulch helps retain soil moisture by reducing water evaporation. This is especially important during hot and dry periods when water availability is crucial for healthy plant growth. Mulch acts as a natural weed barrier, preventing weed growth and competition with pumpkins plants for nutrients and water. This reduces the need for frequent weeding, saving time and effort. Mulch helps regulate soil temperature by keeping it cooler in hot summer months and providing insulation during cooler periods. This creates an ideal environment for root development and overall plant growth.
PUMPKIN PESTS AND DISEASES
Squash bugs: These insects feed on the leaves, stems, and fruits of pumpkin plants, causing wilting, yellowing, and decline. They can be identified by their flat, shield-shaped bodies and dark brown or gray color.
Squash vine borers: The larvae of these pests bore into the stems of pumpkin plants, causing wilting, dieback, and eventual plant death. Adult vine borers are clear-winged moths.
Cucumber beetles: These beetles can transmit diseases and damage leaves, flowers, and fruits of pumpkin plants. They are typically yellowish-green with black stripes or spots.
Organic pest control methods can help manage pumpkin pests effectively while minimizing the use of synthetic pesticides. Consider the following approaches:
Row covers: Use lightweight fabric row covers to physically exclude pests from reaching the plants. Cover the plants soon after planting and secure the edges to prevent pests from entering.
Beneficial insects: Encourage the presence of natural predators and beneficial insects in your garden, such as ladybugs, lacewings, and parasitic wasps. These insects prey on pumpkin pests and help control their populations.
Pumpkin plants are susceptible to several diseases that can affect their overall health and productivity. Here are some common diseases that may affect pumpkins:
Powdery mildew: This fungal disease appears as a white, powdery coating on the leaves, stems, and fruits of pumpkin plants. It can cause leaf yellowing, stunting, and reduced fruit production.
Bacterial wilt: This disease is caused by bacteria that clog the water-conducting tissues of pumpkin plants, leading to wilting and eventual death. It is often transmitted by cucumber beetles.
TO PREVENT AND MANAGE PUMPKINS DISEASES, CONSIDER THE FOLLOWING MEASURES:
Crop rotation: Avoid planting pumpkins in the same area of the garden year after year. Rotate your crops to different locations to reduce the buildup of disease-causing pathogens in the soil.
Remove and destroy any infected plant debris to prevent the spread of diseases. This includes removing and disposing of infected plant parts, fallen leaves, and fruits.
Select pumpkin varieties that have resistance or tolerance to common diseases prevalent in your area. This can help reduce the risk of infection and improve plant health.
HOW TO HARVEST PUMPKINS
When it comes to harvesting pumpkins, there are a few signs that indicate the fruits are mature and ready to be picked. Look for pumpkins with firm skin and vibrant color. Depending on the variety, the skin may be tough and resistant to scratching or denting. Additionally, the stem connecting the pumpkins to the vine should be dry and starting to wither.
To harvest pumpkins properly, use a sharp knife or pruning shears to cut the fruit from the vine, leaving a small stem at least one inch long attached. Avoid pulling or twisting the pumpkins, as this can damage the plant and reduce the quality of the fruit. Handle the pumpkins with care to prevent bruising or puncturing.
HOW TO CURE PUMPKINS
Curing is particularly important for pumpkins varieties you want to store long term to last the winter. After harvest, wipe the outside down with soapy water and allow the pumpkins to cure in a warm and well-ventilated area for a period of time, typically about 1 to 2 weeks. This process toughens the skin, enhances flavor, and extends their storage life. During curing, the pumpkins should be kept in a single layer, allowing air circulation around each fruit.
HOW TO STORE PUMPKINS
Storing pumpkins properly is essential to maintain their quality and extend their shelf life. Winter pumpkins can be stored for several months when stored correctly. Keep them in a cool (50-55°F or 10-13°C), dry, and well-ventilated area. Avoid storing winter pumpkins near fruits that produce ethylene gas, such as apples, as this can cause premature ripening and spoilage.
Growing your own pumpkins can be a rewarding experience that provides you with fresh, flavorful, and nutritious produce. By following proper harvesting and storage techniques, you can enjoy your homegrown pumpkins for an extended period, adding versatility and delicious flavors to your meals. Start your own pumpkin garden, explore different varieties, and savor the many culinary possibilities that pumpkins have to offer.
How To Grow Squash In The Garden: Everything You Need To Know [Guide]
Growing squash allows you to explore a wide range of varieties that may not be readily available in stores. You can experiment with heirloom or lesser-known varieties, each offering unique flavors and characteristics. This opens up a world of culinary possibilities, as you can tailor your dishes to your preferences and discover new and exciting flavor profiles.
Squash is a versatile and nutritious vegetable that comes in a wide variety of shapes, sizes, and flavors. From the delicate and tender zucchini to the rich and sweet butternut squash, there is a squash variety to suit every palate. Squash is not only delicious but also packed with essential vitamins, minerals, and dietary fiber, making it a healthy addition to any diet. Its vibrant colors and unique textures make it a visually appealing ingredient that can elevate any dish. Whether you're looking to make comforting soups, hearty stews, vibrant salads, or even sweet desserts, squash can be your go-to ingredient.
Growing squash allows you to explore a wide range of varieties that may not be readily available in stores. You can experiment with heirloom or lesser-known varieties, each offering unique flavors and characteristics. This opens up a world of culinary possibilities, as you can tailor your dishes to your preferences and discover new and exciting flavor profiles.
What Kinds of Squash Can You Grow?
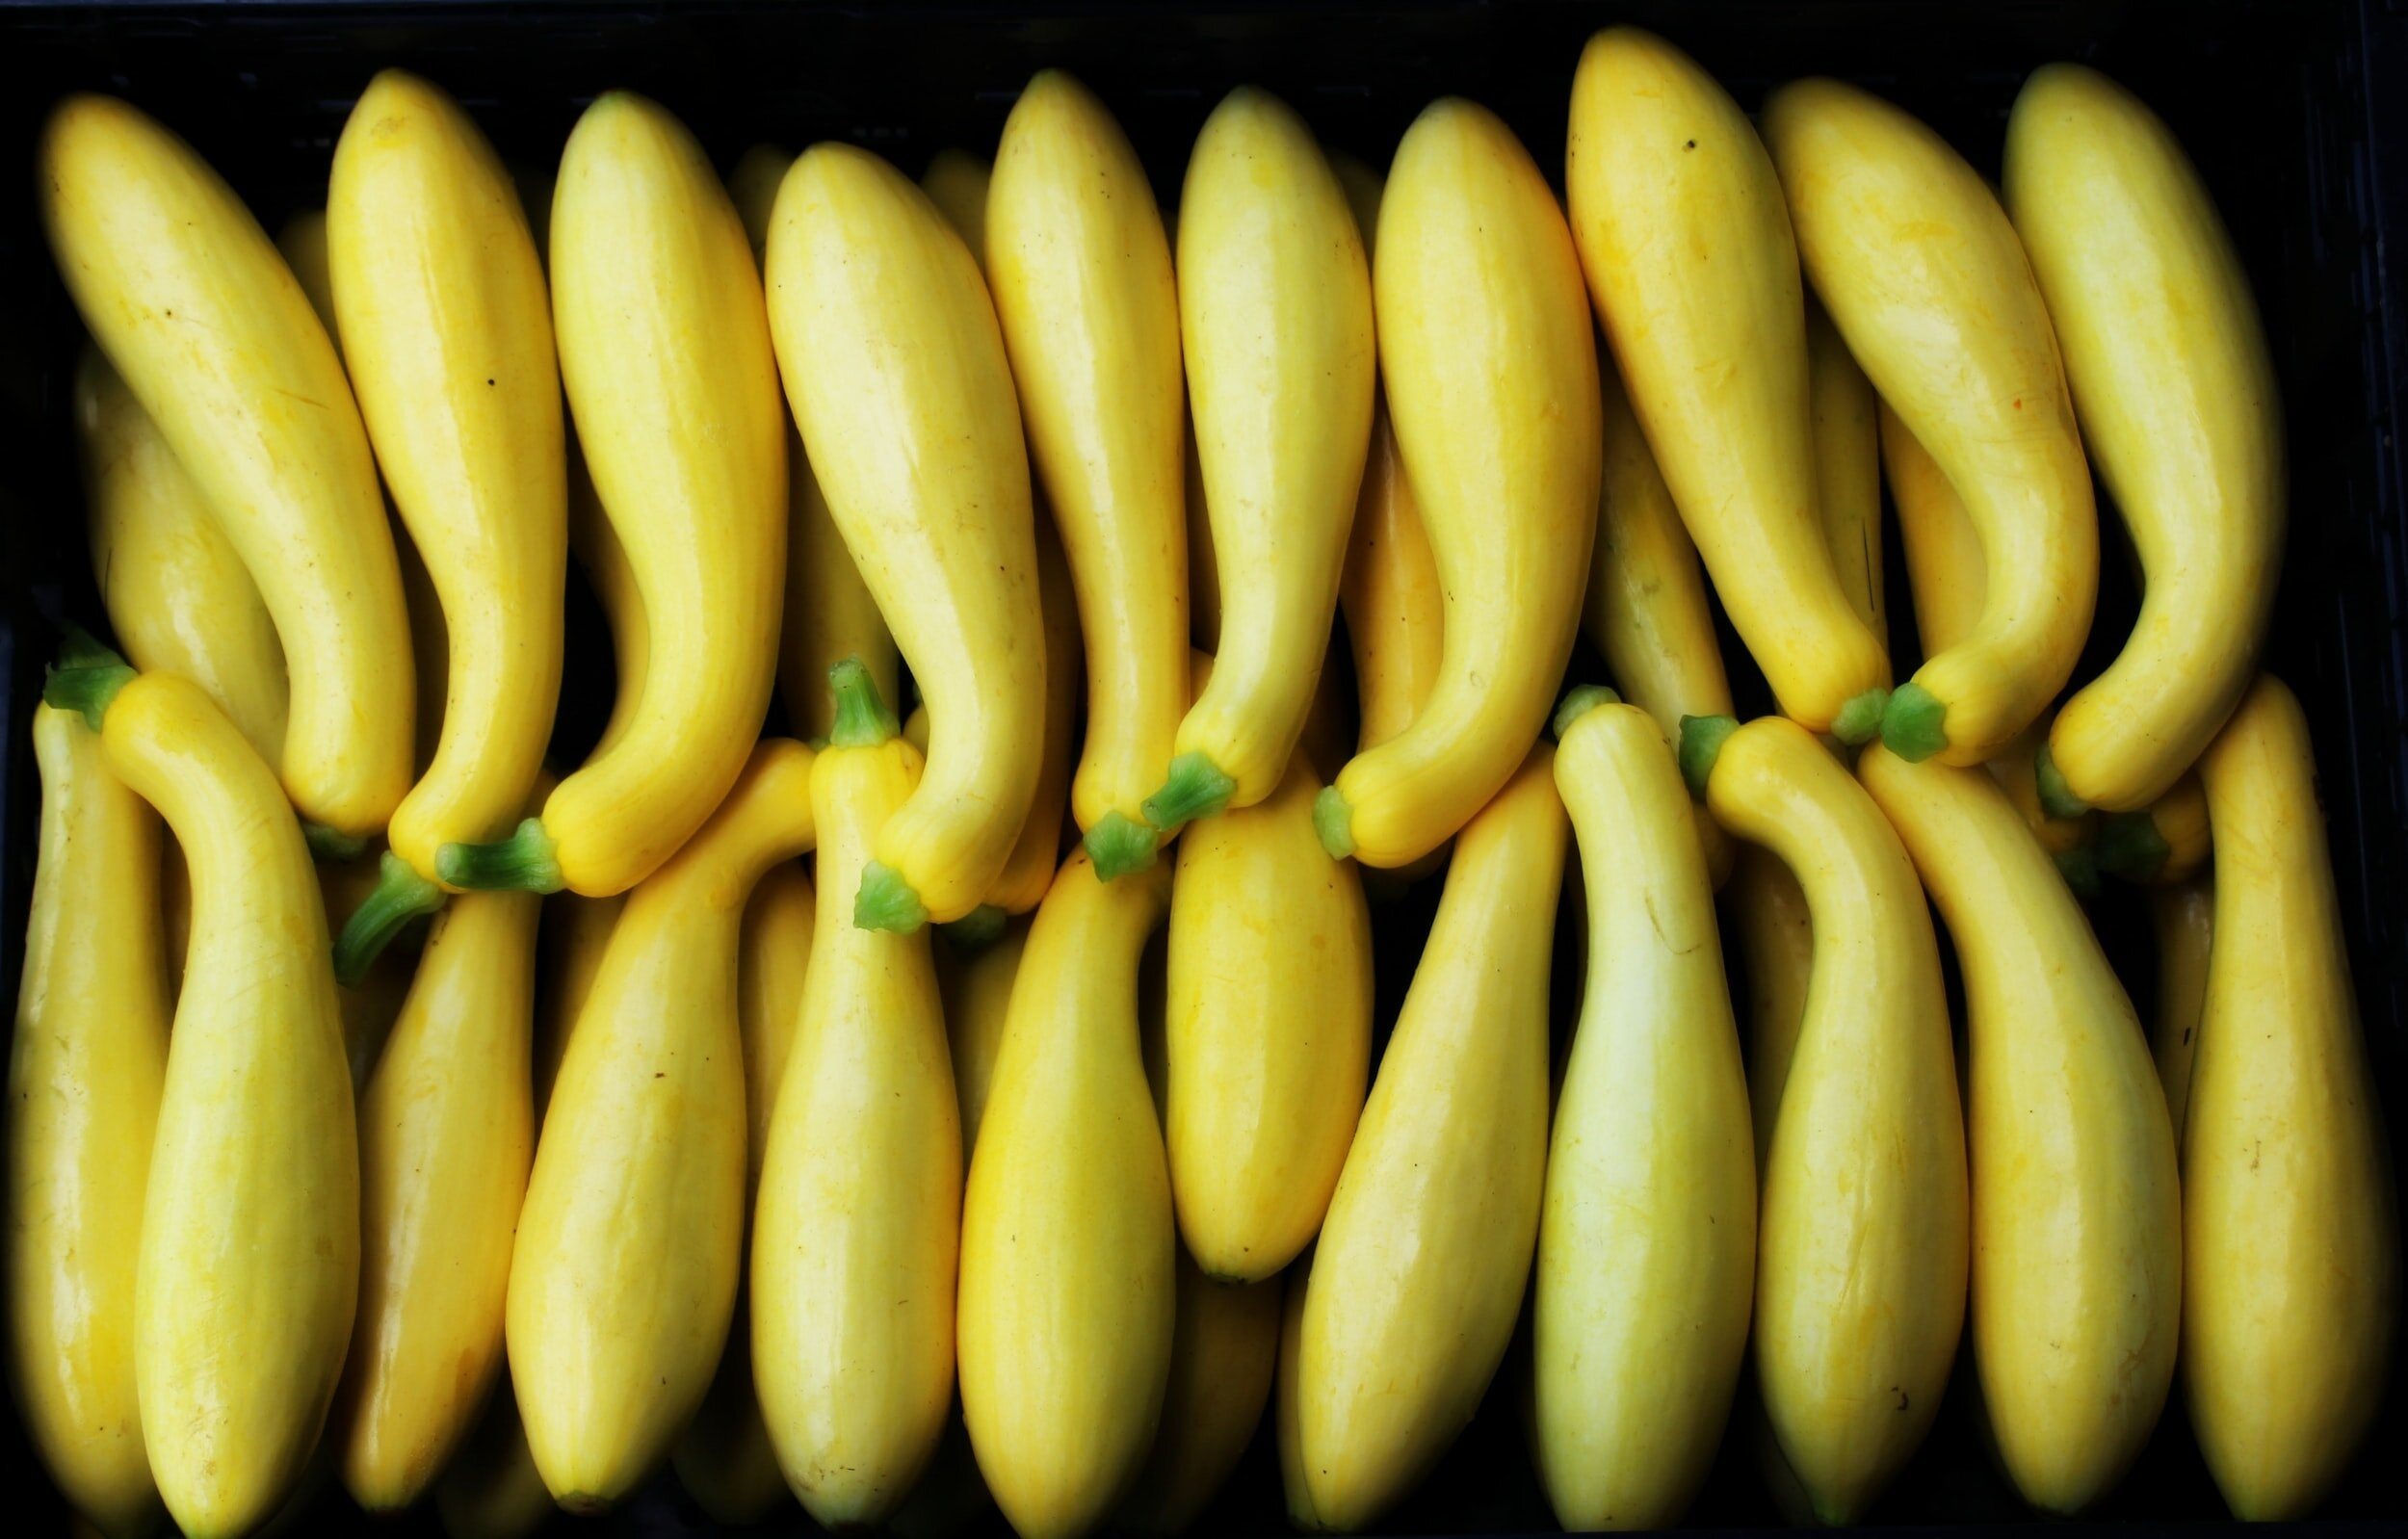
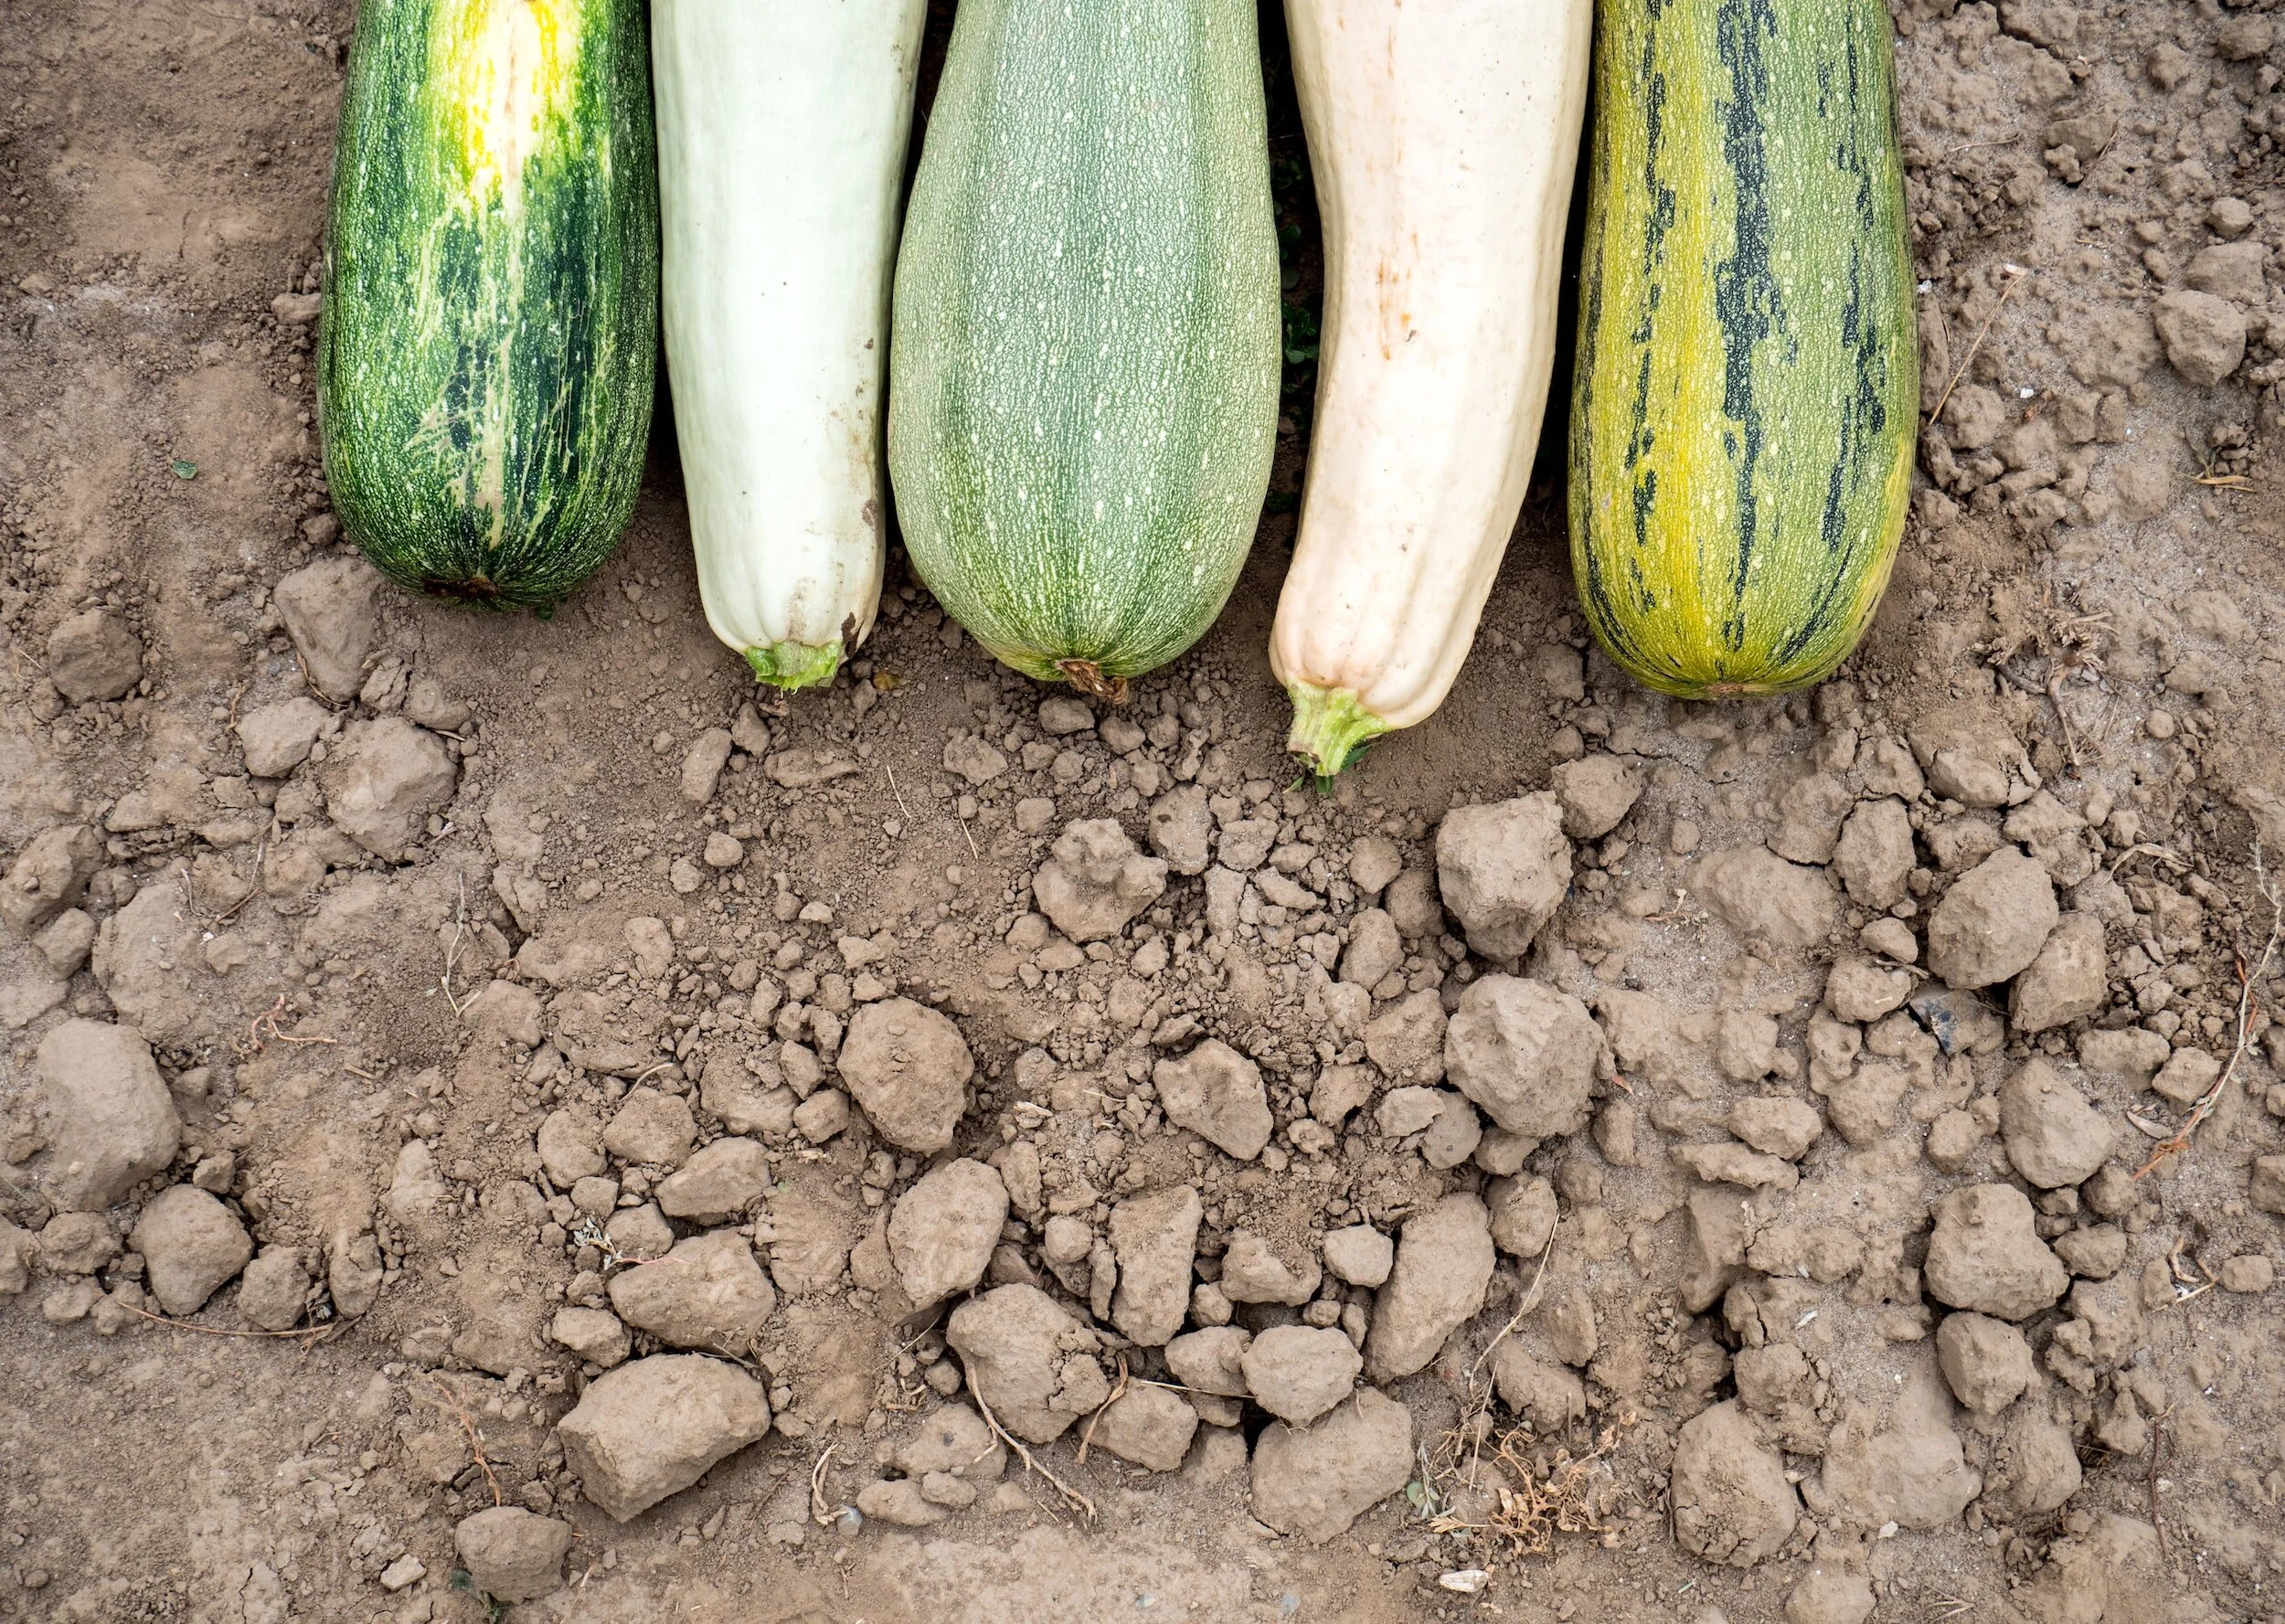
Zucchini is a summer squash with a vibrant green color and a smooth texture. It has a mild and delicate flavor, making it a versatile ingredient that can be used in both savory and sweet dishes. Its tender flesh is perfect for grilling, roasting, sautéing, or even spiralizing into zucchini noodles for a healthy pasta alternative.
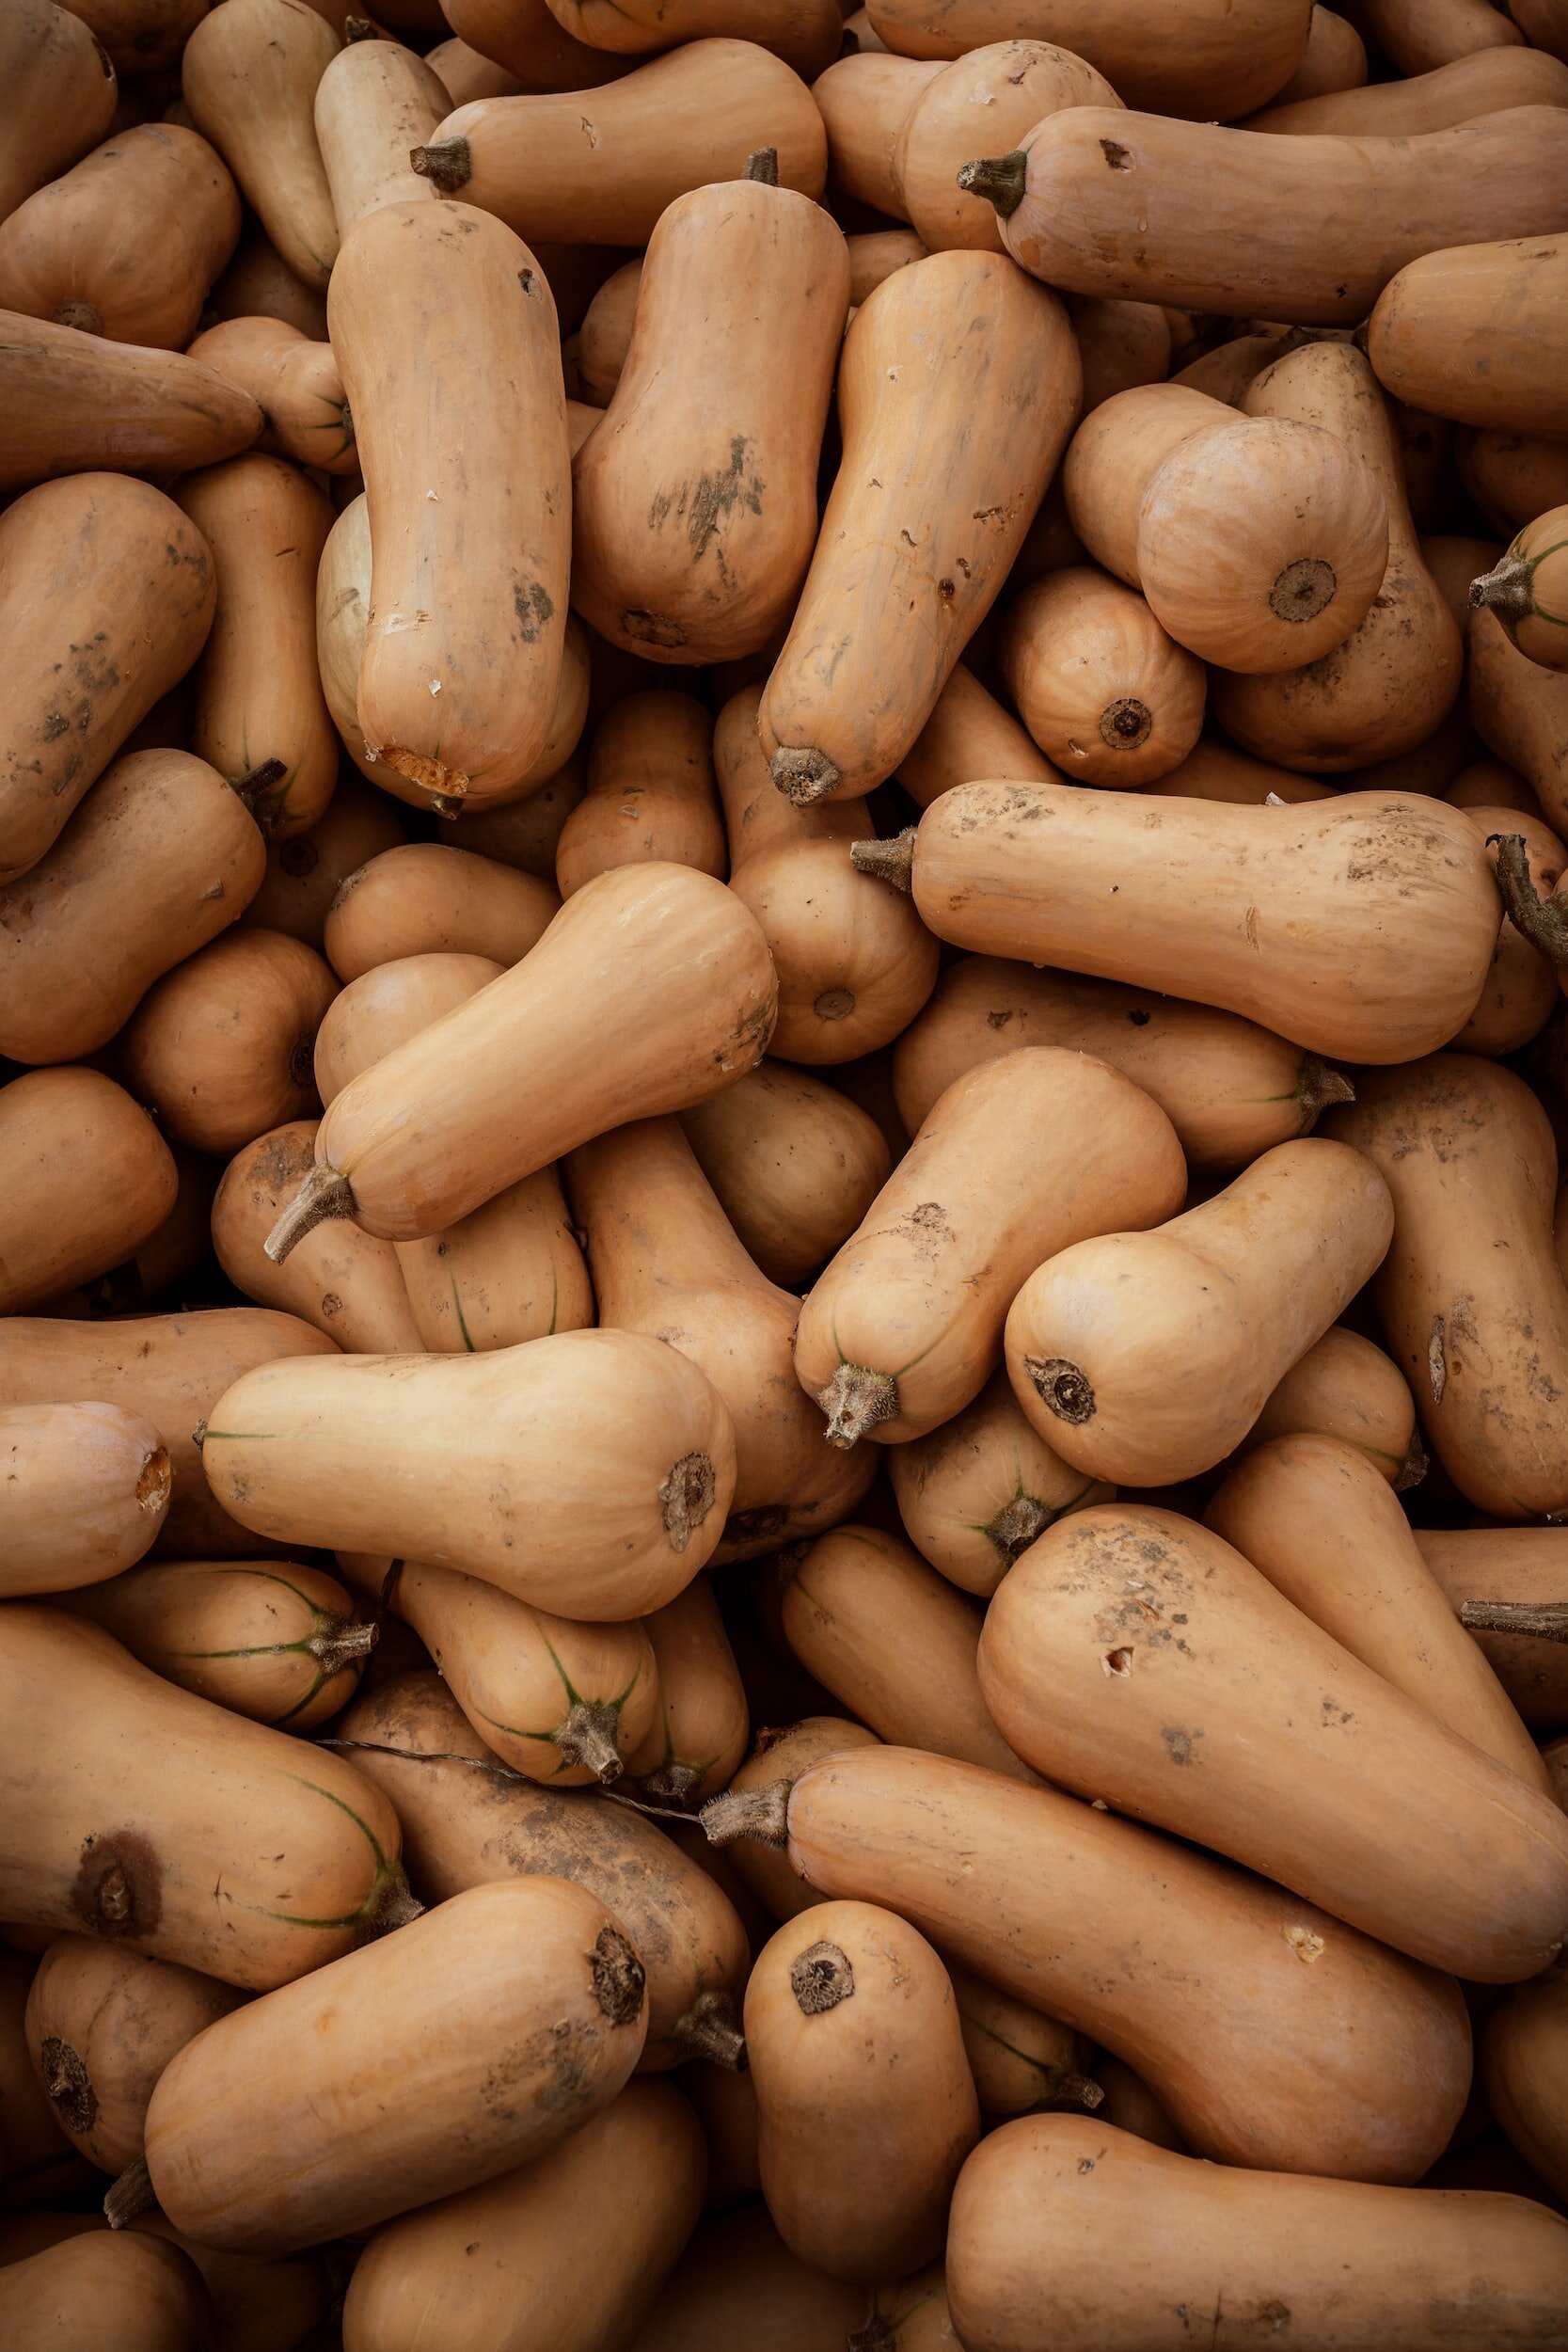
Butternut squash is a winter squash with a distinct bell-like shape and a rich, sweet flavor. Its flesh is smooth and creamy, making it ideal for roasting, pureeing into soups, or incorporating into casseroles and gratins. The vibrant orange color of butternut squash adds a visually appealing element to any dish.
Acorn squash is another popular winter squash variety, characterized by its small size and distinctive ribbed skin. It has a slightly sweet and nutty flavor, with a tender and creamy texture. Acorn squash is often halved and roasted, and its hollow shape makes it perfect for stuffing with savory fillings such as grains, vegetables, or cheese.
Spaghetti squash is a unique variety that, when cooked, yields long strands of flesh that resemble spaghetti noodles. It has a mild and slightly sweet flavor, making it a versatile substitute for pasta in various dishes. Spaghetti squash can be roasted and then scraped with a fork to create "spaghetti" strands, which can be paired with sauces, used in casseroles, or even enjoyed as a low-carb side dish.
Each squash variety mentioned above has its own suitability for different culinary applications. Zucchini's mild flavor and tender texture make it a great choice for grilling, sautéing, or adding to stir-fries. It can also be used in baking, where its moisture content can contribute to moist and flavorful breads and cakes.
Butternut squash's sweet and creamy flesh is perfect for roasting, which brings out its natural caramelized flavors. It can be pureed to create silky soups or used in casseroles and side dishes. Its versatility also extends to sweet preparations, as butternut squash can be used in pies, muffins, and other desserts.
Acorn squash's hollow shape and slightly sweet flavor make it an excellent vessel for stuffing. The flesh becomes tender when roasted, providing a flavorful base for various fillings. It can also be sliced and roasted to be enjoyed as a standalone side dish or incorporated into salads.
Spaghetti squash's unique characteristic of turning into noodle-like strands when cooked makes it a popular choice for those seeking a low-carb or gluten-free alternative to pasta. The mild flavor of spaghetti squash allows it to pair well with a variety of sauces and toppings, making it a versatile ingredient in pasta dishes.
Where Should You Plant Squash?
Squash plants thrive in full sun, so it is essential to select a growing site that receives at least 6 to 8 hours of direct sunlight daily. Sunlight is crucial for the growth and development of squash plants, as it helps them produce ample foliage and ensures optimal fruiting. Therefore, choose a location in your garden that is not shaded by trees, buildings, or other structures.
In addition to sunlight, squash plants require well-draining soil. They prefer soil that is loose, fertile, and rich in organic matter. Well-draining soil prevents waterlogging, which can lead to root rot and other diseases. To improve drainage, you can amend heavy clay soil with organic matter such as compost or well-rotted manure. This helps create a looser soil structure, allowing water to flow through and preventing excess moisture retention around the plant's roots.
Squash plants can spread and occupy a significant area, so ensure that you have sufficient space for the plants to grow and sprawl without overcrowding other crops or plants. Adequate spacing allows for good air circulation and helps prevent the development of fungal diseases.
Starting Squash Plants from Seed
This method involves directly sowing squash seeds into the soil or starting them indoors and later transplanting the seedlings. Sowing seeds directly in the garden is a simple and cost-effective approach. On the other hand, starting seeds indoors allows for earlier planting and a head start on the growing season.
Squash seeds should be planted when the soil has warmed up and all chances of frost have passed. This is typically in spring when the soil temperature reaches around 60°F (15°C) or higher. Ensure that the soil is well-draining and enriched with organic matter. Remove any weeds or debris and break up clumps of soil. Plant squash seeds about 1 inch (2.5 cm) deep into the soil. Space the seeds 2 to 3 feet (60 to 90 cm) apart in rows, or follow the spacing guidelines specific to the variety you are planting. You may also plant three seeds in a hill formation. After planting the seeds, thoroughly water the area to ensure good seed-to-soil contact and proper moisture for germination. Keep the soil consistently moist but not waterlogged as the seeds germinate and the seedlings emerge. Once the seedlings have emerged and developed their first set of true leaves, thin them out if they are planted too closely together. Thin the seedlings to the desired spacing, typically leaving the healthiest and strongest ones.
Using seedlings from a nursery offers the advantage of a shortened time to harvest, as the plants are already established. It can be particularly beneficial in areas with a shorter growing season or for gardeners who prefer a more convenient option. Seedlings provide a head start in the growing process, allowing you to harvest squash earlier than if you were to start from seeds, but buying seedlings can be more expensive compared to starting from seeds, and seedlings may experience some level of transplant shock when moved from the controlled environment of the nursery to your garden. This shock can temporarily slow down growth and require extra care during the transition.
How to Grow Squash Vertically
Vining squashes, such as some varieties of zucchini or winter squash, tend to spread out and take up a lot of garden space. By providing support or trellises, you can train the vines to grow vertically, saving valuable space in your garden. When vining squash plants are trained upwards, they allow for better airflow around the foliage, reducing the chances of diseases caused by excessive moisture and promoting overall plant health. Growing vining squash vertically makes it easier to locate and harvest the fruits. The squash hangs down from the trellis, making them more visible and accessible.
To provide support for vining squash, you can use trellises, stakes, or cages. Install the support structure at the time of planting or when the plants are young to avoid disturbing the roots later. As the vines grow, gently train them to climb the support structure, securing them with garden ties or soft twine if needed. Be sure to choose sturdy supports that can handle the weight of the developing fruits.
Watering Squash Plants
Squash plants have high water needs, and lack of moisture can lead to stunted growth and poor fruit development. Aim to provide about 1 to 1.5 inches (2.5 to 3.8 cm) of water per week, either through rainfall or irrigation. Fluctuating moisture levels can cause stress to the plants and lead to issues like blossom end rot or fruit cracking. Water the plants deeply, ensuring the moisture reaches the root zone. Mulching around the plants can help retain soil moisture and reduce water evaporation.
Mulching Squash Plants
A layer of mulch helps retain soil moisture by reducing water evaporation. This is especially important during hot and dry periods when water availability is crucial for healthy plant growth. Mulch acts as a natural weed barrier, preventing weed growth and competition with squash plants for nutrients and water. This reduces the need for frequent weeding, saving time and effort. Mulch helps regulate soil temperature by keeping it cooler in hot summer months and providing insulation during cooler periods. This creates an ideal environment for root development and overall plant growth.
Squash Pests and Diseases
Squash bugs: These insects feed on the leaves, stems, and fruits of squash plants, causing wilting, yellowing, and decline. They can be identified by their flat, shield-shaped bodies and dark brown or gray color.
Squash vine borers: The larvae of these pests bore into the stems of squash plants, causing wilting, dieback, and eventual plant death. Adult vine borers are clear-winged moths.
Cucumber beetles: These beetles can transmit diseases and damage leaves, flowers, and fruits of squash plants. They are typically yellowish-green with black stripes or spots.
Organic pest control methods can help manage squash pests effectively while minimizing the use of synthetic pesticides. Consider the following approaches:
Row covers: Use lightweight fabric row covers to physically exclude pests from reaching the plants. Cover the plants soon after planting and secure the edges to prevent pests from entering.
Beneficial insects: Encourage the presence of natural predators and beneficial insects in your garden, such as ladybugs, lacewings, and parasitic wasps. These insects prey on squash pests and help control their populations.
Squash plants are susceptible to several diseases that can affect their overall health and productivity. Here are some common diseases that may affect squash:
Powdery mildew: This fungal disease appears as a white, powdery coating on the leaves, stems, and fruits of squash plants. It can cause leaf yellowing, stunting, and reduced fruit production.
Bacterial wilt: This disease is caused by bacteria that clog the water-conducting tissues of squash plants, leading to wilting and eventual death. It is often transmitted by cucumber beetles.
To prevent and manage squash diseases, consider the following measures:
Crop rotation: Avoid planting squash in the same area of the garden year after year. Rotate your crops to different locations to reduce the buildup of disease-causing pathogens in the soil.
Proper sanitation: Remove and destroy any infected plant debris to prevent the spread of diseases. This includes removing and disposing of infected plant parts, fallen leaves, and fruits.
Disease-resistant varieties: Select squash varieties that have resistance or tolerance to common diseases prevalent in your area. This can help reduce the risk of infection and improve plant health.
How to Harvest Squash
When it comes to harvesting squash, there are a few signs that indicate the fruits are mature and ready to be picked. Look for squash with firm skin and vibrant color. Depending on the variety, the skin may be tough and resistant to scratching or denting. Additionally, the stem connecting the squash to the vine should be dry and starting to wither.
To harvest squash properly, use a sharp knife or pruning shears to cut the fruit from the vine, leaving a small stem attached. Avoid pulling or twisting the squash, as this can damage the plant and reduce the quality of the fruit. Handle the squash with care to prevent bruising or puncturing.
How to Cure Squash
Curing is particularly important for certain squash varieties, such as winter squash. After harvest, allow these varieties to cure in a warm and well-ventilated area for a period of time, typically about 1 to 2 weeks. This process toughens the skin, enhances flavor, and extends their storage life. During curing, the squash should be kept in a single layer, allowing air circulation around each fruit.
How to Store Squash
Storing squash properly is essential to maintain their quality and extend their shelf life. For summer squash and other soft-skinned varieties, it is best to use them within a few days of harvest. Store them in a cool and dry place, such as the refrigerator's vegetable crisper, to slow down deterioration. Winter squash, on the other hand, can be stored for several months when stored correctly. Keep them in a cool (50-55°F or 10-13°C), dry, and well-ventilated area. Avoid storing winter squash near fruits that produce ethylene gas, such as apples, as this can cause premature ripening and spoilage.
Growing your own squash can be a rewarding experience that provides you with fresh, flavorful, and nutritious produce. By following proper harvesting and storage techniques, you can enjoy your homegrown squash for an extended period, adding versatility and delicious flavors to your meals. Start your own squash garden, explore different varieties, and savor the many culinary possibilities that squash has to offer.

![How To Grow Pumpkins In The Garden: Everything You Need To Know [Guide]](https://images.squarespace-cdn.com/content/v1/60e85024dc86d643da81c96a/1696955542836-7EJ1RVO7IO74E9EKS16A/image-asset.jpeg)



![How To Grow Squash In The Garden: Everything You Need To Know [Guide]](https://images.squarespace-cdn.com/content/v1/60e85024dc86d643da81c96a/1687197846000-Q6H2TI34PL467R0SWJ4T/image-asset.jpeg)
