BACKYARD GARDENING MADE SIMPLE
How to Save Sunflower Seeds
If you’re wondering if sunflower seeds are good for you, here’s what you need to know: a quarter cup of shelled sunflower seeds has almost 6 grams of protein and 4 grams of fiber, and the seeds are packed with nutrition, providing a variety of vitamins, iron, copper, calcium, selenium, zinc, potassium, and manganese. Sunflower seeds are helpful to our bodies in many ways, from decreasing risk of heart disease to boosting our immune systems.
Health benefits of sunflower seeds include:
Ask me what snack tastes most like summer to me and I’ll say tomatoes, but sunflower seeds come in as a close second. Crunchy, salty, natural and good for you - who could ask for more in a snack?
Health Benefits of Sunflower Seeds
If you’re wondering if sunflower seeds are good for you, here’s what you need to know: a quarter cup of shelled sunflower seeds has almost 6 grams of protein and 4 grams of fiber, and the seeds are packed with nutrition, providing a variety of vitamins, iron, copper, calcium, selenium, zinc, potassium, and manganese. Sunflower seeds are helpful to our bodies in many ways, from decreasing risk of heart disease to boosting our immune systems.
Health benefits of sunflower seeds include:
Anti-inflammatory Properties: The vitamin E , selenium, and flavonoids in sunflower seeds can reduce inflammation.
Healthy fats: A 1/4 cup serving of sunflower seeds contains about 14 grams of polyunsaturated and monounsaturated fats. These fats are linked to lower rates of heart disease, high cholesterol, and high blood pressure.
A boost for the immune system: The zinc and selenium in sunflower seeds can boost your body’s ability to fight off viruses. Zinc is vital to helping your body develop and maintain immune cells, while selenium helps fight infection.
Energy: Sunflower seeds are rich in protein, which directly contributes to your energy levels, but other nutrients in the seeds also contribute to keeping you active. Vitamin B1 (thiamin) helps your body convert food to energy, while vitamin B helps maintain that energy. The same selenium which helps your body fight infections also increases your blood flow, delivering more oxygen to your body, resulting in more energy.
How to Plant Sunflower Seeds
Sunflowers grow easily from seed and can be sown directly into the ground. They are not particular about soil conditions, and will be happy as long as they are planted in full sun.
Sunflower seeds do not like cold, and should be planted two to three weeks after the last average frost date, when the temperature of the soil is consistently warmed.
This will generally be somewhere between mid-April and mid-June. The timing of the planting can be individual to the variety, so check your seed packet.
From that point on you can succession sow, planting seeds every couple of weeks to extend your season.
Most sunflower seeds are planted 1-2” deep, but follow the directions for spacing printed on your seed packet. If you would like to produce smaller flowers, plant your seeds a bit closer than recommended.
Keep your seeds consistently moist until the plants’ root systems have had a chance to establish themselves.
Sunflower seeds are a favorite among the animals and birds we typically share the land with, so it’s best to protect the seeds through germination. This can be done by placing a mason jar upside-down on top of the soil above each seed. This will not only prevent thieving critters from stealing your seed, it will create a warm and moist environment for germination.
Once your plants emerge, remove the jars and thin the plants to provide proper spacing.
What Kinds of Sunflowers Should I Plant to Eat?
Some sunflowers are grown for cutting, and produce little to no pollen, without which they cannot produce seed. Others are grown particularly for their ability to produce delicious seed.
Varieties grown for edible seeds are sometimes called ‘confection’ types. Taller sunflowers produce the biggest crop of seeds, but there are shorter cultivars available which are bred to produce plump, delicious seeds.
What edible sunflower seeds should you buy?
It’s worth nothing that not only are the seeds edible, but the small buds of many varieties can also be grilled, marinated, or sauteed for an unusual appetizer or side dish.
With yellow-tipped, bronze-red petals, 'Shock-O-Lat' is sure to draw attention. Contrasting purple-tinged stems are well-branched, offering a multitude of pollenless blooms for bouquets. Sunflowers are edible, with a bittersweet flavor. The petals add a pretty pop of color ion salads and desserts. The young, sunflower buds are edible, with a flavor similar to artichoke hearts. They can be grilled, marinated, or sauteed for an unusual appetizer or side dish. The 6" flowers can be tamed down to 3" by spacing plants closely (10" apart). Tap to shop.
Each 'Mongolian Giant' plant produces a single yellow flower up to 18" across that will provide extra-large seeds filled with tasty, hearty kernels. These single-stem sunflowers attract pollinators and are very easy to grow in almost any sunny garden, although a sunflower's size is dependent on the growing conditions. They also are drought tolerant and fast growing; you can almost watch them gain an inch or more a day! Inside this packet, we've included tips on how to protect your ripening seeds from squirrels and birds, and a recipe for roasting seeds. Edible, bittersweet petals make a sunny garnish on salads and appetizer plates. Tap to shop
This giant among sunflowers is a fast grower whose single stalk can reach 12' tall and produces one 10"-12" flower! Not fussy about soil, it's very easy to grow and drought tolerant. Grow in a tight row to make an attractive screen. Sow monthly for continual bloom. Tap to shop
A unique addition to your flower bed, these bright yellow puffball blossoms will give you a warm, fuzzy feeling! 'Teddy Bear' produces many 3"-5" flowers on a 24"-36" tall, multi-branching plant; beautiful as a short hedge and makes a fabulous cut flower. Sunflowers are edible, with a bittersweet flavor. The petals add a pretty pop of color ion salads and desserts. The young, sunflower buds are edible, with a flavor similar to artichoke hearts. They can be grilled, marinated, or sauteed for an unusual appetizer or side dish. Great for kids to grow due to the large seed and fast growth. Drought-tolerant once established, and attracts pollinators. Non-fussy plant blooms until fall. Tap to shop
When to Harvest Sunflower Seeds for Eating
You will want to wait to harvest when the sunflower has lost petals, and the back of the flower is yellow with some brown spots. Any flower on which seeds feel a bit like wiggly teeth should be harvested immediately.
If it’s almost time to harvest and you’re concerned about wildlife getting to the seeds before you do, as soon as petals start falling, tie a brown paper bag or some cheesecloth around the flower right out in the garden and leave it until the seeds are mature.
How to Harvest Sunflowers
Once the flowers are ready for harvesting cut them off the stem an inch or so behind the flower. Remove the leaves and the loose petals around the edge of the flower.
Sunflower seeds form beneath tiny flowers (florets). At this point, the florets will be dry, and you can use your hand to wipe them off and reveal the seeds.
Harvesting Sunflower Seeds to Eat
Some flowers will have seeds you can easily coax out with your fingers or by rubbing two sunflowers together.
For tighter groupings of seeds, you have a few options:
Cutting the flower will expose edges, making it easier to get in under the seeds.
A spoon will allow you to dig in a bit to get things started.
A knife accomplishes the same thing as a spoon, with a bit more danger for thrill-seekers.
If the seeds are extremely tight, allow them to dry longer on the flower head before harvesting.
Roasted sunflower seeds
Ingredients
- 8 cups warm water
- ½ cup table salt
Instructions
- Dissolve the salt in the warm water and stir in your sunflower seeds, making sure that the seeds are completely covered with liquid. The sunflower seeds will want to float so you can put a plate on top to weigh them down and keep them submerged in the brine.
- Allow the sunflower seeds to soak for 12-24 hours. The salt will stick to the seeds. Stir well and drain, transferring the seeds to a baking sheet. Spread the sunflower seeds in a single layer.
- Preheat the oven to 325°F and bake the sunflower seeds for 25-30 minutes to completely dry. Store in an airtight container.
- Don’t have time to soak your sunflower seeds overnight? You can bring a pot of salted water to a boil, reduce the heat to a simmer and simmer your sunflower seeds for 1-1.5 hours and then roast.
Notes
Once roasted, you can eat the seeds as they are or with a bit of oil and a sprinkle of spices.
You can also use them wherever you want to add a salty, crunchy ingredient. They’re delicious in trail mix with dried fruit and chocolate chips, and make a nice addition to salads. They can be used as nuts for cookies or cakes, stirred into oatmeal, or added to a stir fry.
What To Avoid Doing When Drying Sunflower Seeds
Some people recommend rinsing your seeds before beginning to dry them. I don’t find this to be necessary, and don’t recommend adding any moisture when the goal is to get the seeds completely dried out.
Roasting Sunflower Seeds
Some people skip brining sunflower seeds and just roast them on cookie sheet at 300 degrees for 15 minutes, but salting and roasting improves their flavor and extends their shelf life. Fresher seeds will have a better flavor after roasting than older seeds would so it’s best to do this soon after harvesting your seeds.
Roasted Sunflower Seeds Recipe
Once you’ve removed the seeds from the flower, pour them into a bowl and skim through with your fingers, removing any leaves or flower debris.
Ingredients:
8 cups warm water
½ cup table salt
Dissolve the salt in the warm water and stir in your sunflower seeds, making sure that the seeds are completely covered with liquid. The sunflower seeds will want to float so you can put a plate on top to weigh them down and keep them submerged in the brine.
Allow the sunflower seeds to soak for 12-24 hours. The salt will stick to the seeds. Stir well and drain, transferring the seeds to a baking sheet. Spread the sunflower seeds in a single layer.
Preheat the oven to 325 and bake the sunflower seeds for 25-30 minutes to completely dry. Store in an airtight container.
Don’t have time to soak your sunflower seeds overnight? You can bring a pot of salted water to a boil, reduce the heat to a simmer and simmer your sunflower seeds for 1-1.5 hours and then roast.
Ways to Eat Sunflower Seeds
Once roasted, you can eat the seeds as they are or with a bit of oil and a sprinkle of spices.
You can also use them wherever you want to add a salty, crunchy ingredient. They’re delicious in trail mix with dried fruit and chocolate chips, and make a nice addition to salads. They can be used as nuts for cookies or cakes, stirred into oatmeal, or added to a stir fry.
Saving Sunflower Seeds For Planting:
Sunflowers are an annual plant, meaning they fulfill their life cycle in one season: planted in the spring, setting seed in the fall, then dying back all together. Because of this, new seeds must be planted each year.
Saving seed from sunflowers you have grown is simple and will help you save money on buying new seeds!
When to harvest sunflower seeds for planting
As the seeds grow in size, the flower will begin to bend over from the weight. Eventually, outer petals will become dry and begin to drop. When the back of the sunflower goes from green to yellow and brown spots appear, the flower is ready for harvesting.
How to harvest sunflower seeds for planting
When the flower is ready, cut it with a 12” stem. Unlike with sunflower seeds you intend to eat, seeds for planting must dry on the flower itself. Tie a brown paper bag around the flower head and hang it upside down indoors for two weeks.
At that point, the seeds are ready to be taken off the flower. Remove them, spread them out, and allow them to dry out for another week or so.
When the seeds will crack if you try to bend them, they are completely dry and ready for storage.
How to store sunflower seeds for planting
Choose the biggest seeds to save. (The rest can be roasted) Put the dried seeds in an airtight container and label with the variety and date.
Sunflower seeds stored in a mason jar will stay viable for about five years. They can also be stored in a Ziploc bag or paper envelope but won’t retain viability for as long. If you don’t have a jar available, a Ziploc is a better choice than an envelope, giving your seeds another year or so of use. Keeping the seeds in the refrigerator is another way to extend their usefulness.
Can you harvest seeds for planting from cut flowers you buy?
The short answer is no. Sellers harvest cut sunflowers before their seeds fully develop, or sometimes before they set at all. Even if the seller is a little late in the cutting and seeds have begun to set, they will not reach maturity on a cut flower.
Benefits of Lavender and How to Grow Your Own
Lavender is beautiful, but that’s only one of its many benefits. Its soothing scent makes it a much-loved ingredient in soaps, sachets, lotions, eye pillows, and shampoos.
The aroma itself comes from oil in the small flowers, which grow together on long stems above the silver-green foliage. Lavender essential oil has been studied for a variety of potential medicinal uses, including preventing hair loss and reducing agitation in people with dementia. Its antiviral and antibacterial uses are also being studied.
The Cottage Peach is reader-supported. When you purchase through links on our site, we may earn an affiliate commission at no additional cost to you. All opinions are our own.
Since we grow more lavender than any one family needs, we’ve found just about every way possible to enjoy dried lavender around here. Recipes and gift ideas are below, but first let's talk a little about why I love lavender so much!
What are the benefits of lavender?
Lavender is beautiful, but that’s only one of its many benefits. Its soothing scent makes it a much-loved ingredient in soaps, sachets, lotions, eye pillows, and shampoos.
The aroma itself comes from oil in the small flowers, which grow together on long stems above the silver-green foliage. Lavender essential oil has been studied for a variety of potential medicinal uses, including preventing hair loss and reducing agitation in people with dementia. Its antiviral and antibacterial uses are also being studied.
Lavender has traditionally been used medicinally for insomnia and anxiety due to the sedative effects of its aroma. It is frequently used to fill pillows in order to encourage sleepiness, and strewn in water to make a hot bath even more relaxing.
I've been using lavender to soothe my anxiety since I first sprayed a lavender scented room spray on my pillow as a teenager. Now I like to put a few drops of oil on my hair scrunchie when I'm feeling stressed, and keep a bundle on the windowsill beside my bed for sweet dreams.
How to Use Lavender for Aromatherapy
Want to know the secret to a soothing shower? I bet you won’t be surprised when I say lavender. Simply bundle some stems of dried lavender and tie them together with a length of twine. Make a loop with the end of the twine, which you can drape over your showerhead.
This simple, beautiful, natural decor item will bring a sense of peace to your home. Bring your lavender in the shower with you - I promise you won’t regret it!
Alternatively, dried lavender can be mixed with Epsom salts in a bath.
Lavender will make your bathroom a retreat in which to relax, calm, and soothe not only your mind but your skin as well.
Lavender-Infused Sugar Recipe
Add a handful of dried lavender buds to a cup of sugar. Store it in a cabinet or on the counter in a pretty mason jar - I love these wooden lids you can put on Ball mason jars. Lavender-infused sugar is a delicious addition to tea, cookies, or pound cake.
Lavender Simple Syrup Recipe
My favorite thing to do with our homegrown lavender by far is to infuse it into a simple syrup. This syrup can then be used to make mocktails (see recipe below), popsicles and many other desserts. You can make your own lavender simple syrup for drinks and desserts at home in just a few minutes!
Ingredients and supplies:
1 Tablespoon lavender buds
1 cup sugar
1 cup water
A sieve or cheesecloth
A leak-proof jar
Directions:
In a small pot combine the lavender, sugar, and water.
Bring the mixture to a boil, then let it boil for one minute.
Remove the pan from the heat and steep the syrup for one hour before straining.
Strain with the sieve or cheesecloth.
Pour into an airtight jar and store in the refrigerator.
This simple syrup keeps well in the fridge for about 3 weeks, but don’t worry - you’ll finish it long before it has a chance to go bad!
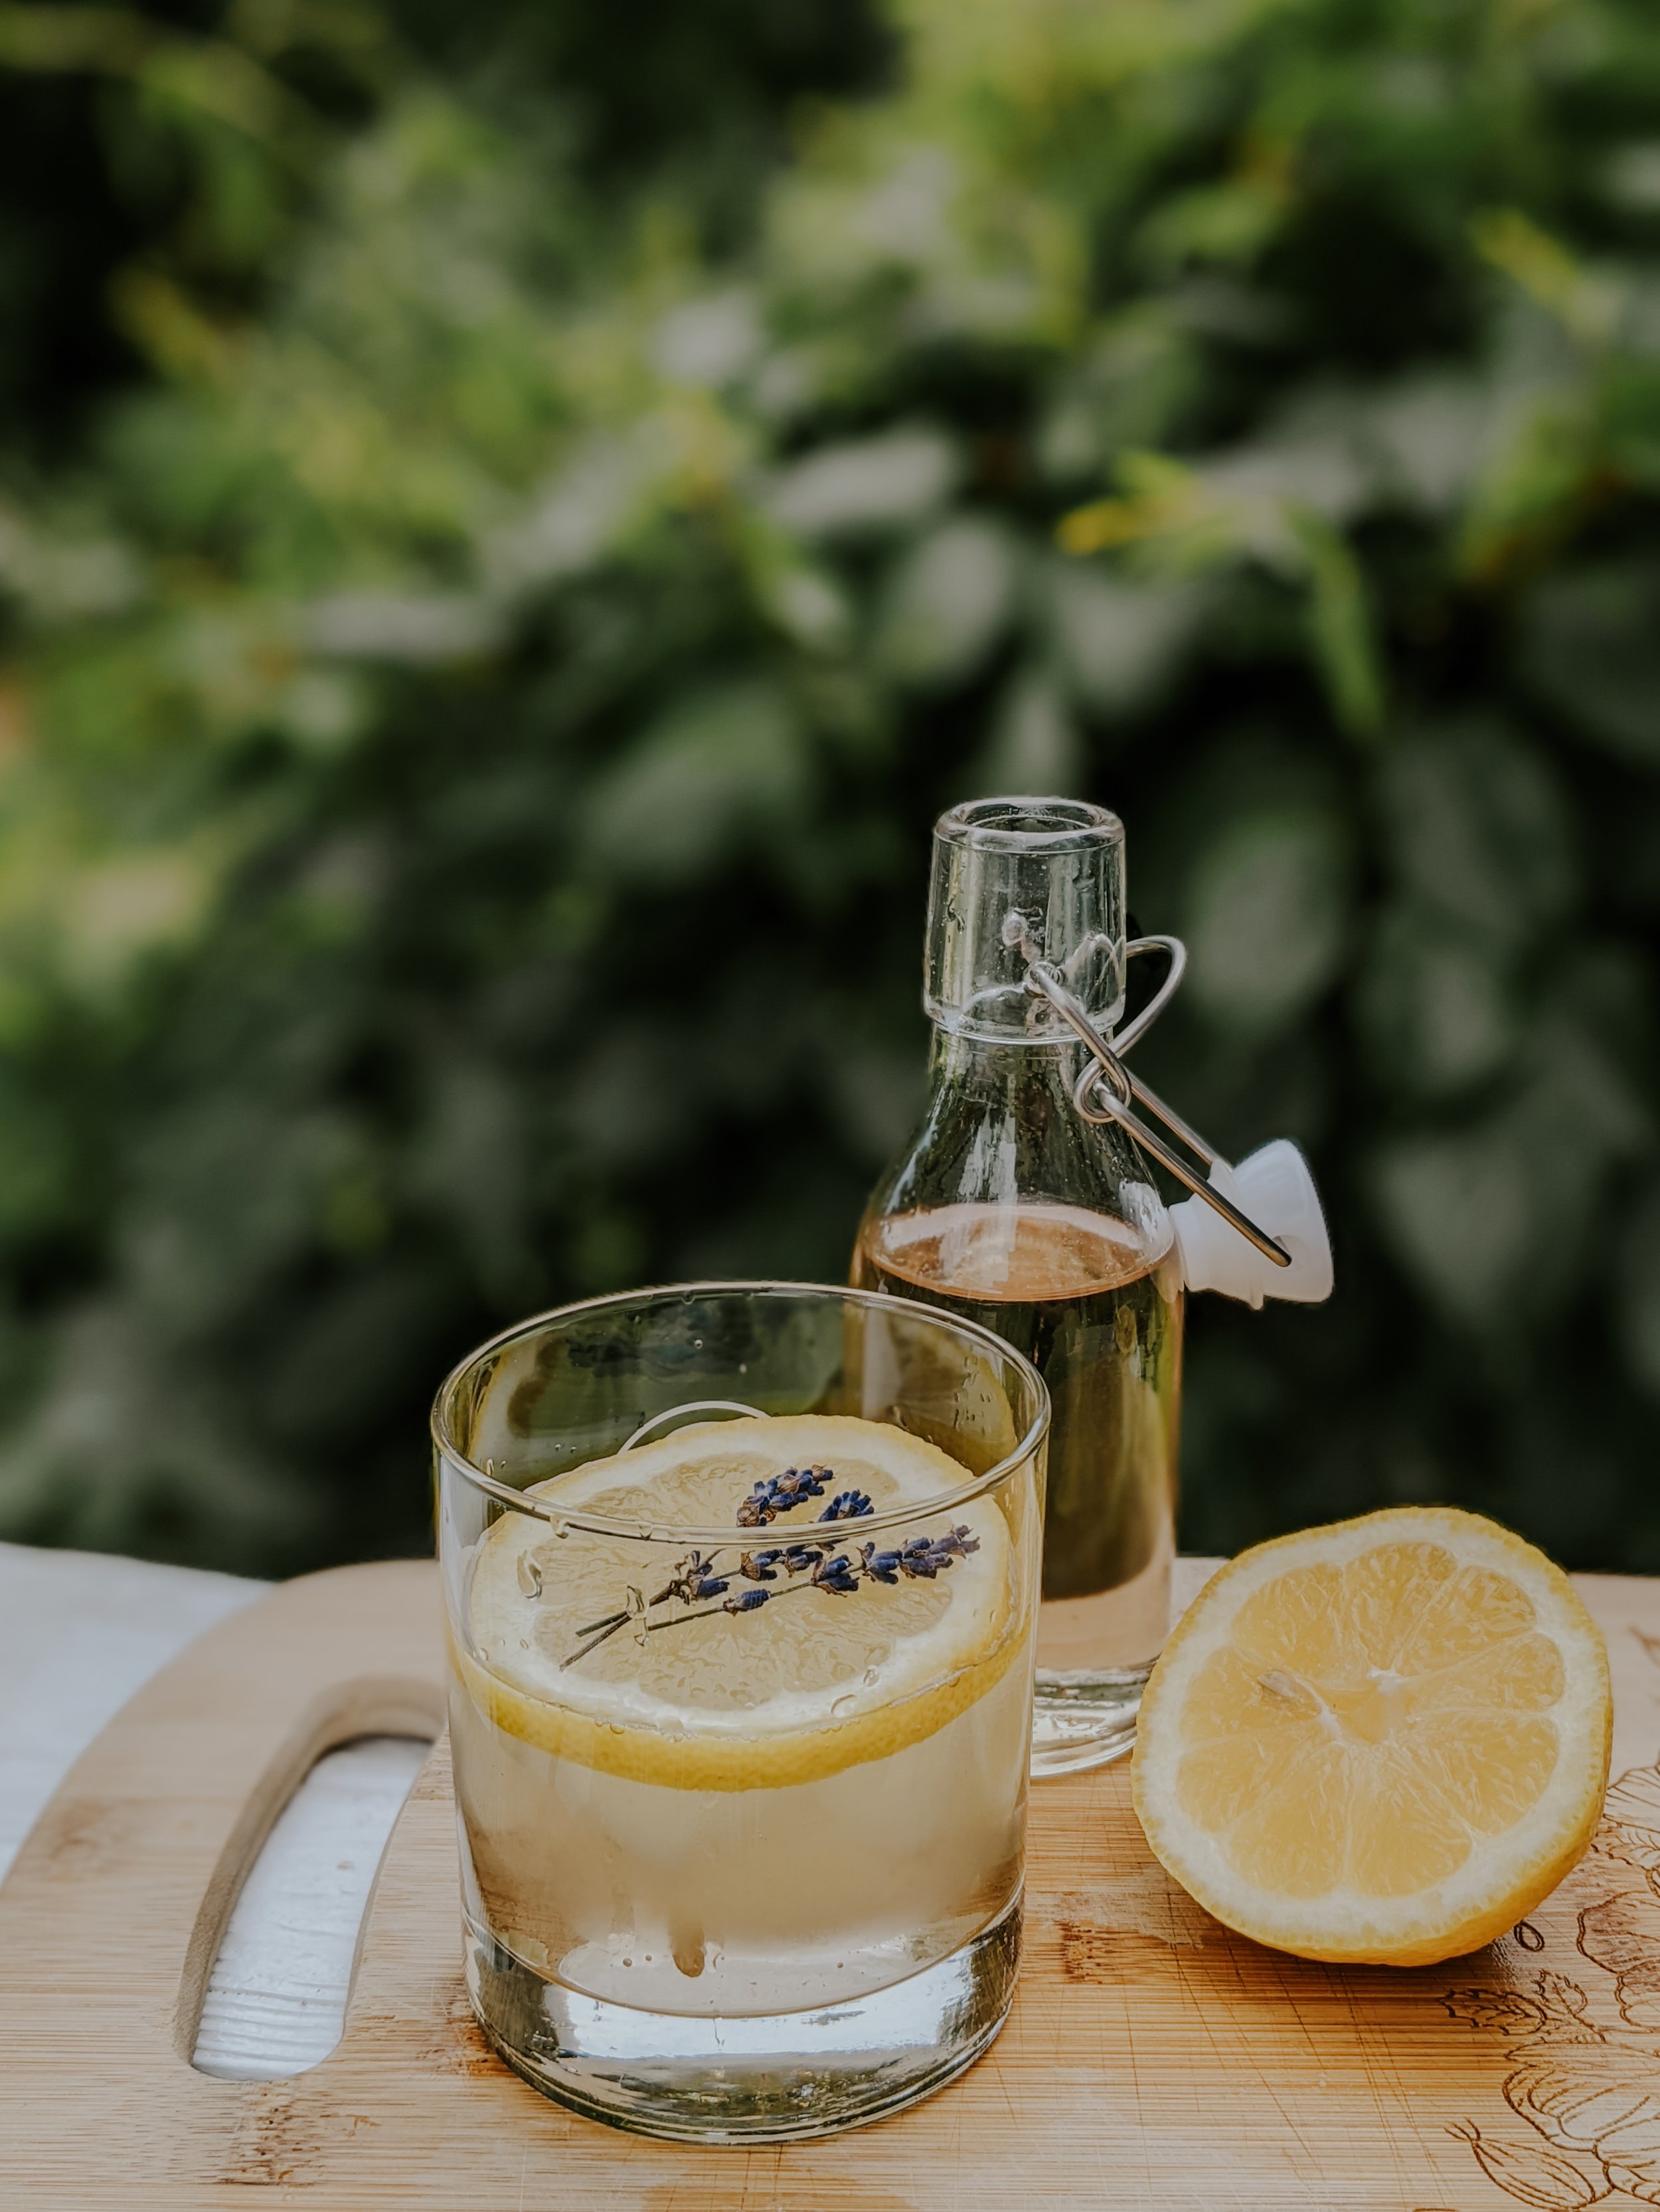
Lavender Lemonade Summer Mocktail Recipe
Summertime drinks are just more refreshing when fresh fruit, herbs, and flowers are added. This Lavender Lemonade Mocktail recipe is a favorite. Just don’t ask me how many glasses of this I’ve enjoyed over the past summer - it’s more than I care to admit!
Ingredients:
1 oz lavender simple syrup (see recipe above)
1 oz lemon juice (fresh-squeezed is a must!)
1 oz sparkling water or seltzer (tequila would work too)
A slice of lemon
2 small sprigs of lavender
Directions:
Combine simple syrup, lemon juice, and sparkling water in a glass with plenty of ice. Top with a slice of lemon and the lavender sprigs and enjoy!
DIY Lavender Sachets
Lavender sachets are super useful in drawers and cupboards where clothes are kept, as they will both keep your clothes smelling fresh and deter moths. Consider placing one between each of your wool sweaters for extra protection.
Supplies:
Fabric scraps (Thinner fabric is best, to allow the scent to easily diffuse. Quilter’s cotton works well.)
Needle
Thread
Dried Lavender buds
Directions:
Sew fabric scraps into small squares or rectangles, with the fronts of the fabric facing each other. Leave one side open. Turn right-side out and stuff with dried lavender flowers, then finish sewing it closed. Alternatively you can use hem tape for a no-sew version.
How to Grow Your Own Lavender
Of course, these five ideas for using lavender are even more fun if you grow your own! Lavender is native to the Mediterranean, so it prefers a hot, dry spot. It isn’t picky as to soil type, and will grow just fine in a rocky or sandy area.
Lavender plants are quite easy to care for, and don’t need fertilizer or supplemental watering. To make the treats above, be sure to plant an edible variety.
We like to grow Hicote and Munstead lavenders, both of which are English varieties. Hidcote has dark purple flowers which form tightly, while Munstead has lighter flowers that are more loose and open. Our favorites are the Hidcote, as the color is deep and doesn’t fade much, if at all, when it is dried, but combining the two makes for a beautiful garden bed and bouquets.
How to Prune Lavender
Lavender wants to grow into a woody and not very attractive plant, so it’s important to trim it twice a year, once when the first flush of flowers is ready for harvest, and again in the fall to prepare them for winter. After the first pruning of the year, they will bloom again, although the harvest won’t be as thick or showy.
I think of this pruning as giving the plants a haircut. You don’t want to give them a buzz cut, removing all of the green leaves. Instead, leave two or three inches of green growth on each stem.
Keeping up on this pruning twice a year will ensure your plants maintain a pleasing shape and prevent the stems from hardening. Once a lavender plant becomes woody, it won’t produce well and you’ll likely want to replace it.
How to Harvest and Cure Lavender
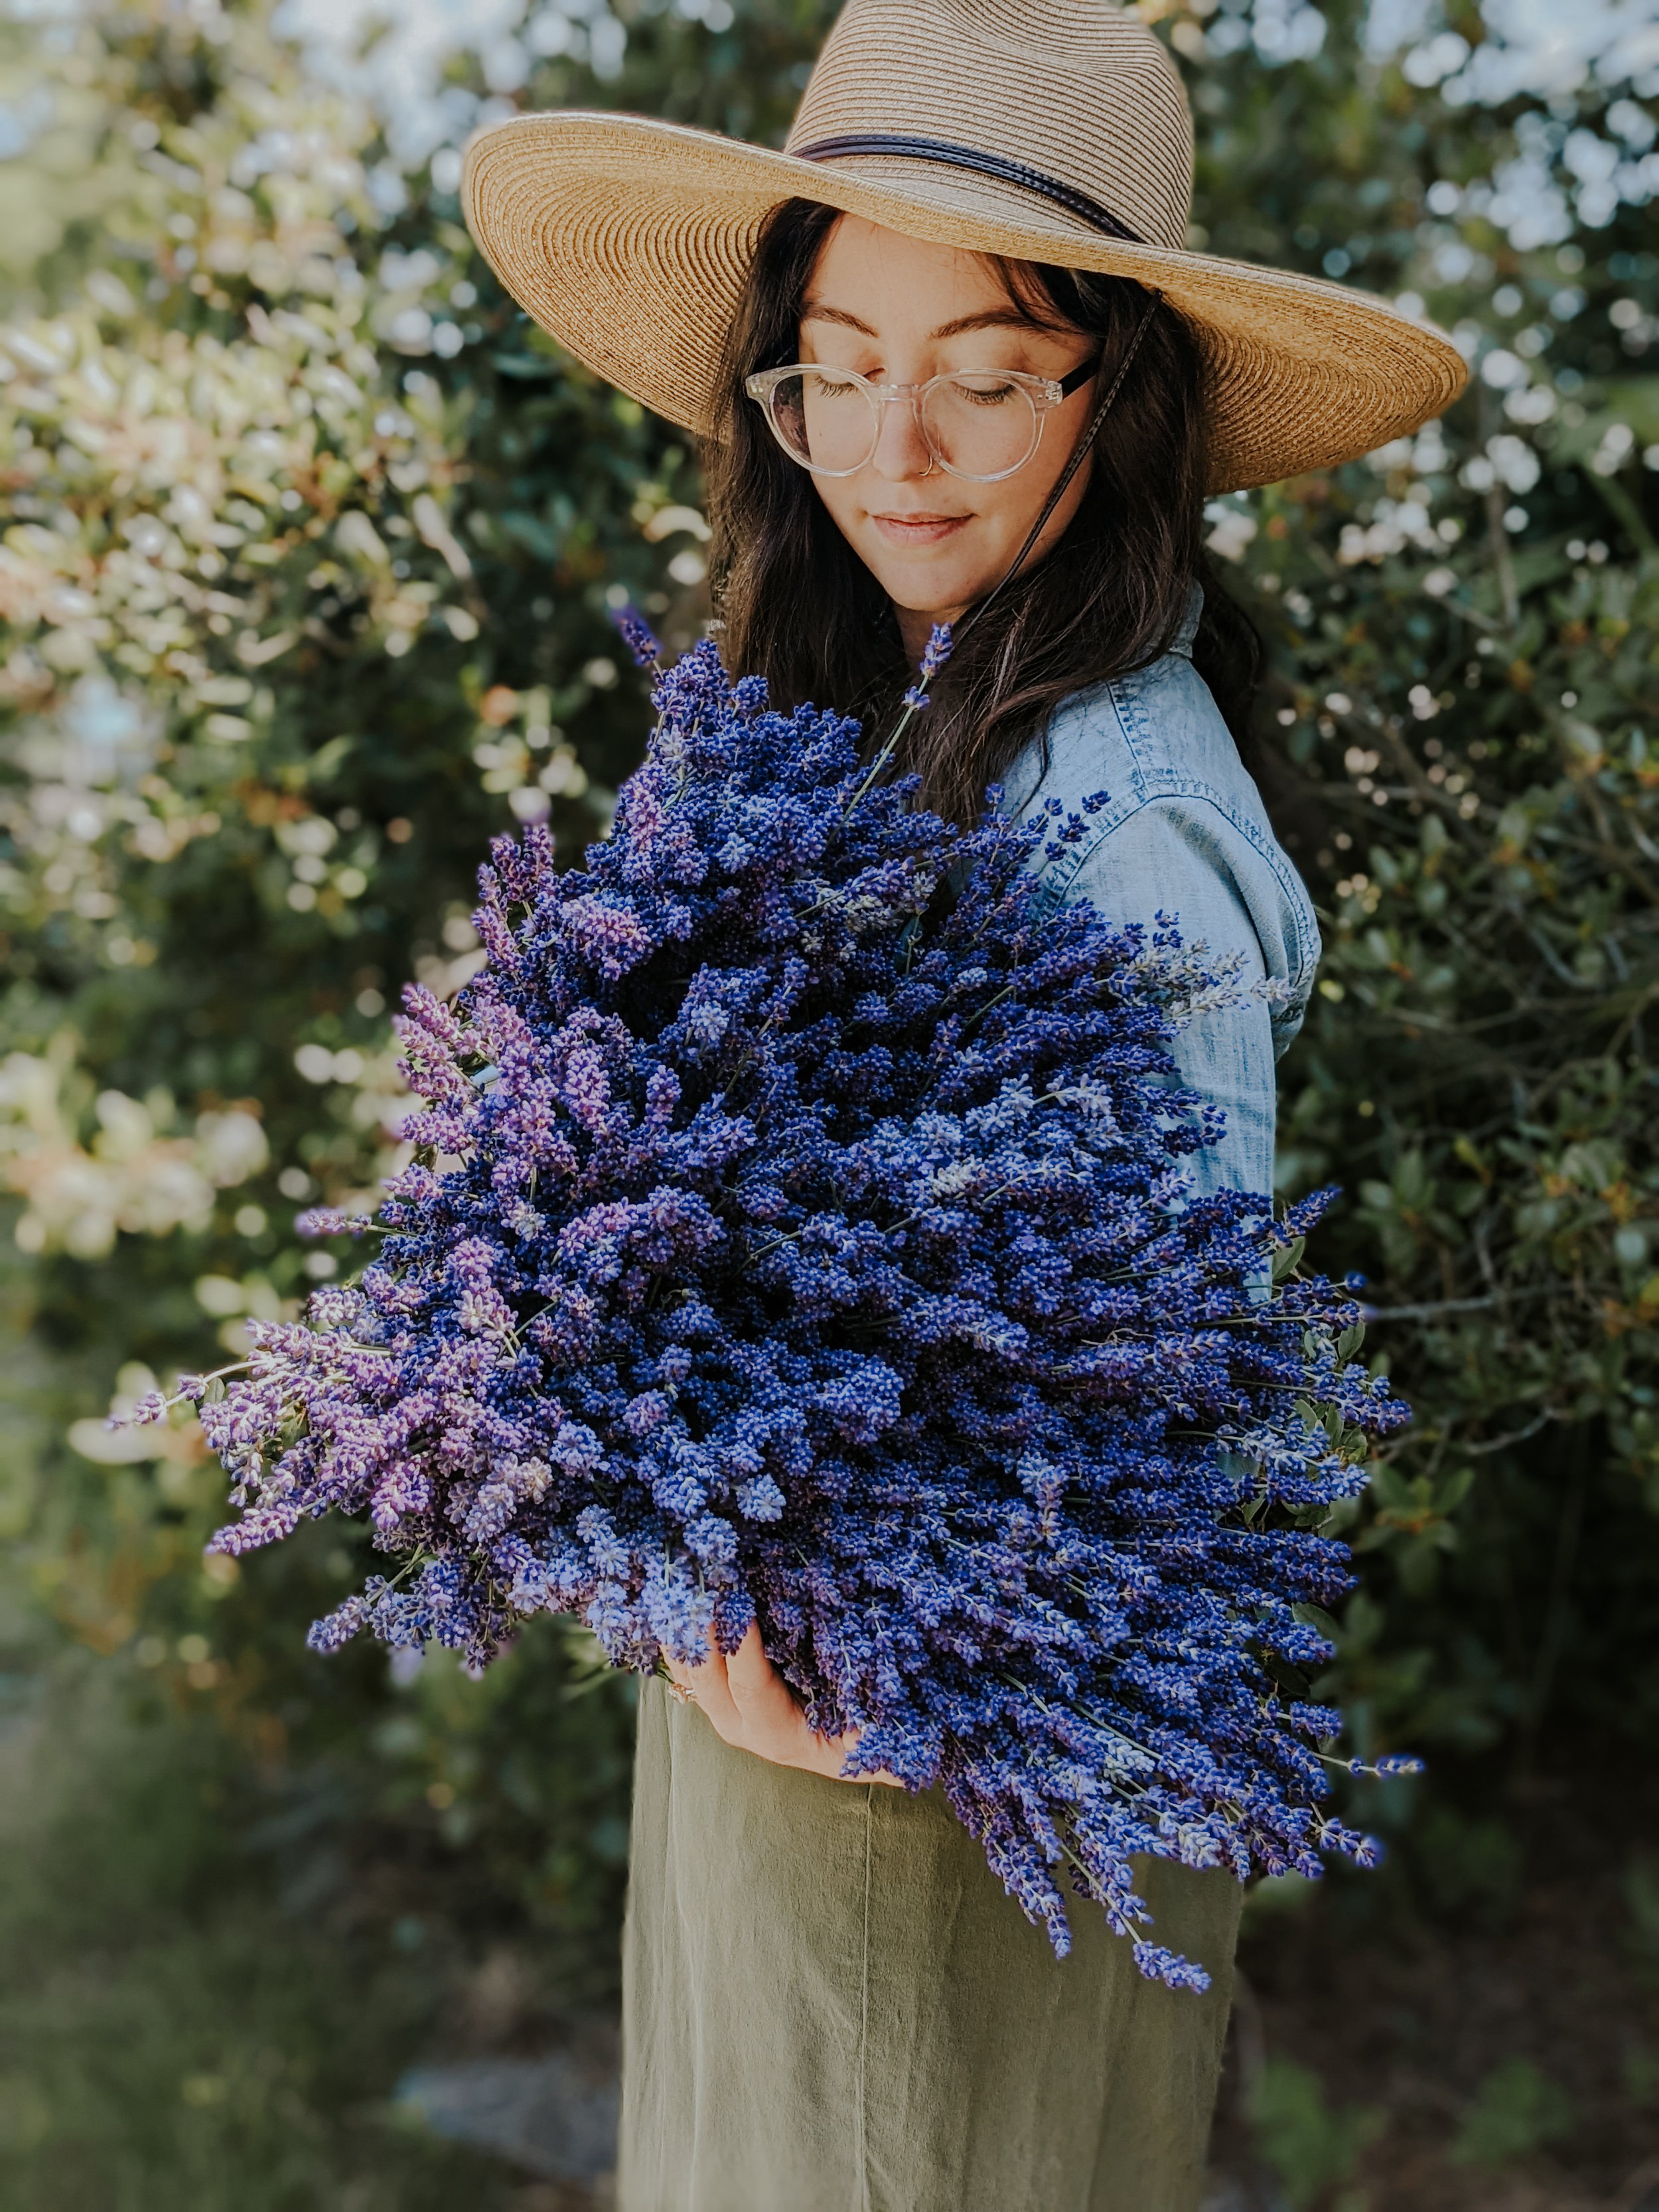
The key to long-lasting dried lavender is the timing of the harvest. Through years of research, trial + error, I’ve learned the optimal time to pick each bloom so the dried flowers are less likely to fall from the stems, and the scent will not quickly fade away. It’s best to harvest lavender early in the day, while it’s cool but the sun has been out long enough to dry any remaining dew, and just before the flowers have completely opened.
I count down the minutes until I can pluck each stem from its plant and bring it into our home. For weeks after the lavender harvest, our whole house smells like sweet lavender, and peace prevails.
When the time came for our latest harvest, I made my way outside as the sun was just beginning to peek over the horizon, and I experienced a really beautiful moment. I looked up and the moon was still high overhead, and at the same time the morning sun warmed my face. Having both the sun + moon to keep me company was more than enough, but then I heard a rustle beside me and when I turned, I saw the most peaceful bunny eating breakfast. We coexisted together while I finished my work and then went our separate ways.
You will find that a lavender bed is full of bumble bees just about any time you look at it. Sometimes they try to hitch a ride on the cut flowers! Lavender attracts all sorts of beneficial insects.
To harvest, I gather bunches of stems with one hand, and cut each bunch all together, being careful to keep the stems as long as possible. I find Felcos to be the best tool for the job. A Hori Hori garden knife is also effective, but tends to leave the plants looking a tiny bit shaggier and not as neatly clipped.
While still outside, I separate the harvest into bouquets which I bind with a strong elastic to dry. The elastic works best for drying because the bundles will shrink as the moisture evaporates making twine too loose.
Curing locks in the unmistakable scent we all know and love so well. Our bouquets hold their scent for more than a year - you can re-activate it by giving the bouquet a gentle squeeze to release more essential oils! Just do this over a sink as some buds will fall off.
This curing process is essential to your bouquet carrying the smell of lavender through your home for many months to come. Over weeks we watch the buds pulling closer together and feel the stems turning crisp under our fingers. It can be done very simply by hanging the bundles by loops in their twine on a folding laundry rack or even your curtain rods.
One fully dried, a flurry of commotion results at my kitchen table as bundles are wrapped with twine. Now our bouquets are fair game for all of the above uses and more.
What is your favorite way to use lavender?


